
HOW TO HANG FRAMED ART FOR YOUR GRID GALLERY WALL FEATURING FY!


Yesterday I shared some tips and tricks on how to plan and measure for your grid-gallery wall and y’all really loved that!! WOW! Thank you. Blown away with the direct messages I received. Incase you missed it, have a look at the post here.
Well, as promised, today I am showing you how to hang your art for your grid-gallery wall.
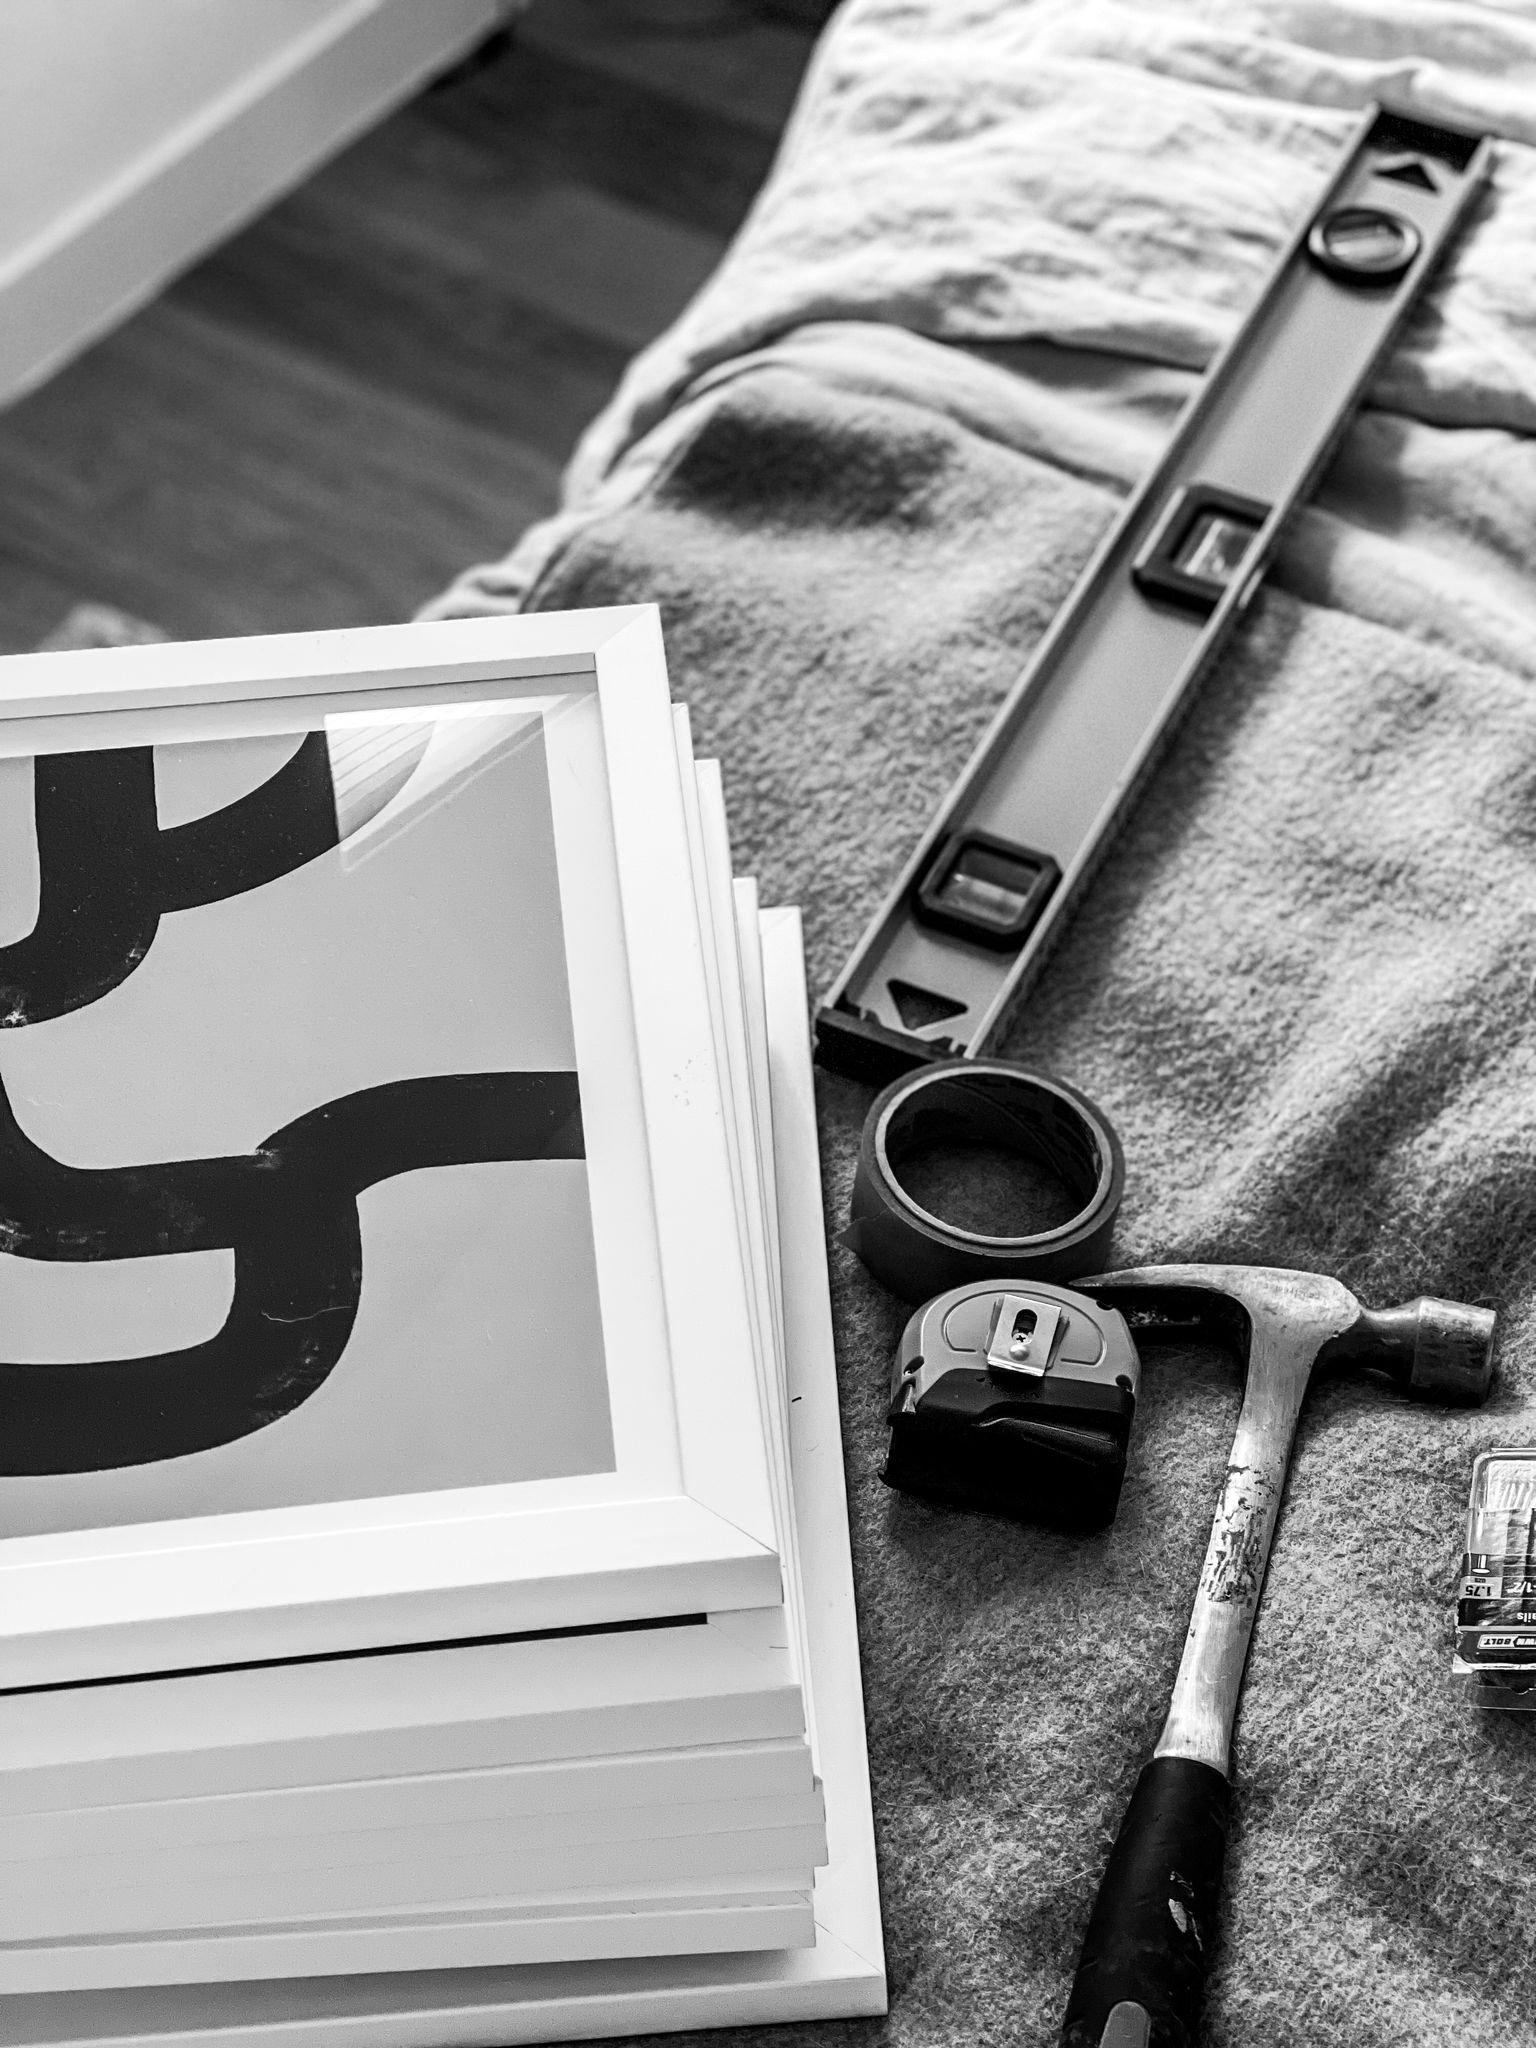
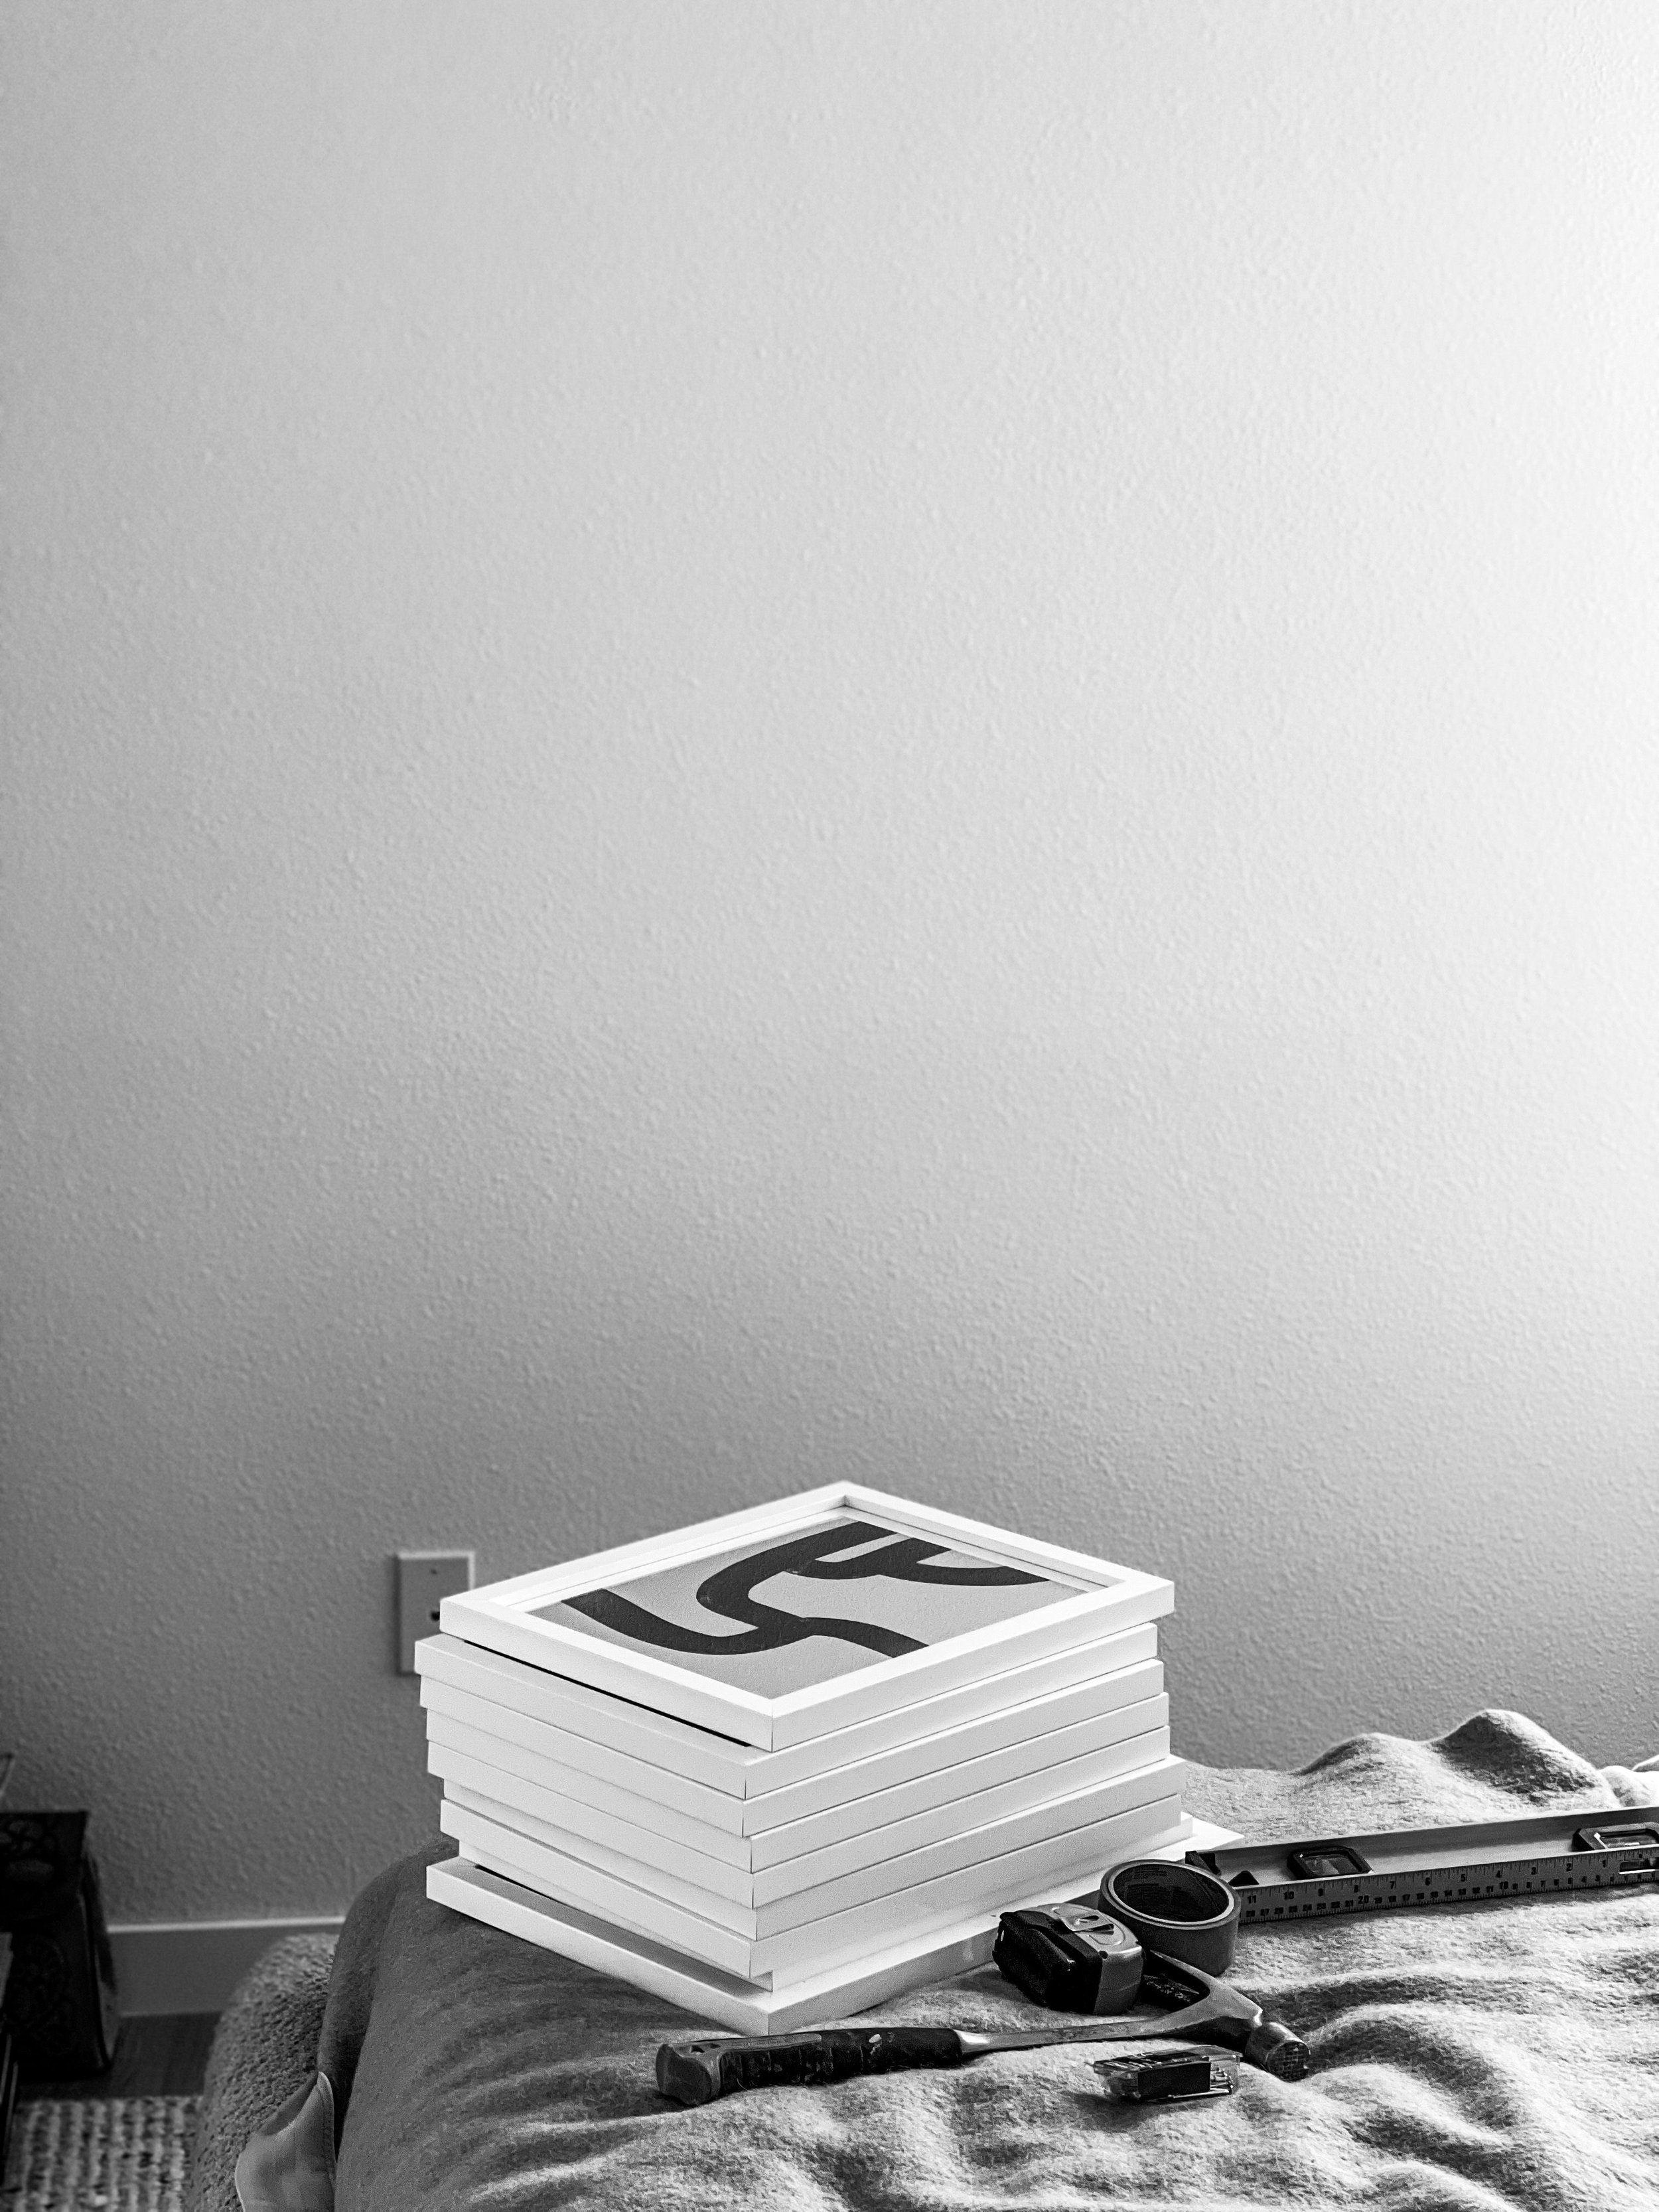
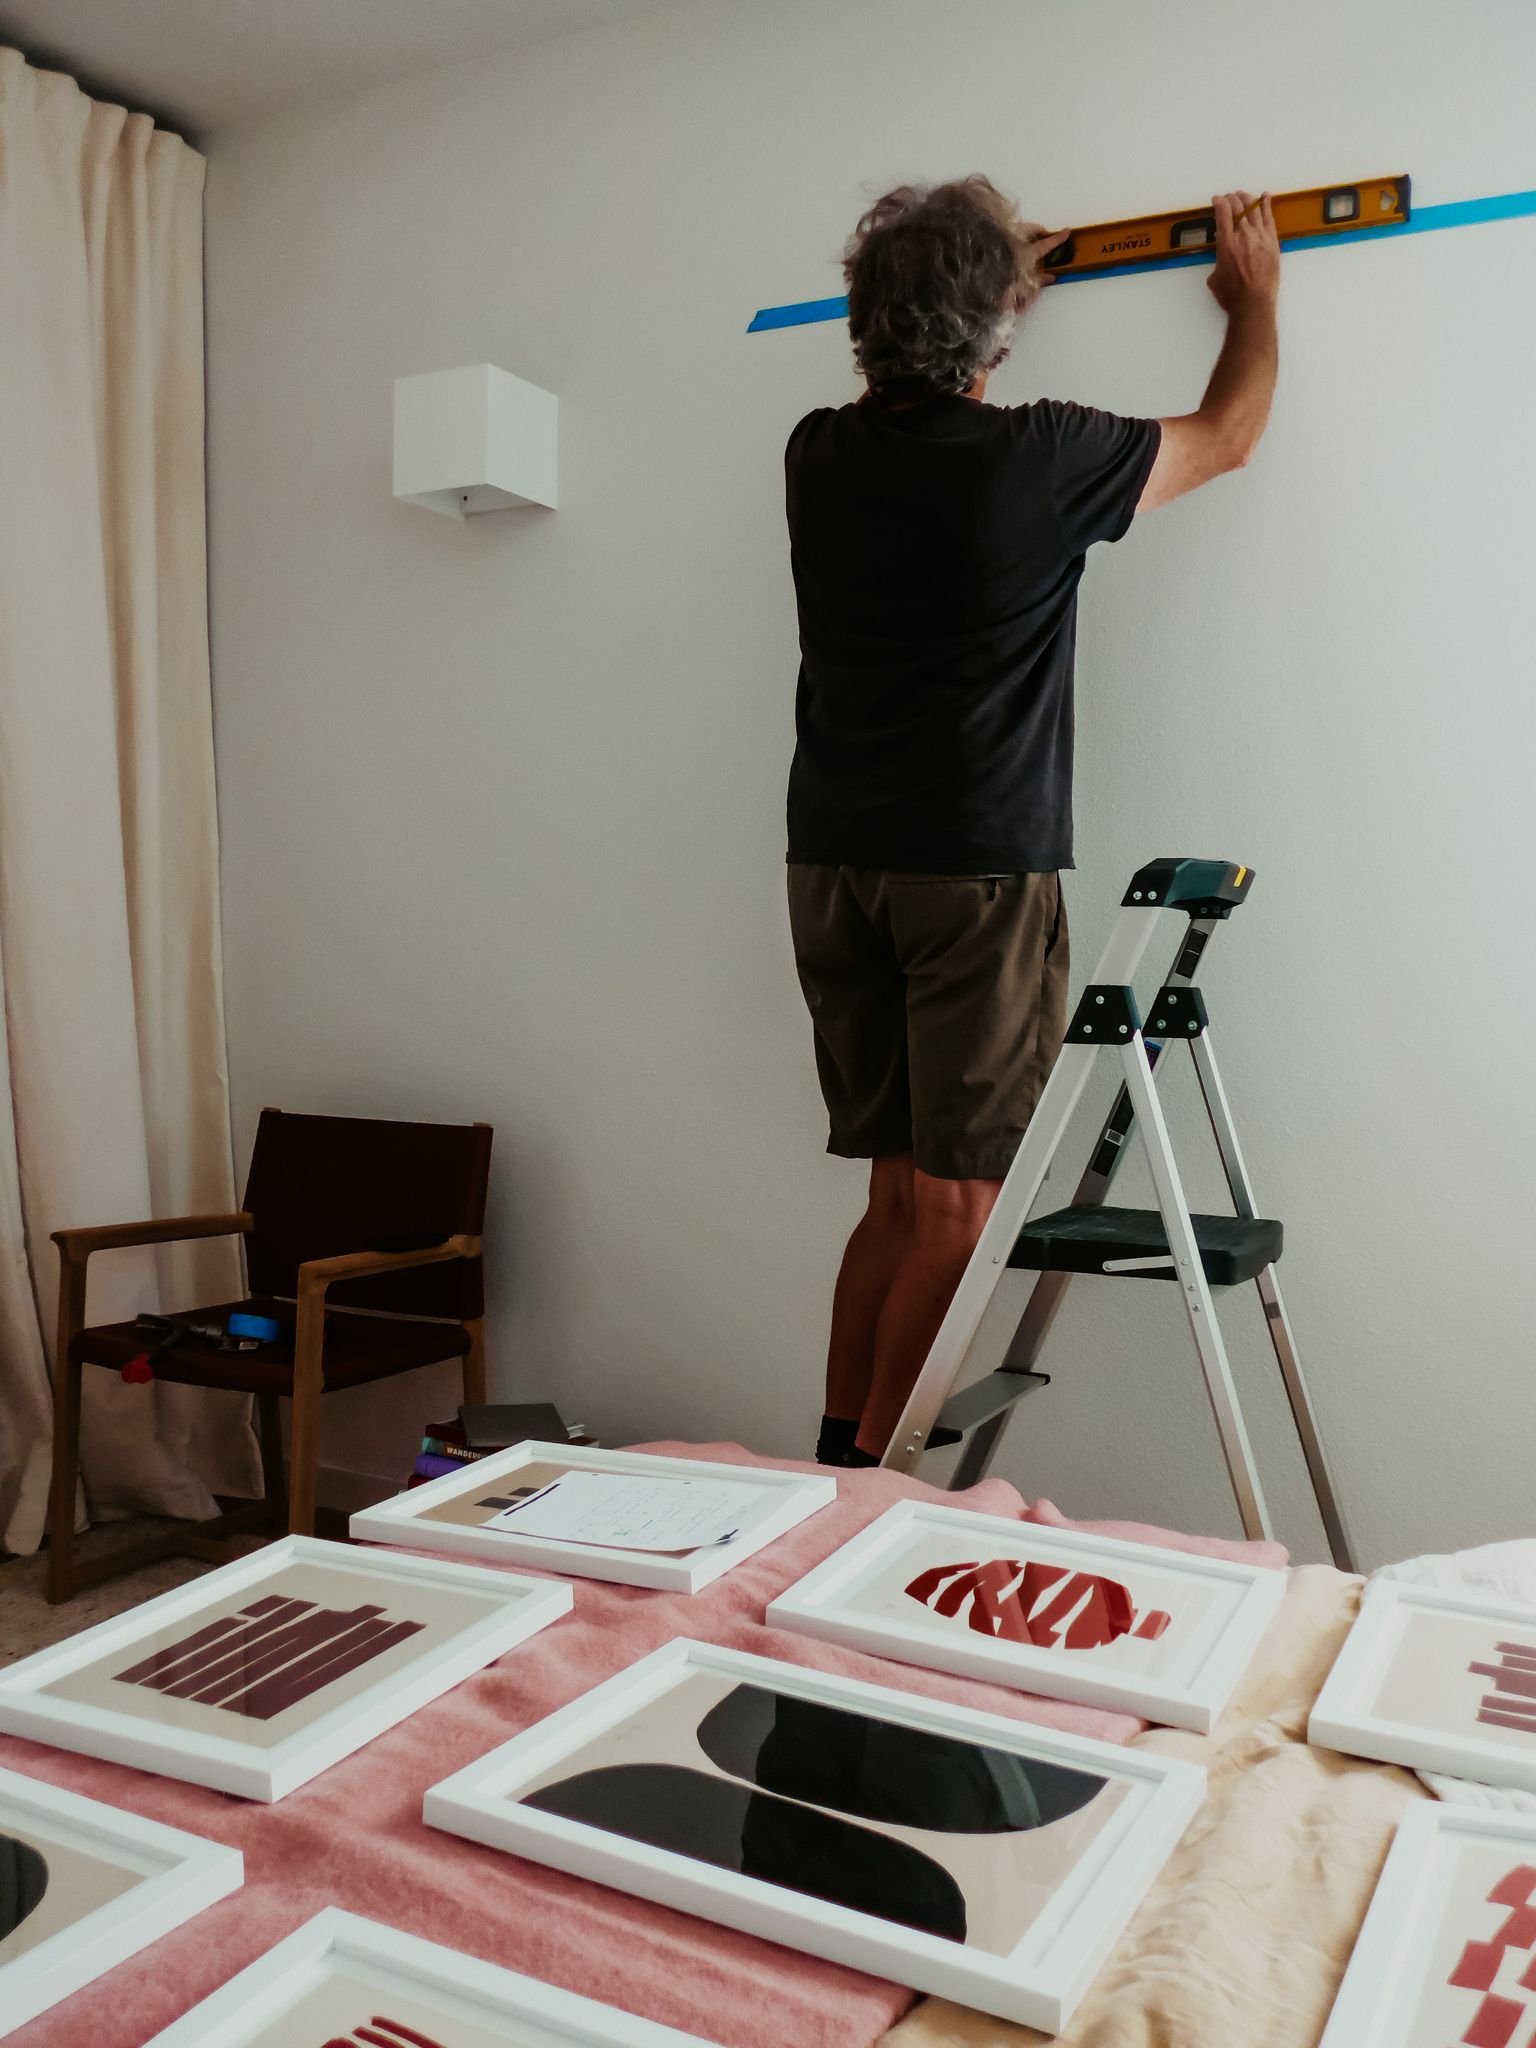
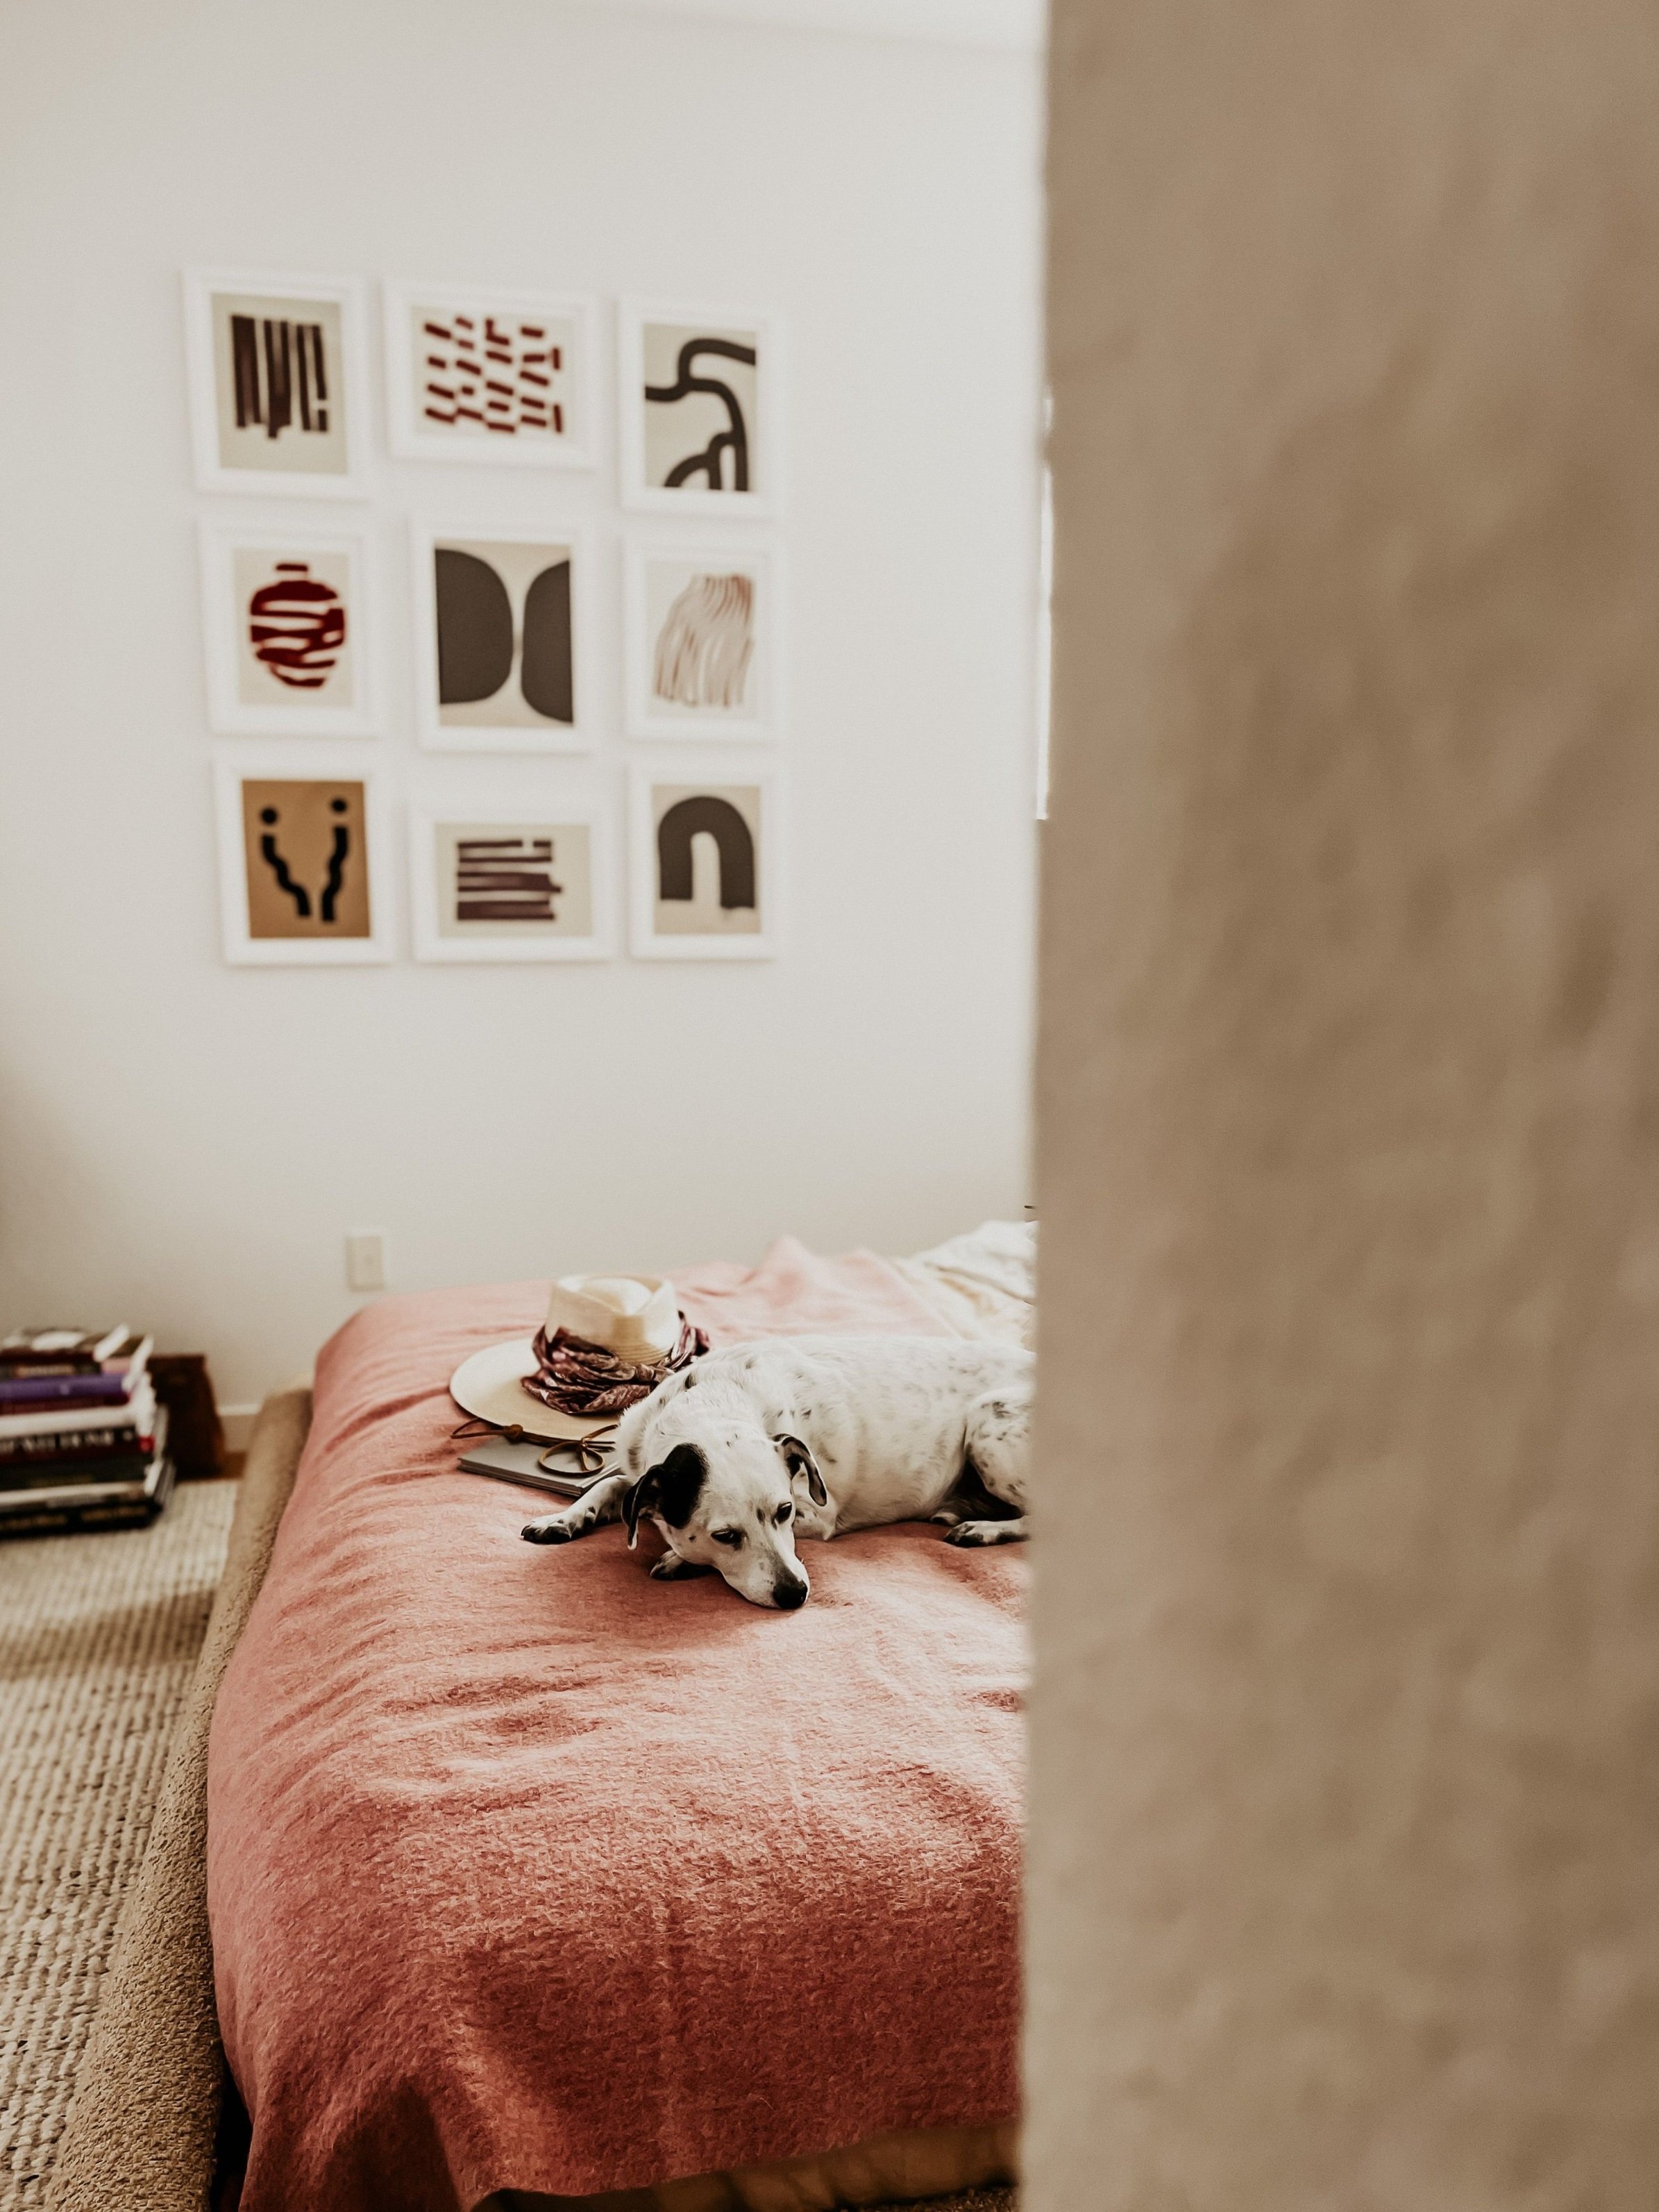
The first thing we did was lay out our collection of frames on the bed to decide how we wanted to arrange them and how far apart each frame should be. We had originally sketched this out too so we had a pretty good idea but taking one final look won’t hurt a thing!
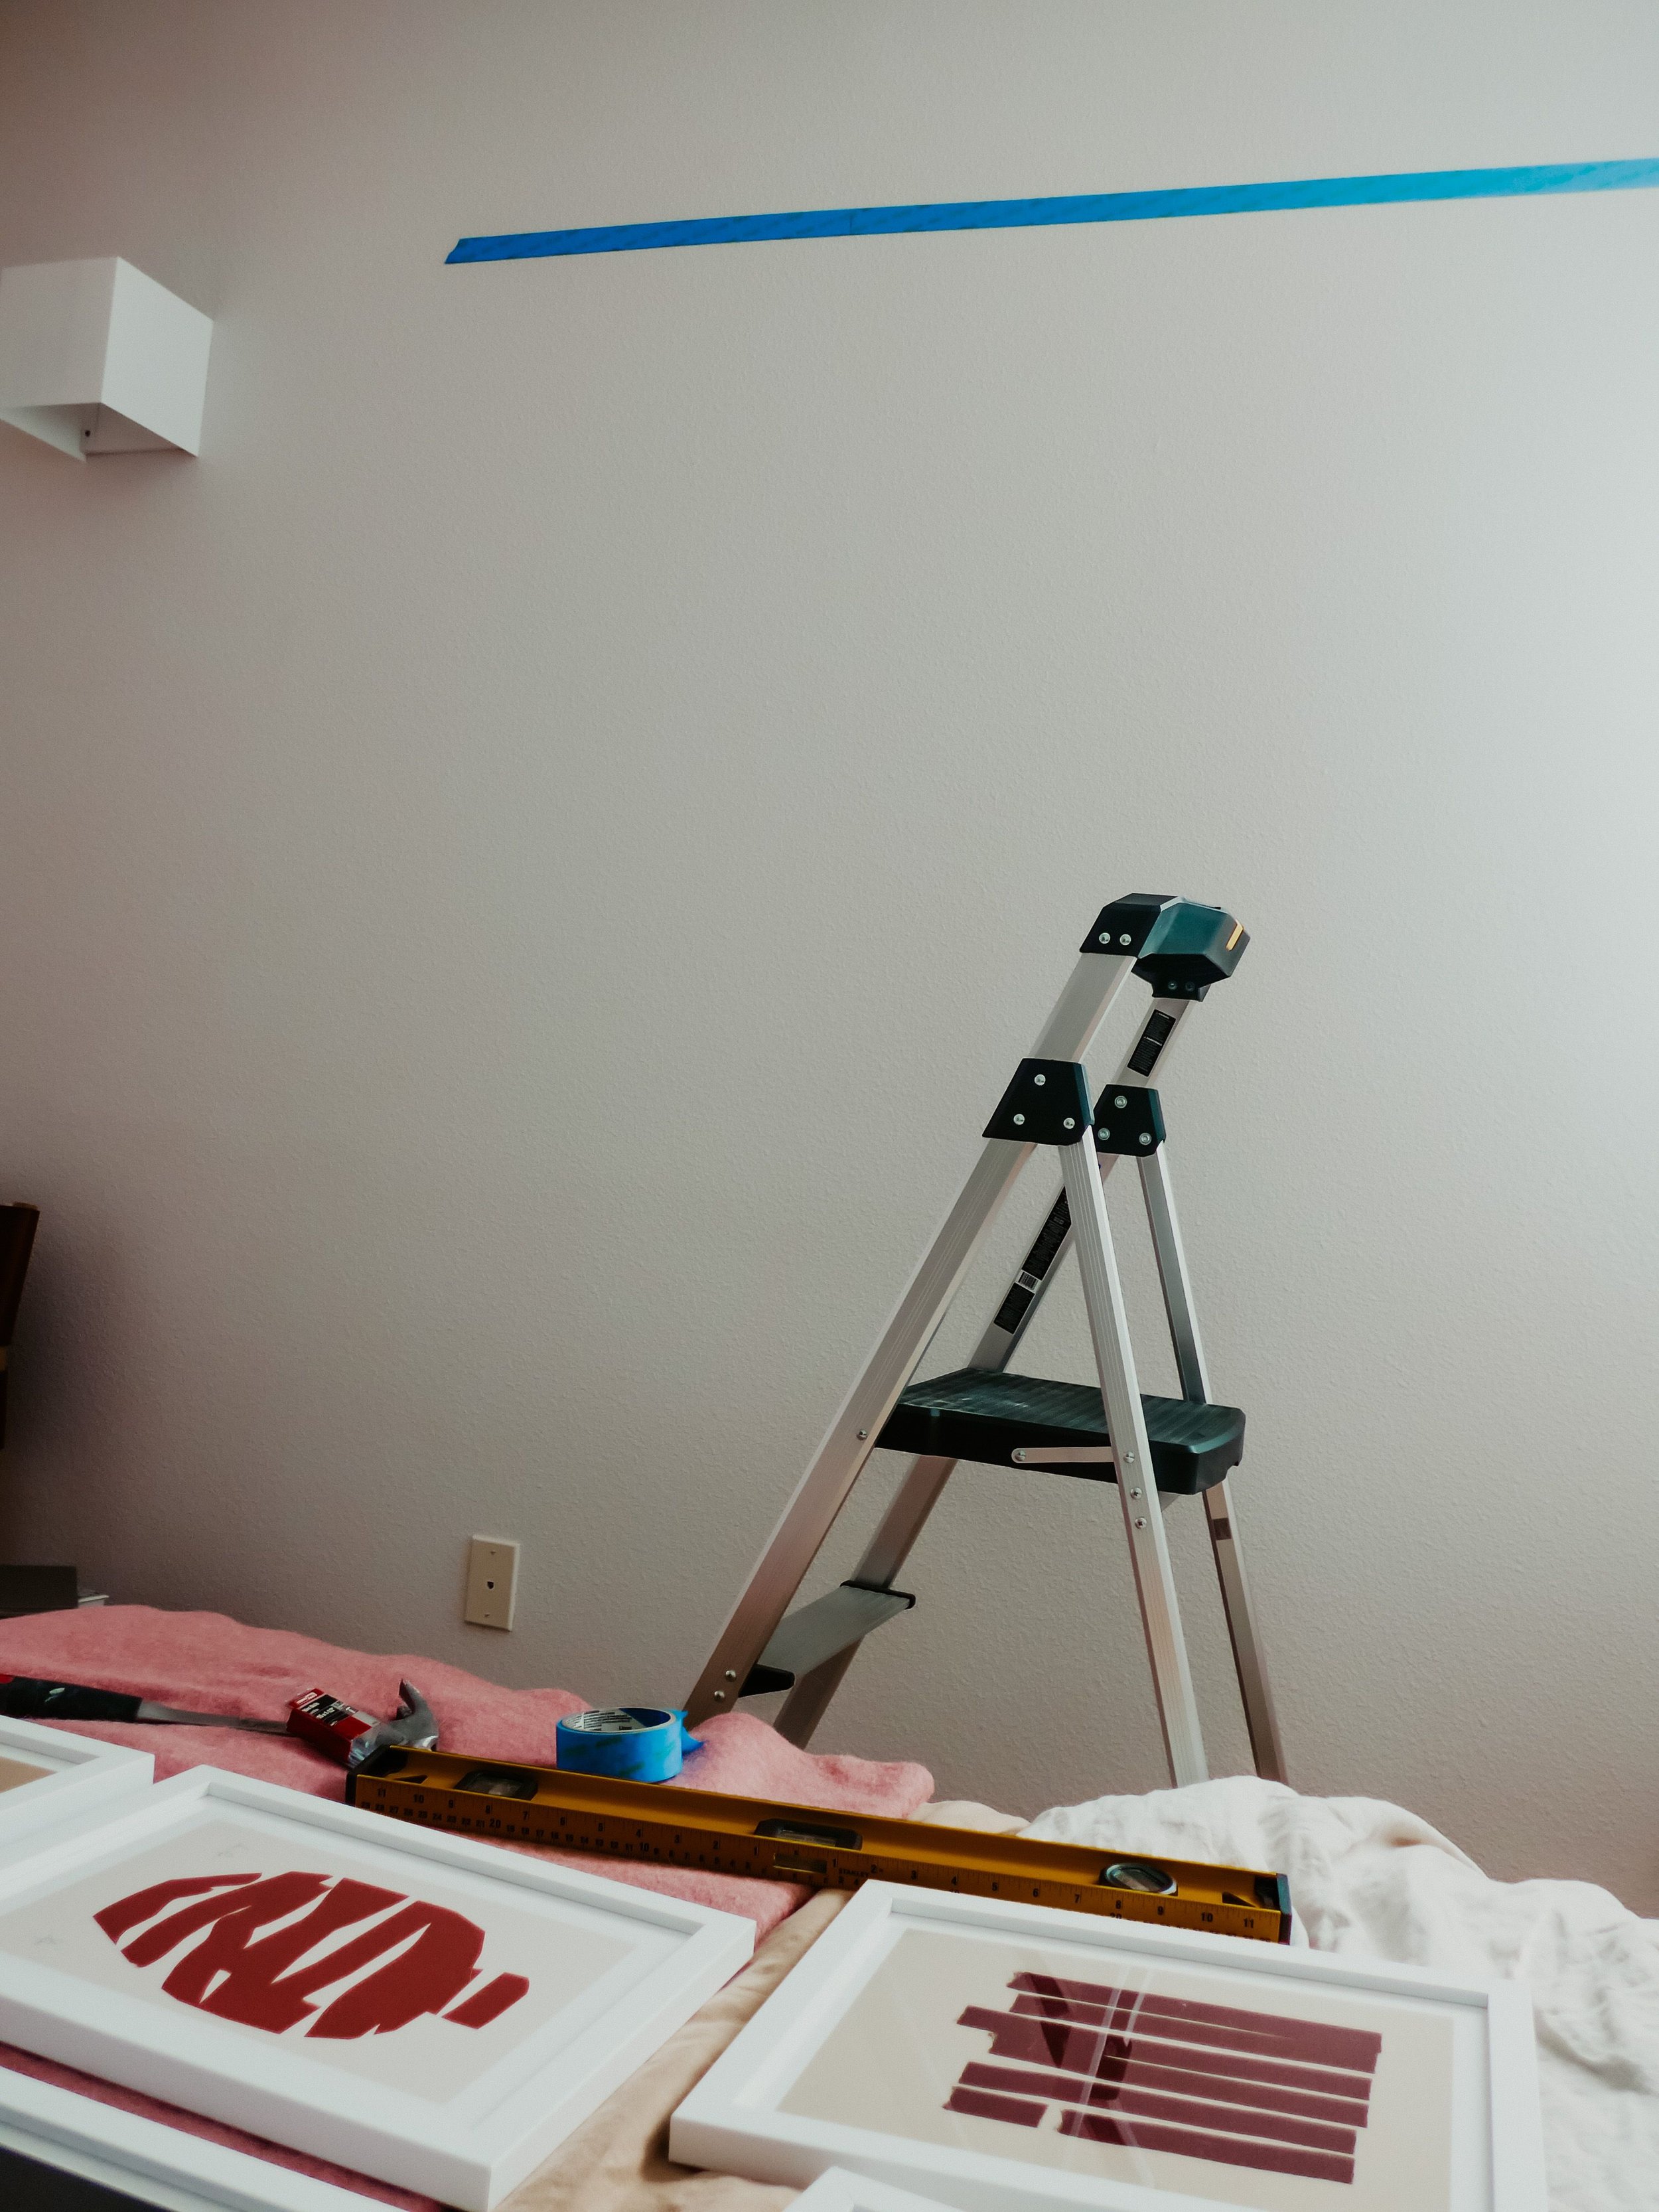
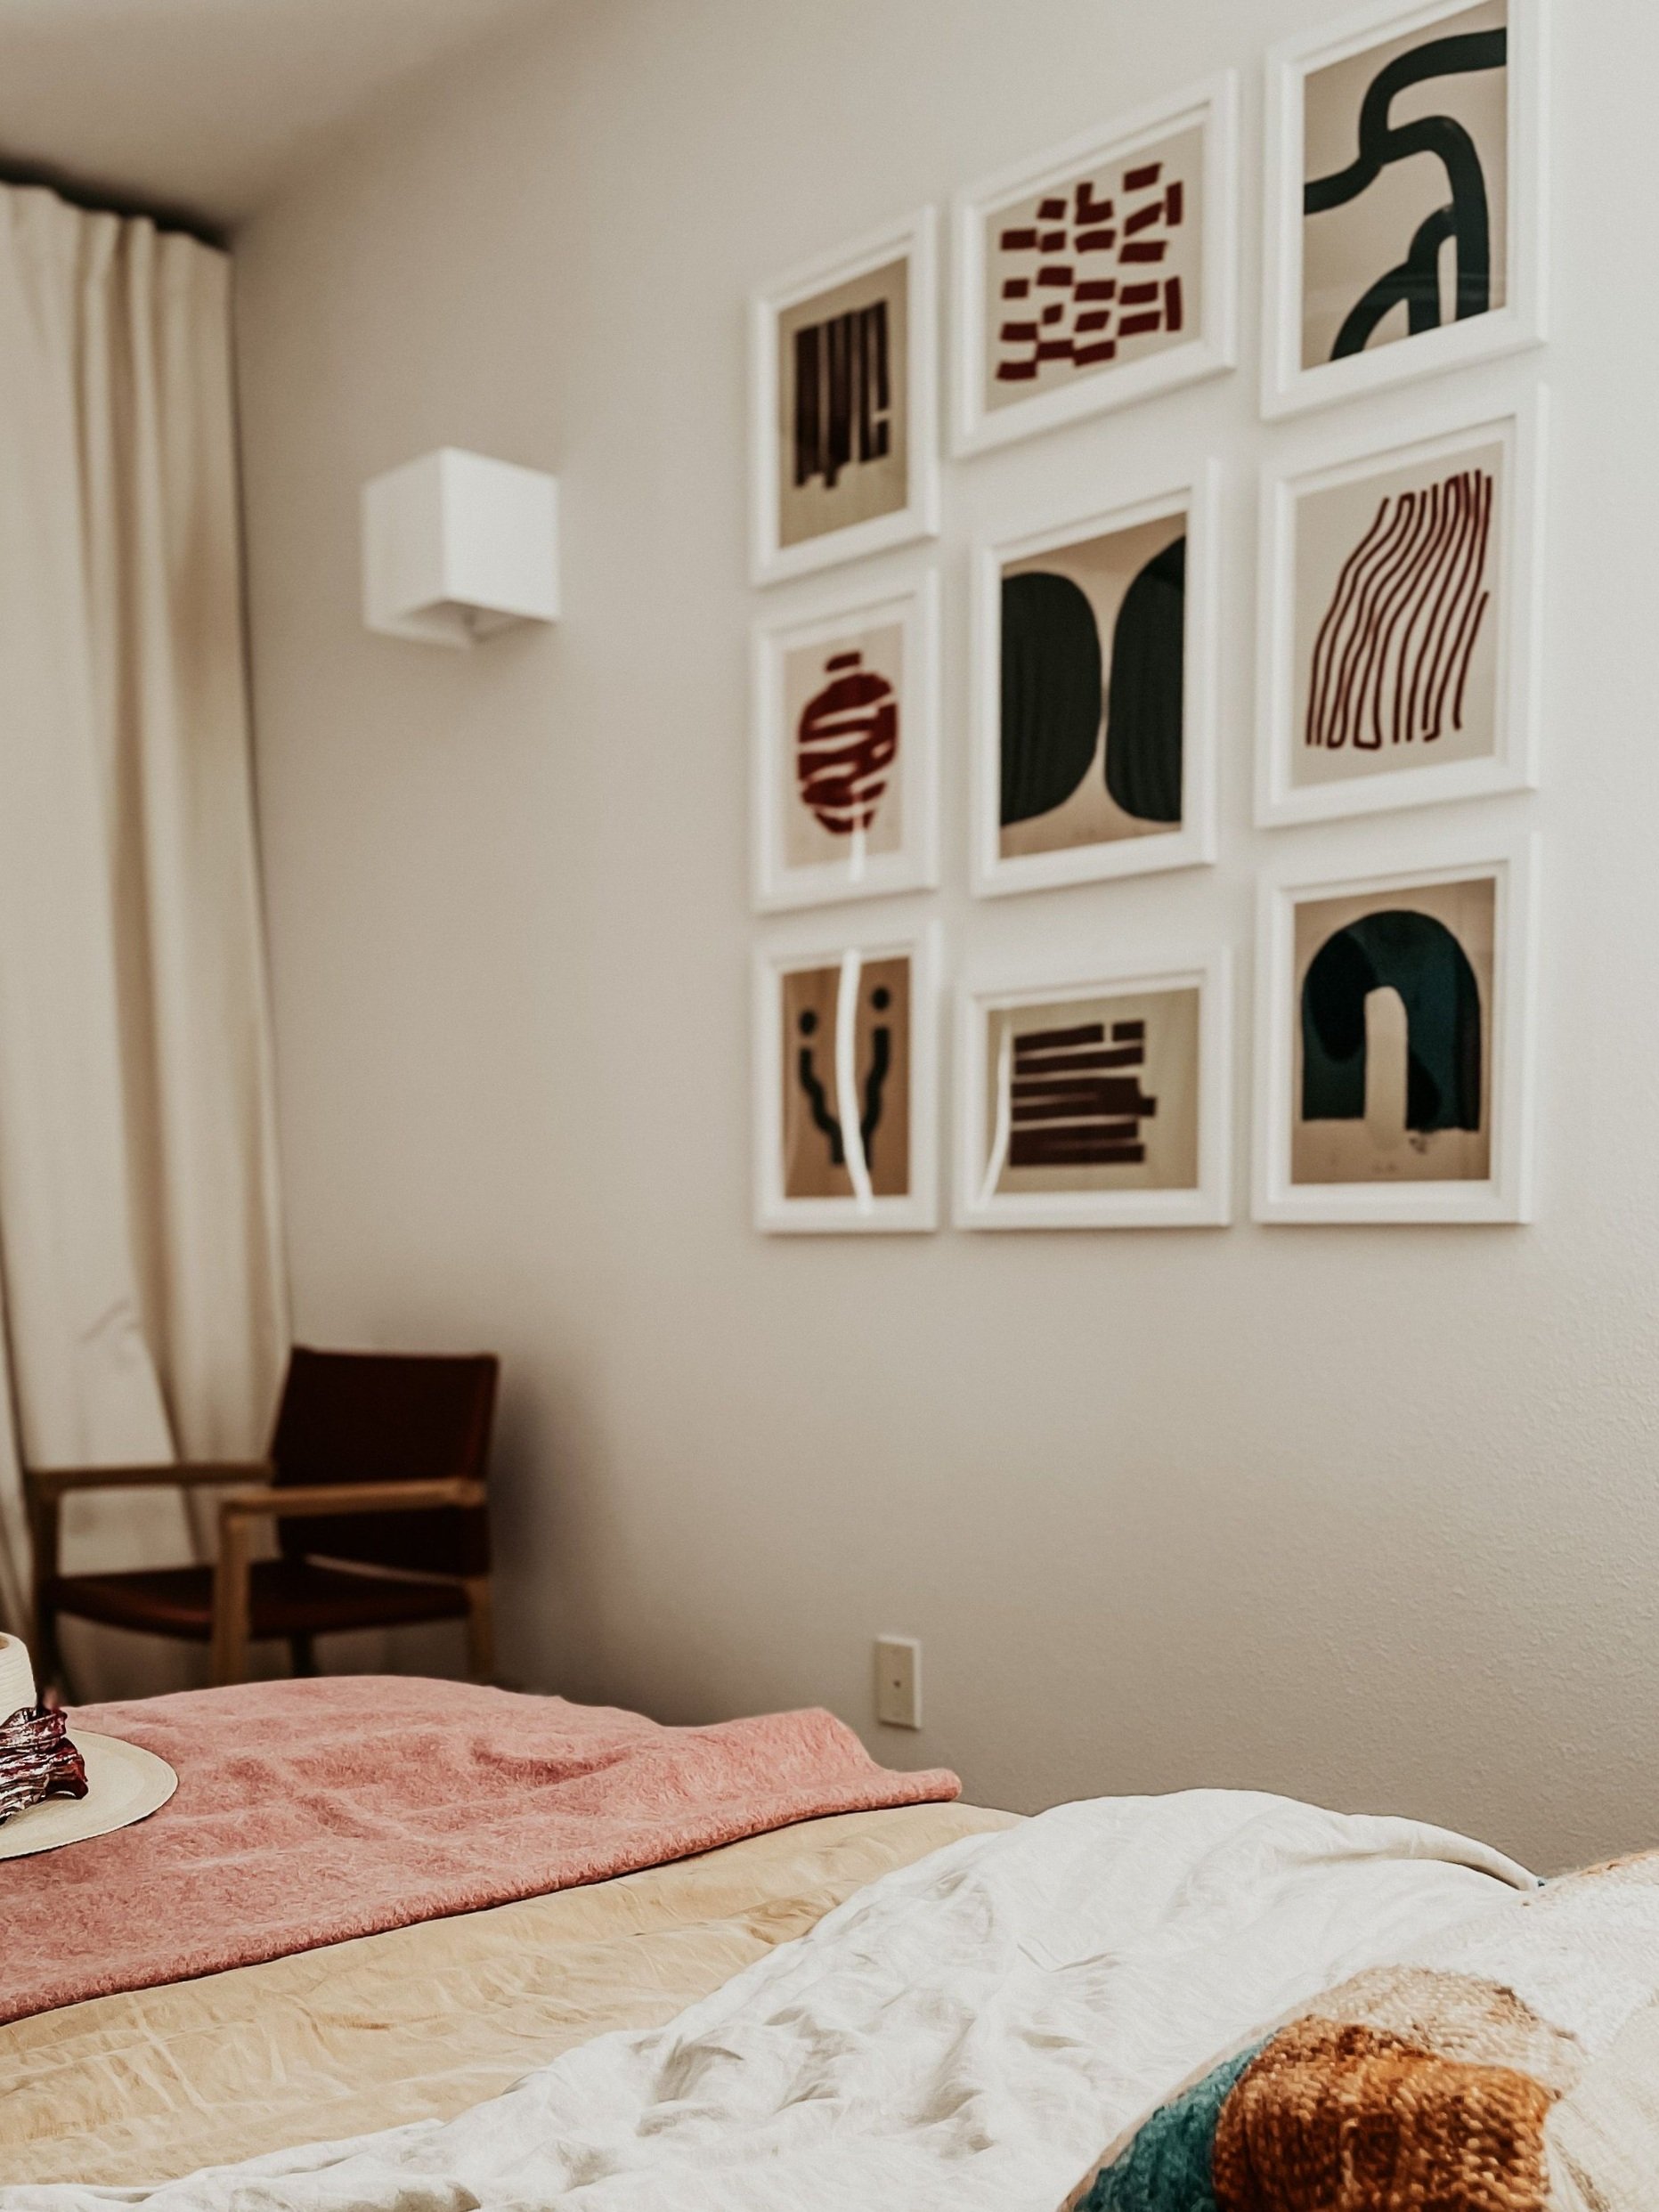
We usually aim for spacing of about 2-3” between frames when hanging a gallery wall because if there’s more space than that, the collection starts to feel disjointed and does not look deliberate! Try out different spacings while you have your arrangement on the bed or floor to see what looks best to you. Or sketch again! You can even use painters tape and actually create a mock grid-gallery wall too!
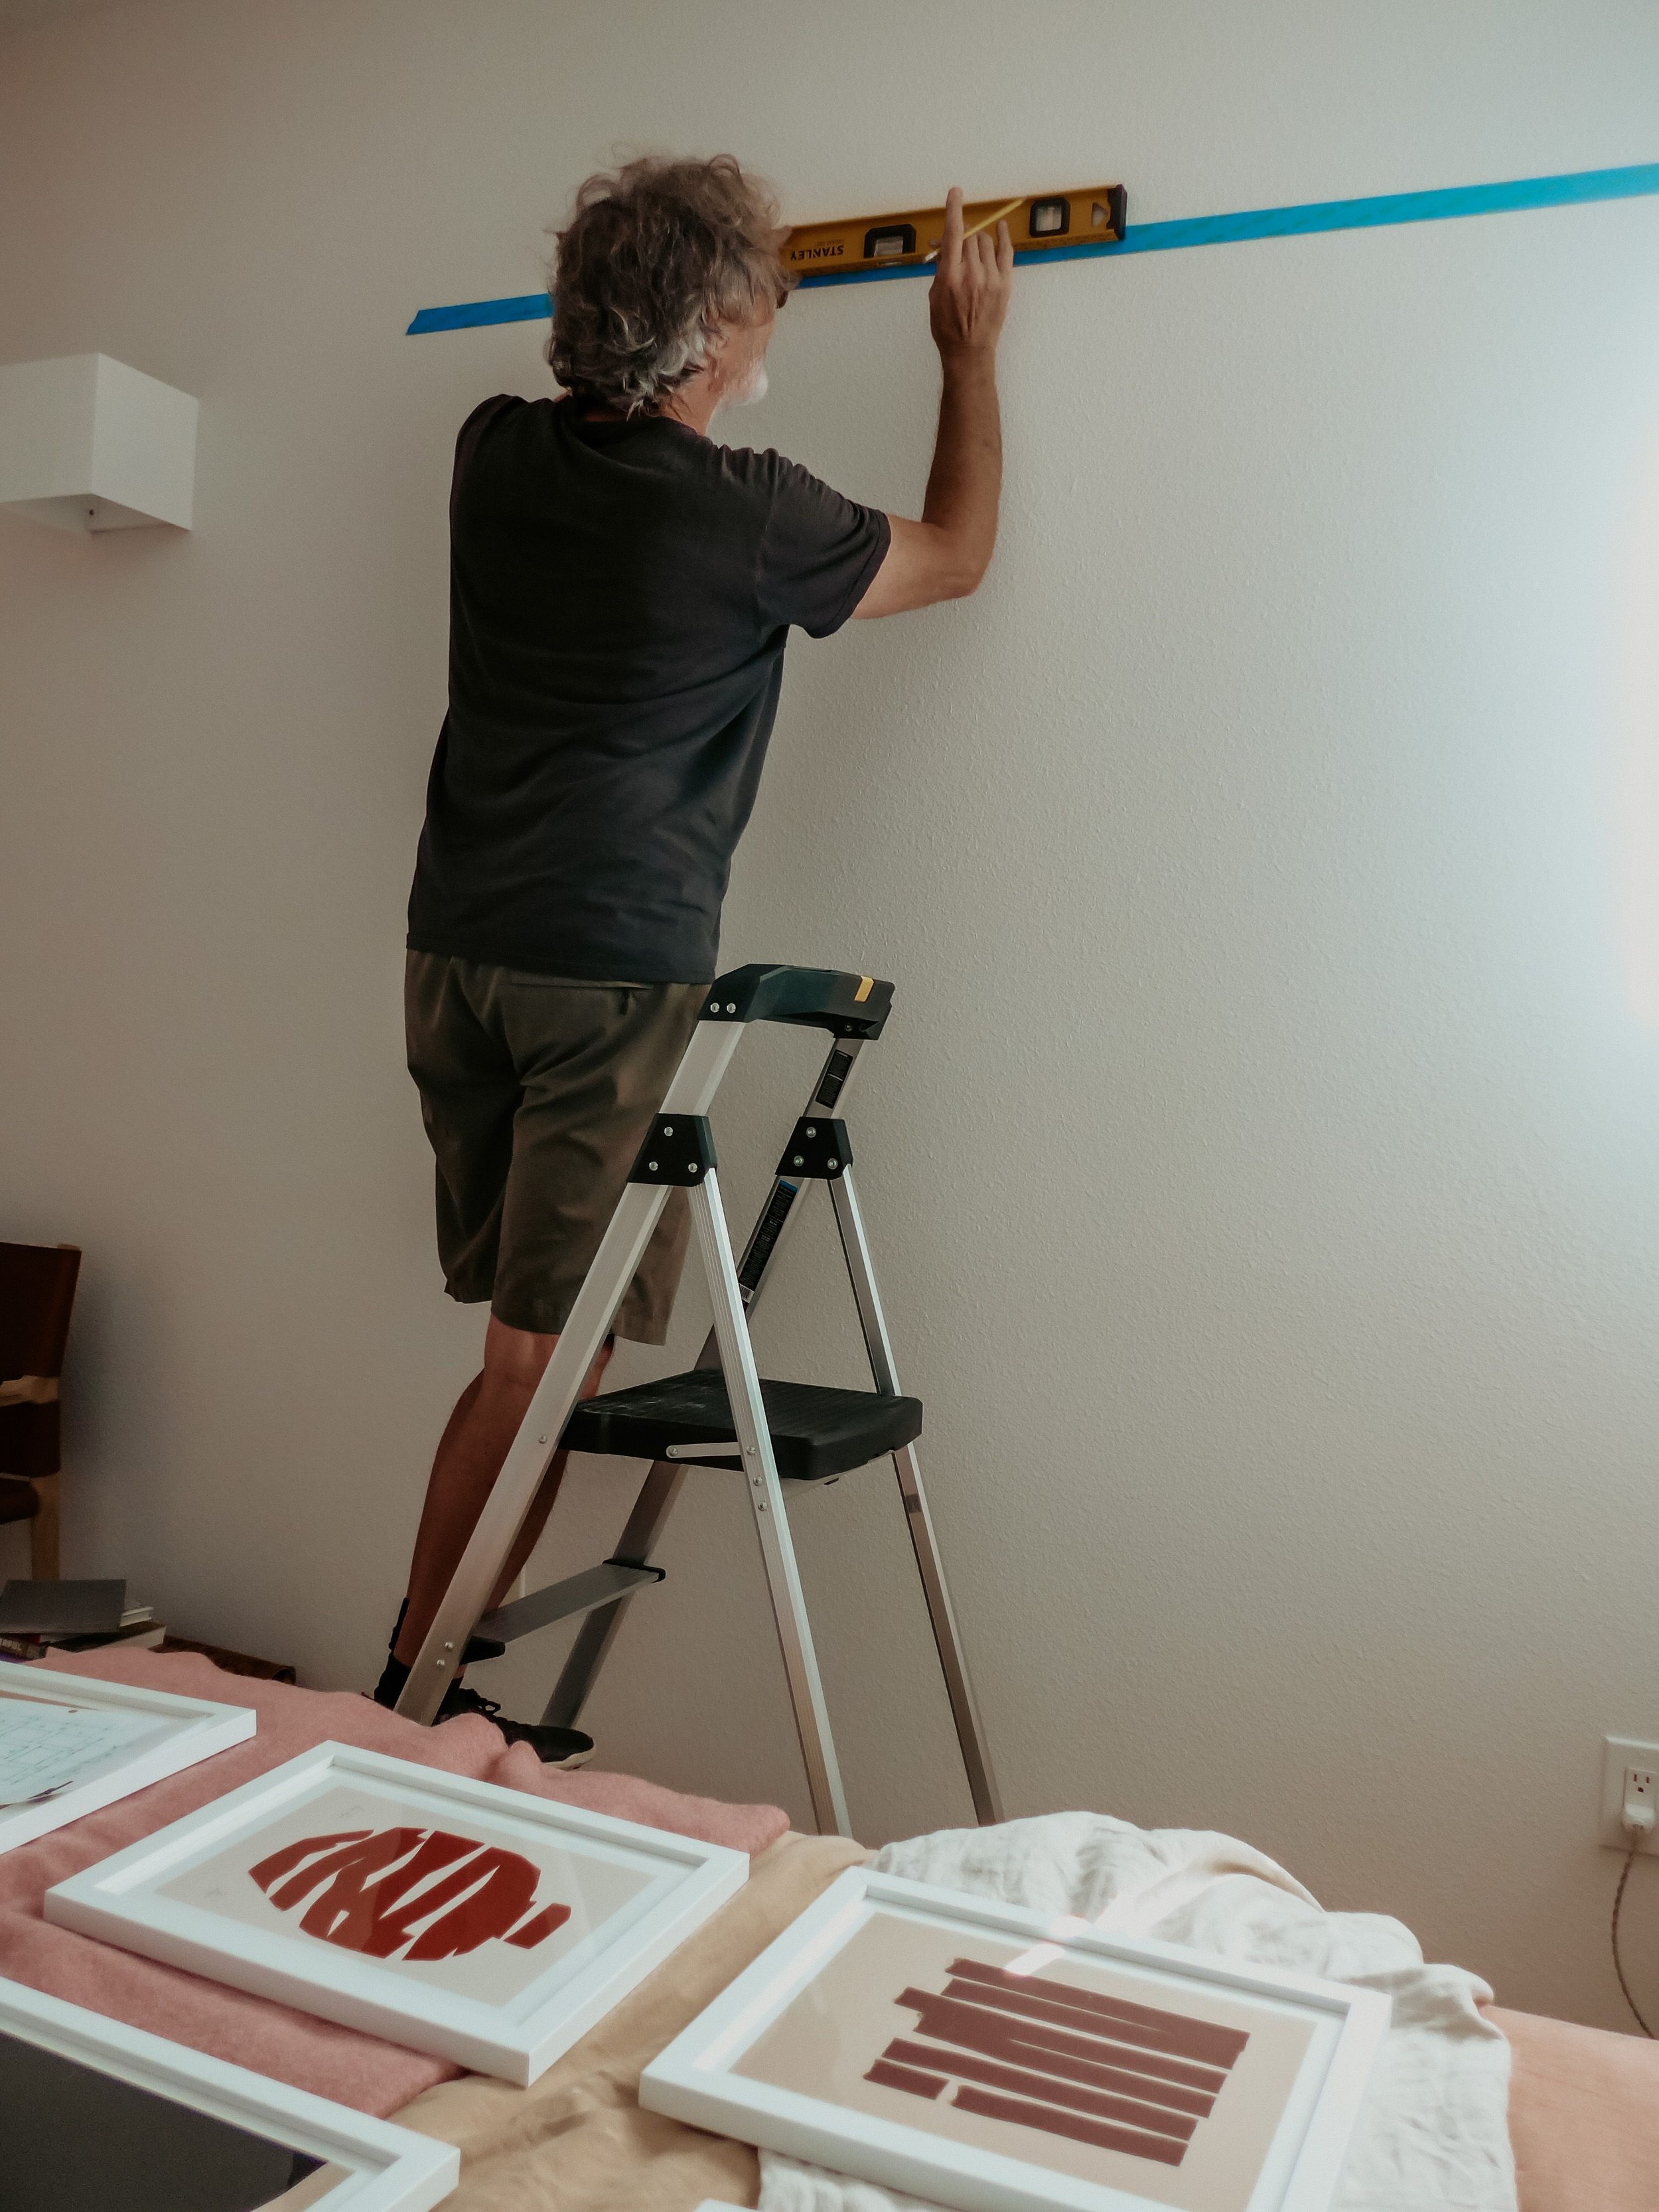
The trick to hanging a grid gallery wall right the first time is finding the location of your first nail, then using a little math to map out the location of the rest.
If hanging on an empty wall:
First, measure horizontally to find the center of the wall space you are hanging the art and make a small pencil mark.
In line with that first mark, measure 60” up from the floor and make a second mark that will note the center point of your frame grid.
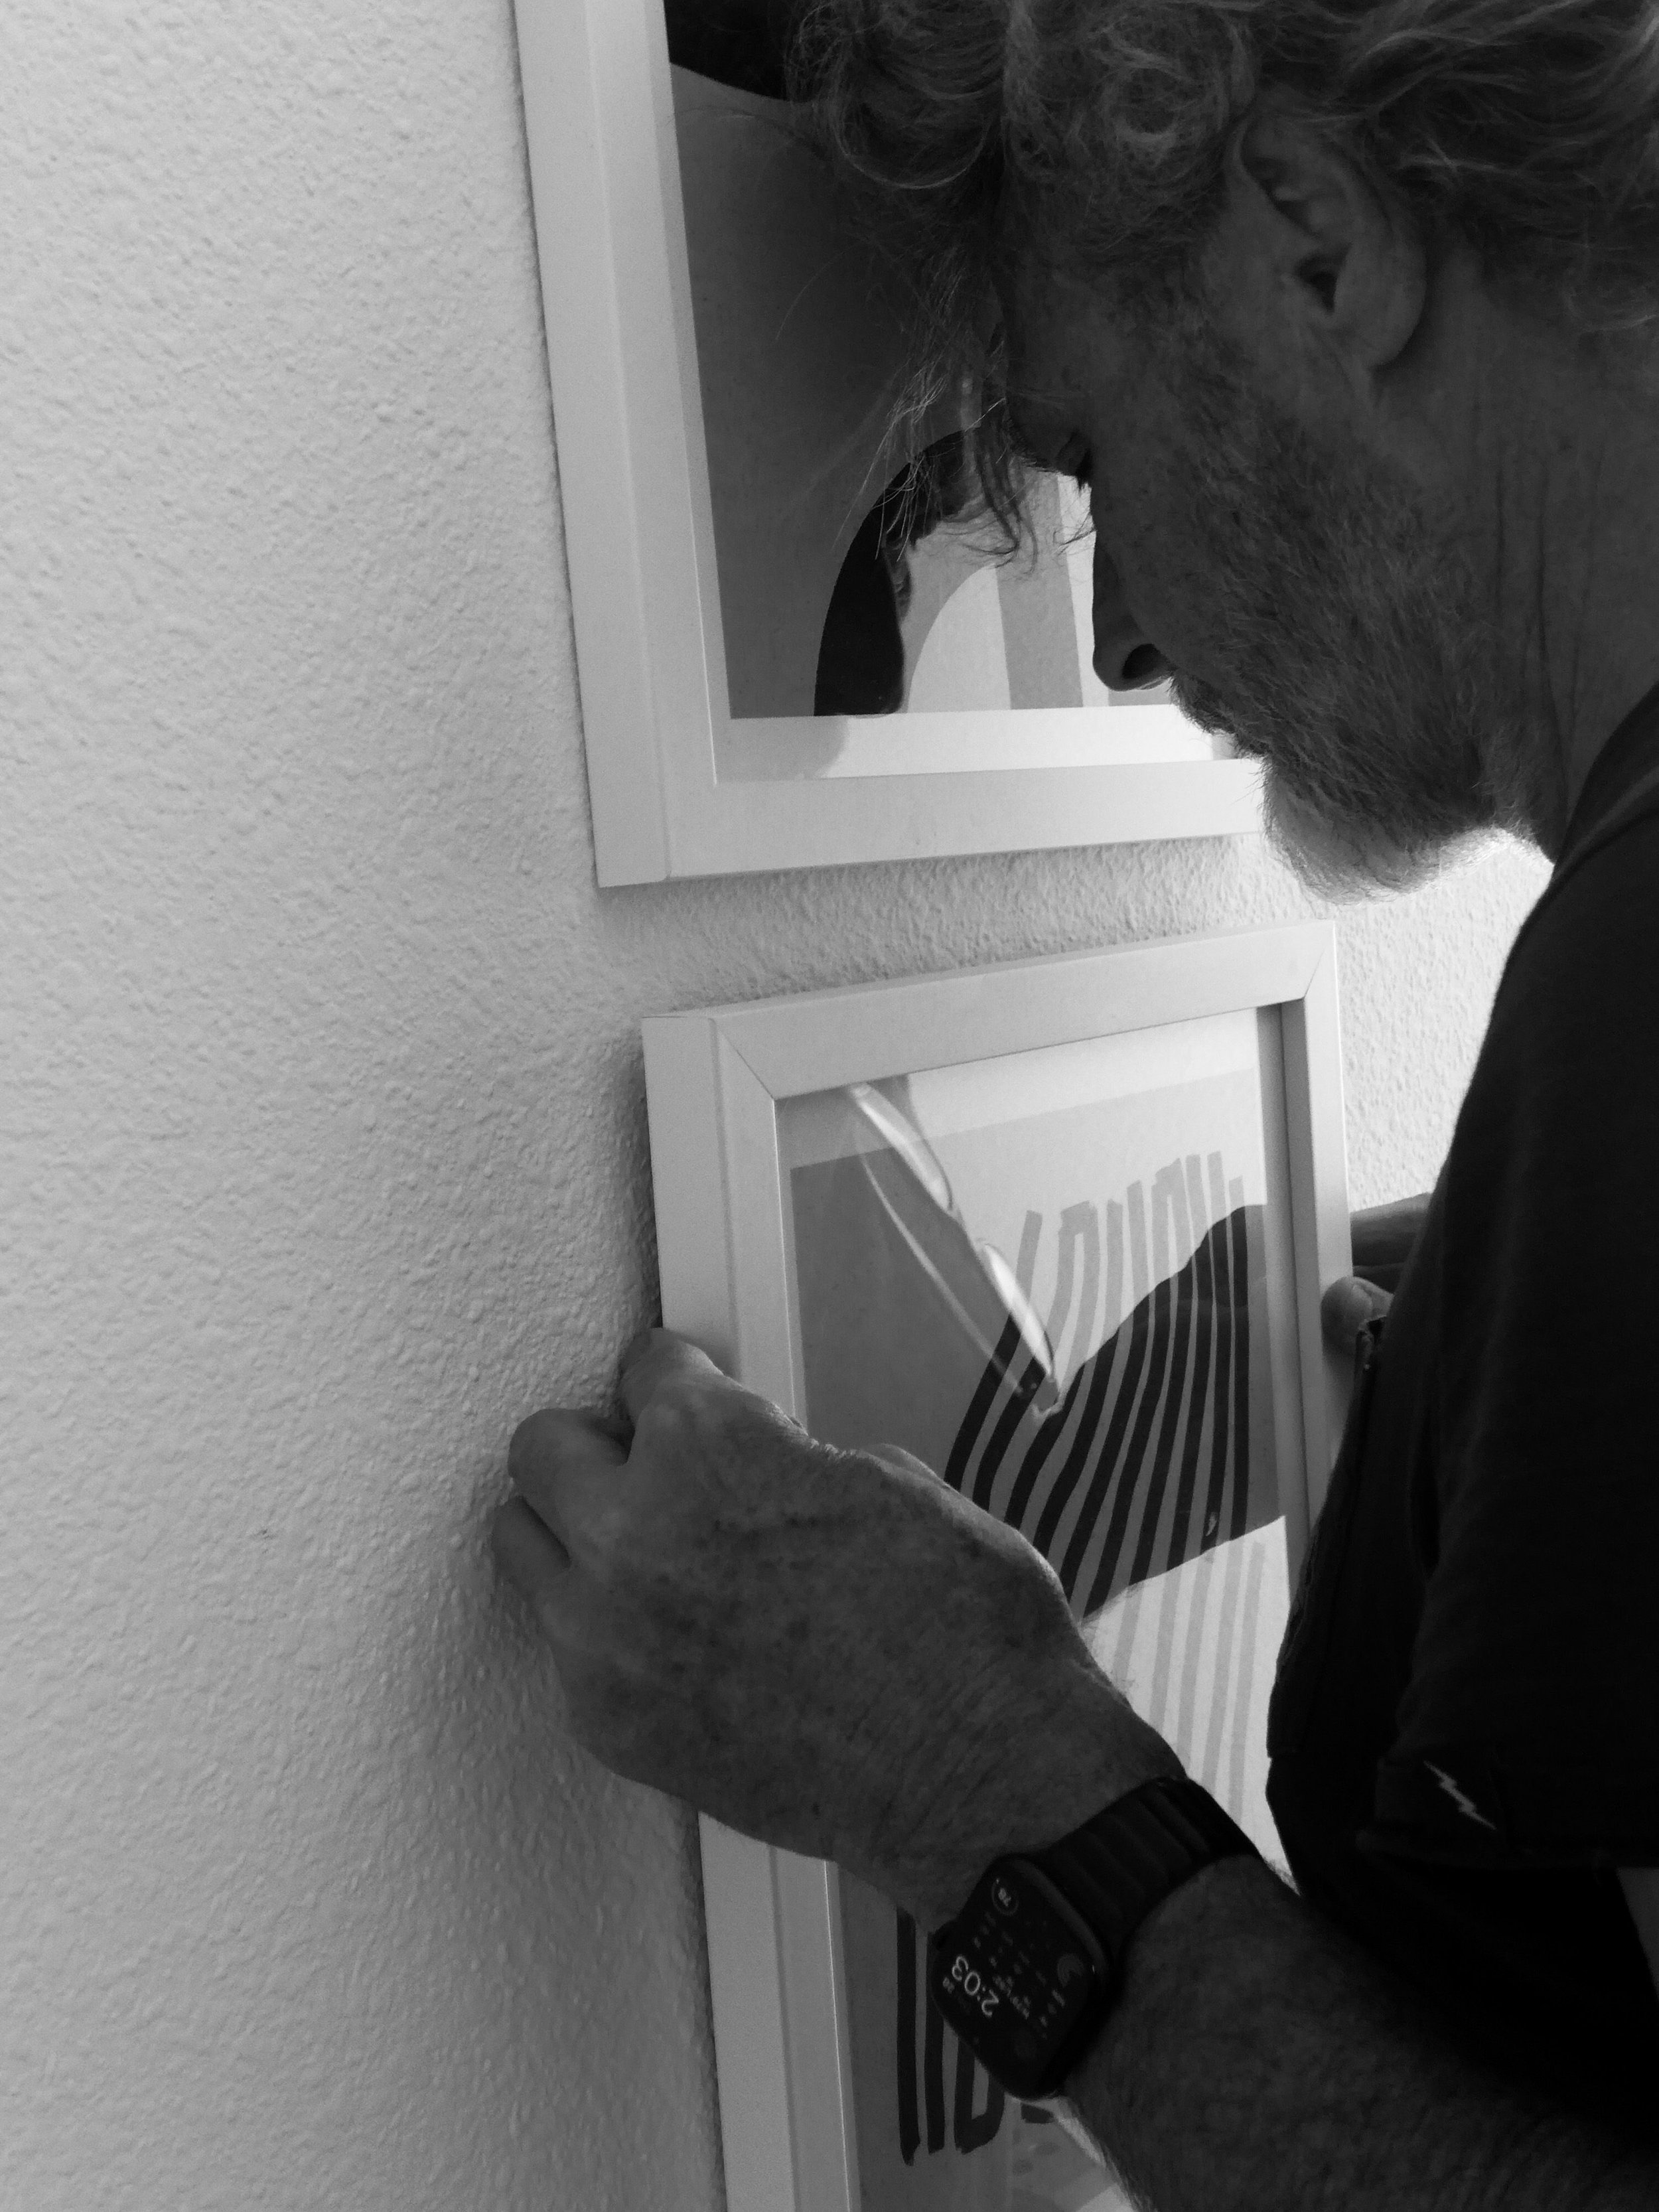
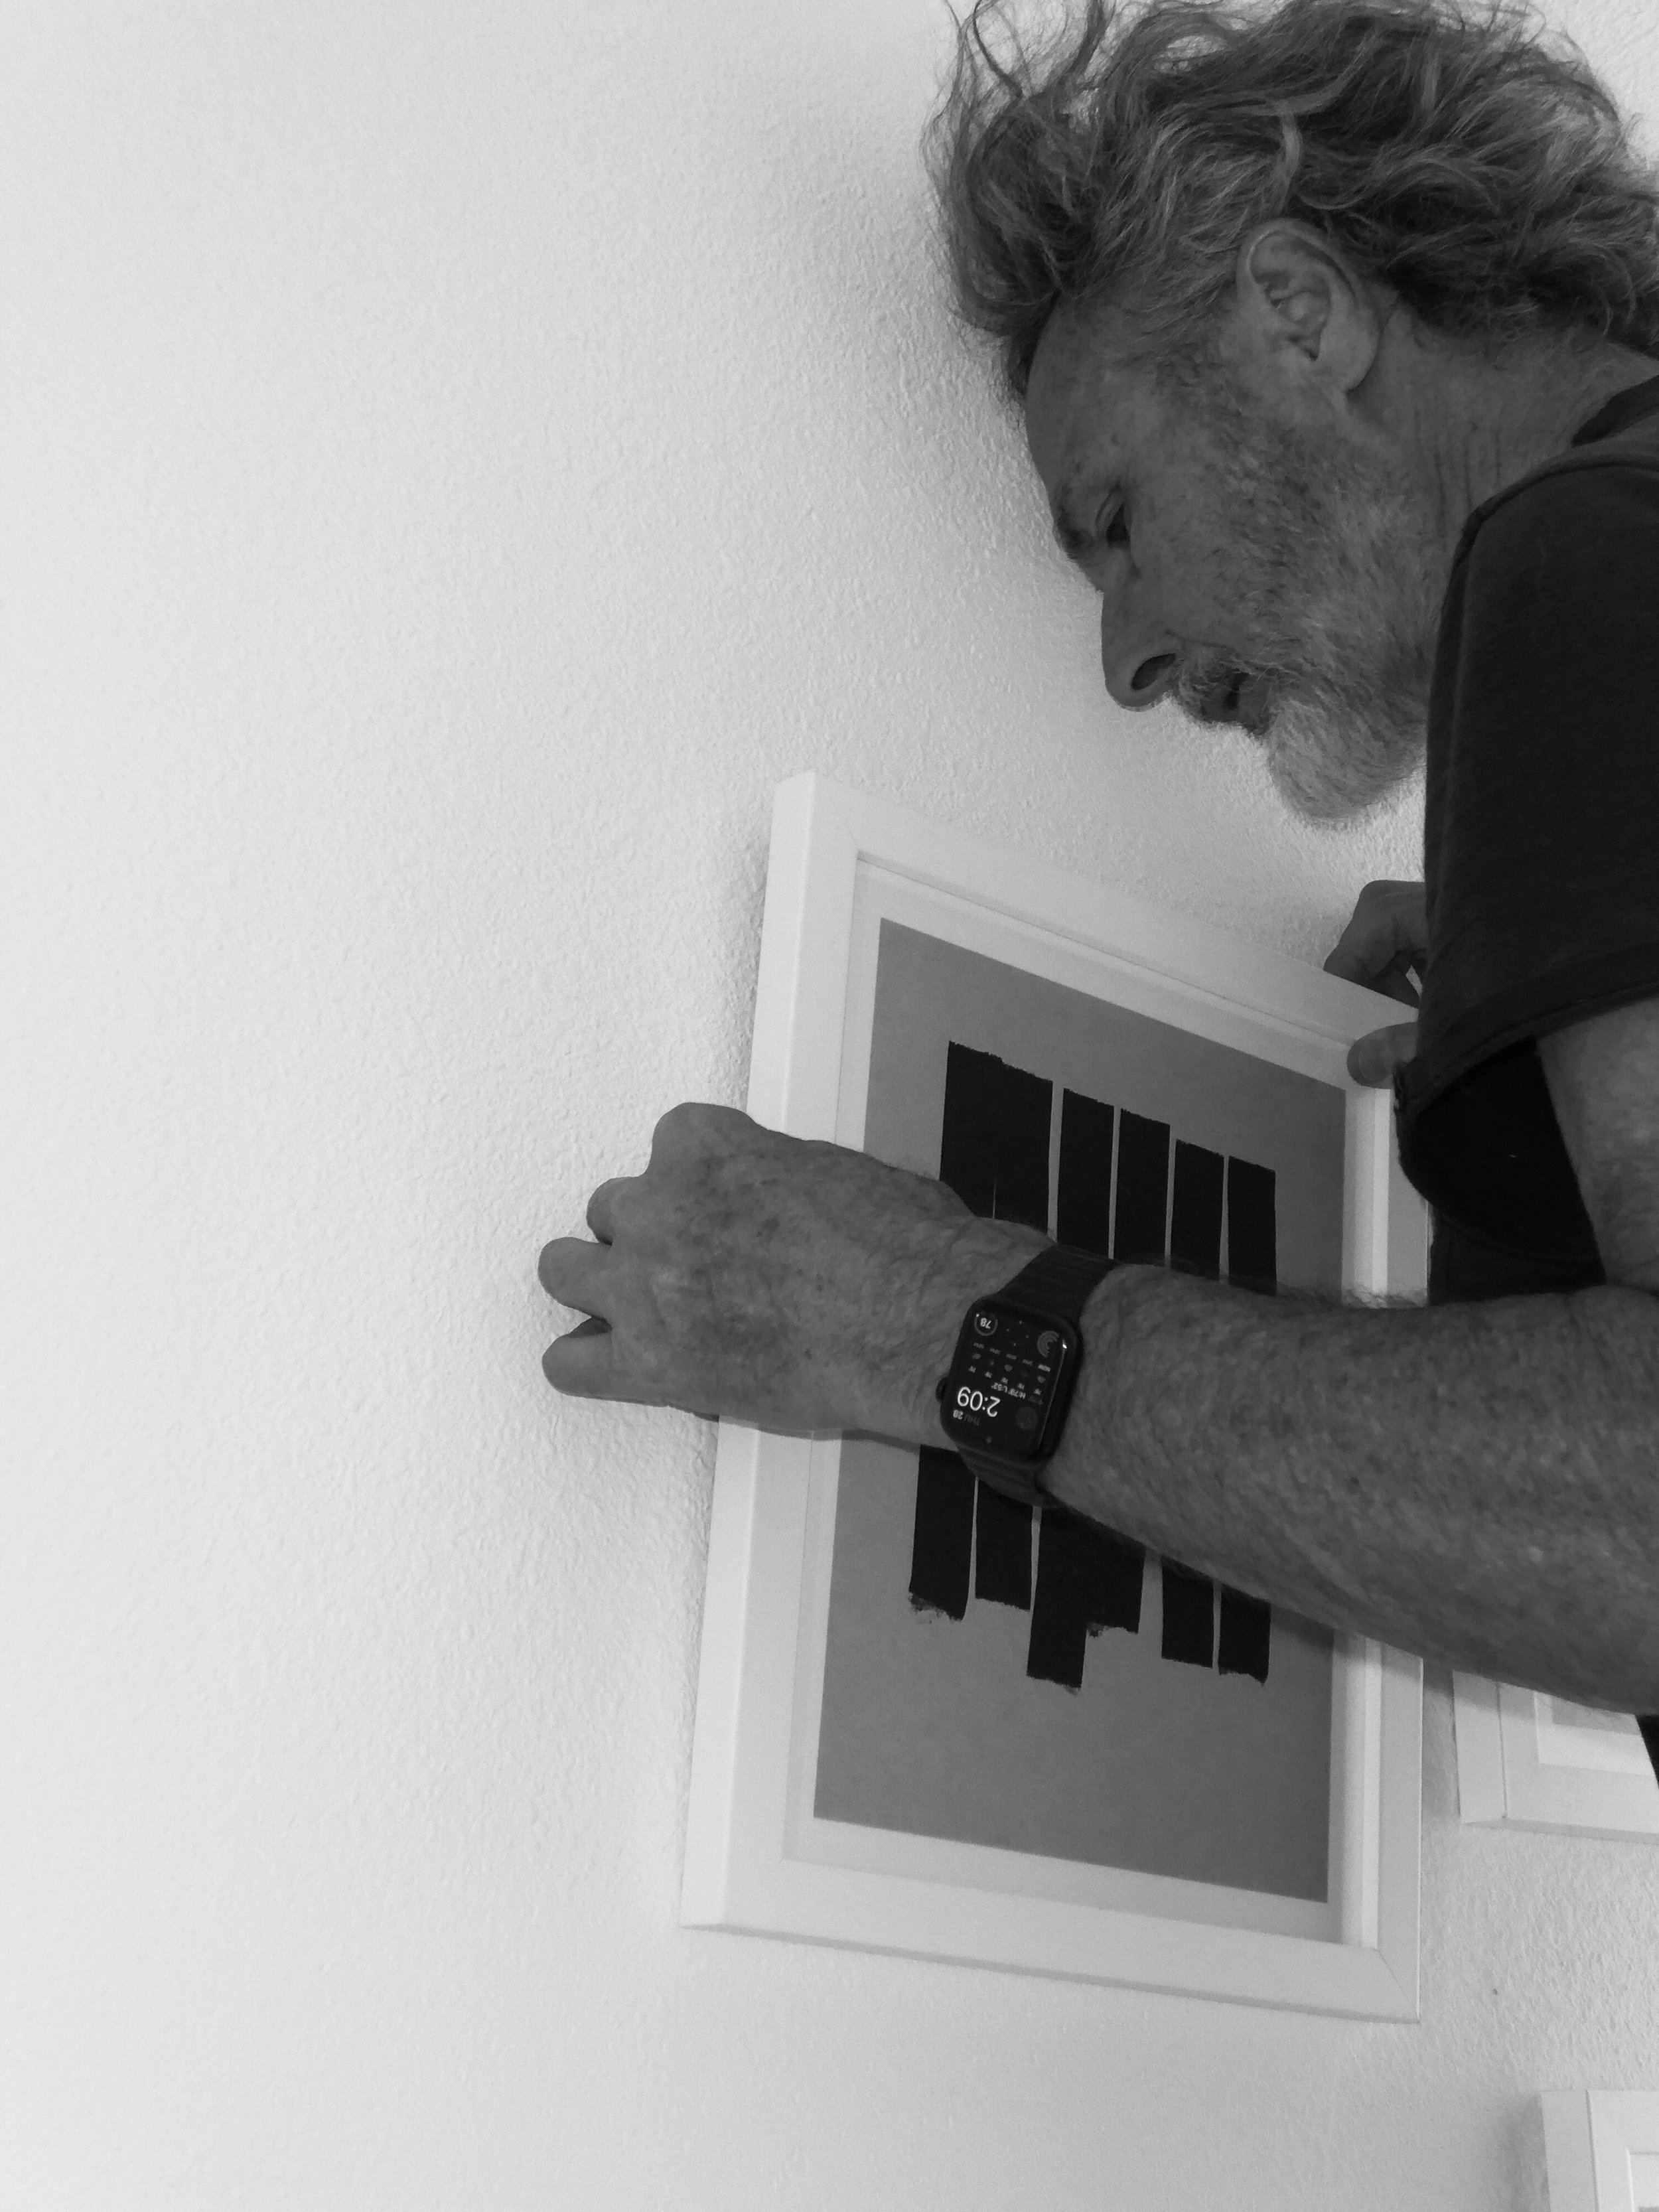
Now, hold up your central picture frame and line up the middle center of the frame with the center point mark on your wall. Use a pencil to make a small line across the top of the frame.
Flip your frame over and measure from the top edge of your frame down to the hanging hardware. If it’s a triangular hook, measure to the inside tip of the point. If your frame has a wire across the back, pull it taut towards the top of the frame to measure.
Now measure down that distance from where you marked the top of the frame and make a mark. This is where you’ll place your first nail.
From here, it gets simpler! To find the placement for the rest of the nails in that first row, calculate the following:
Your desired distance between frames + 1/2 of the width of each frame
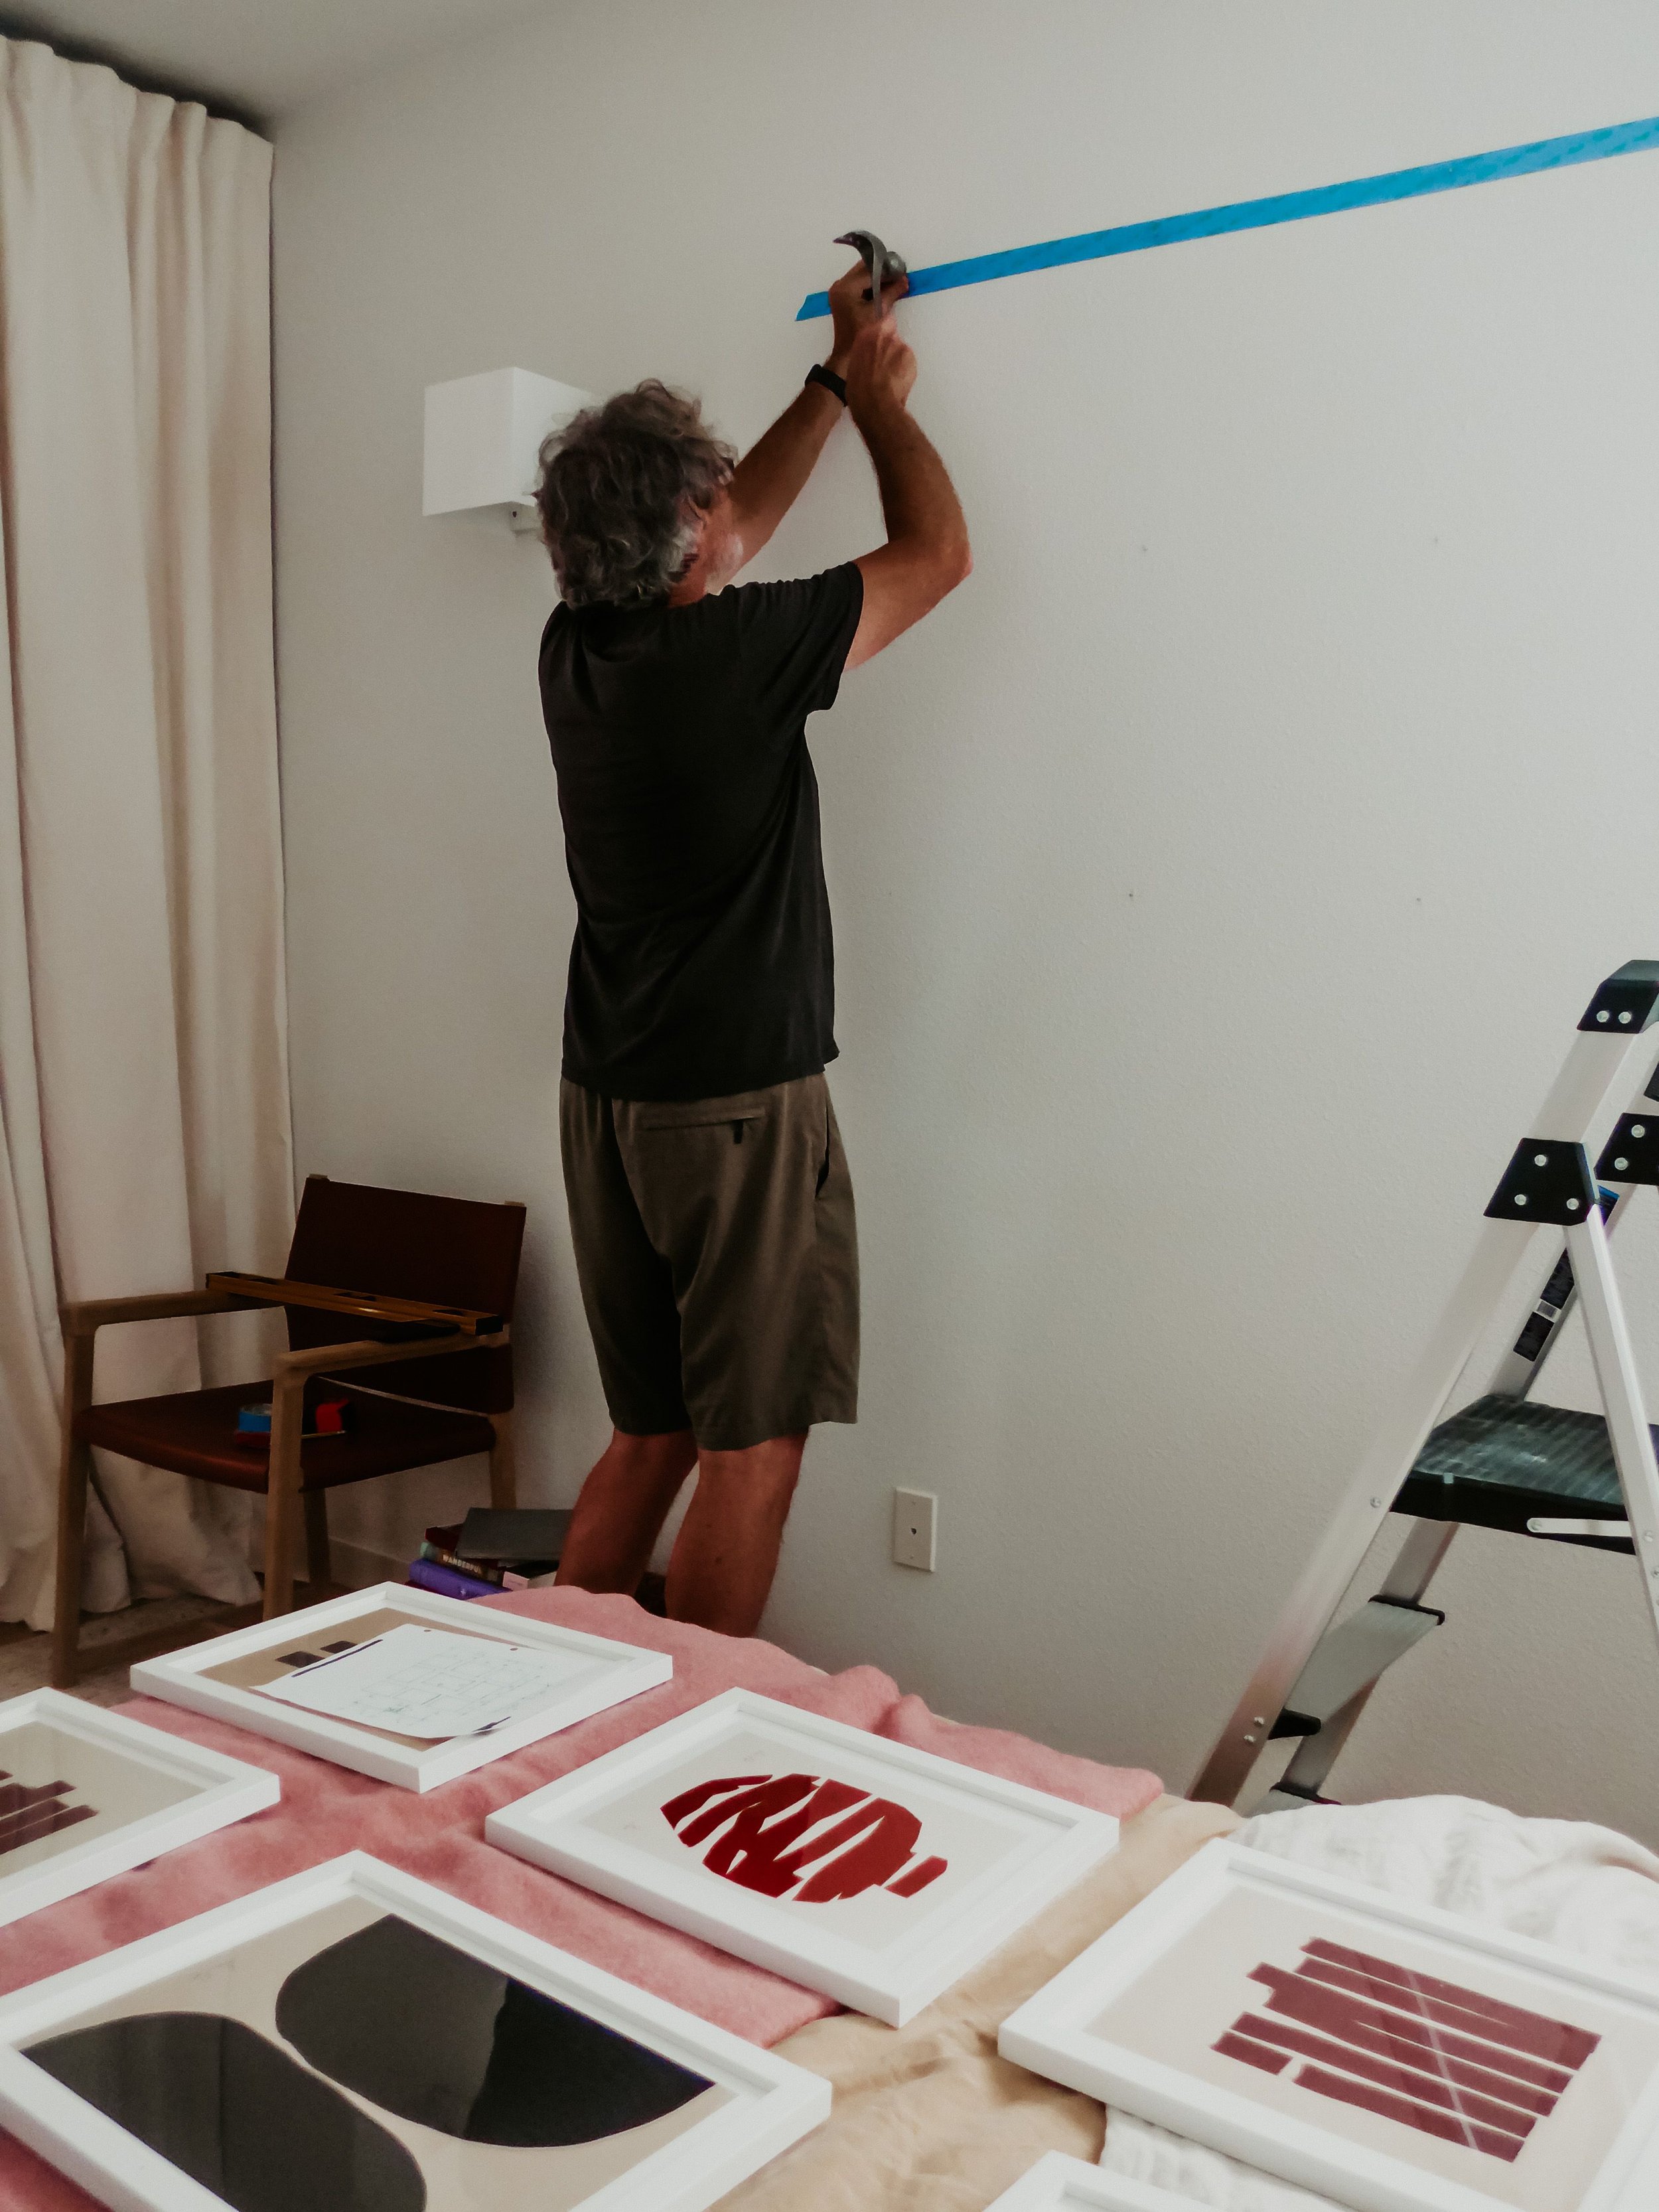
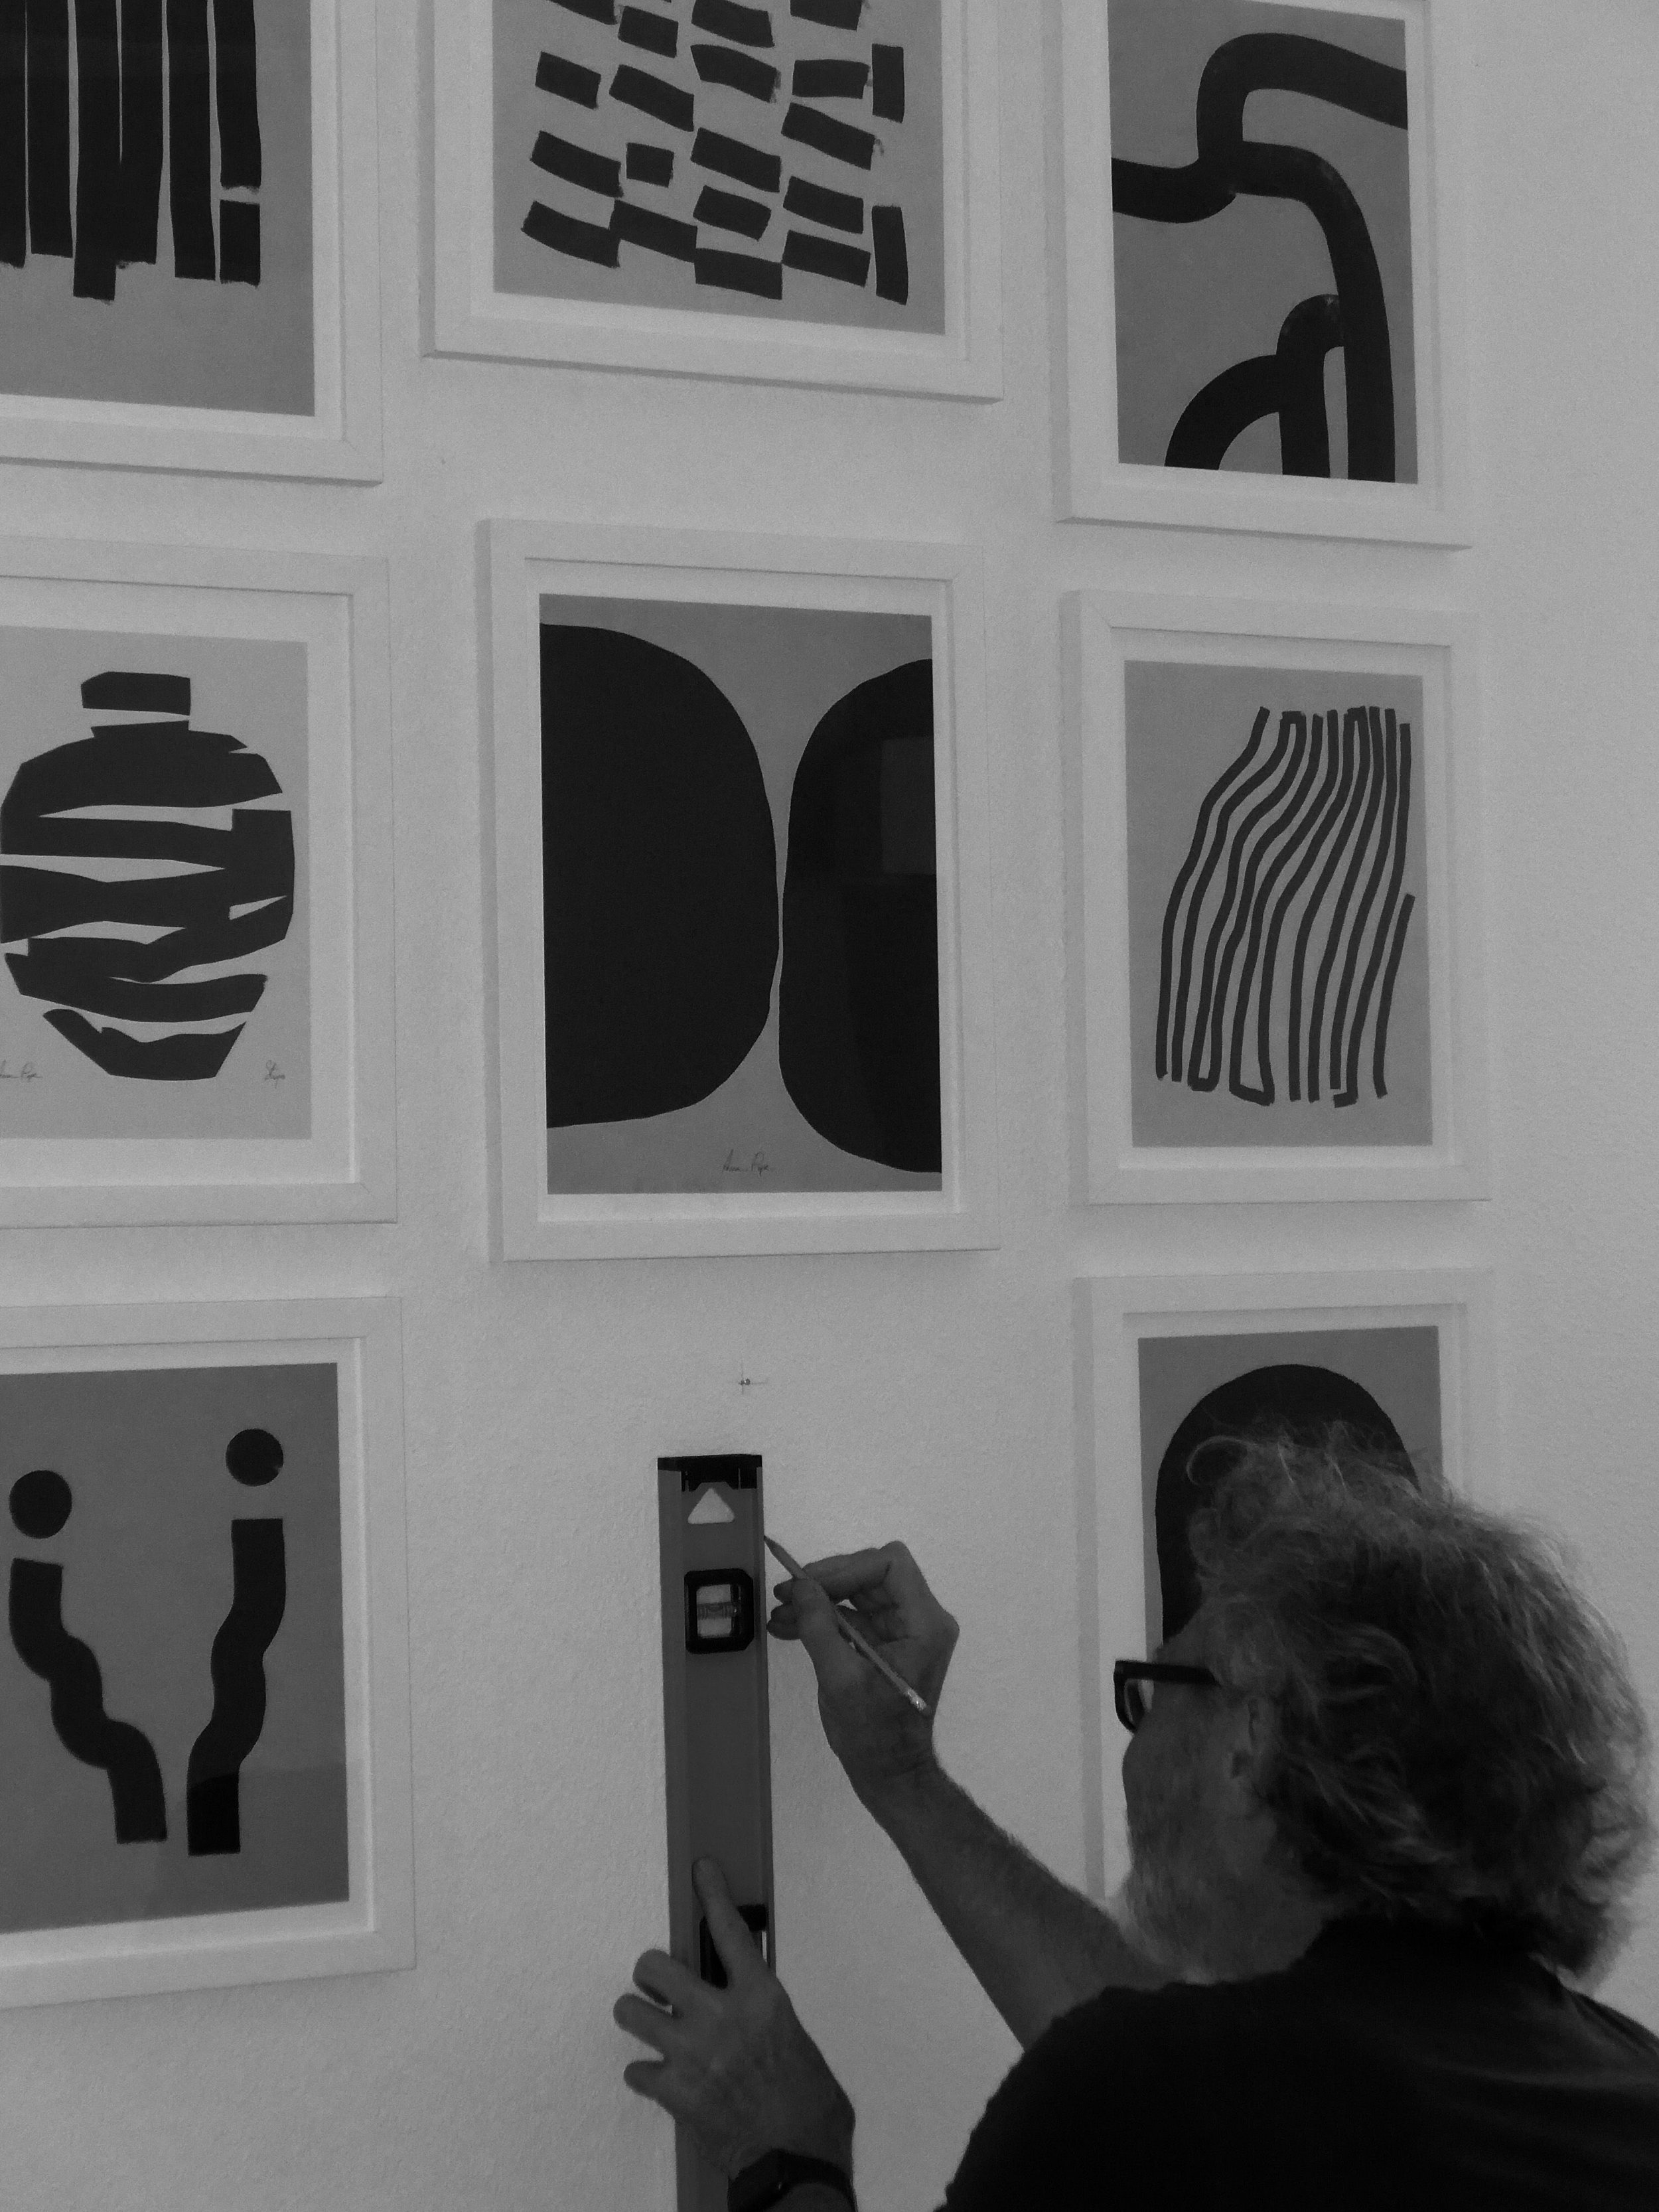
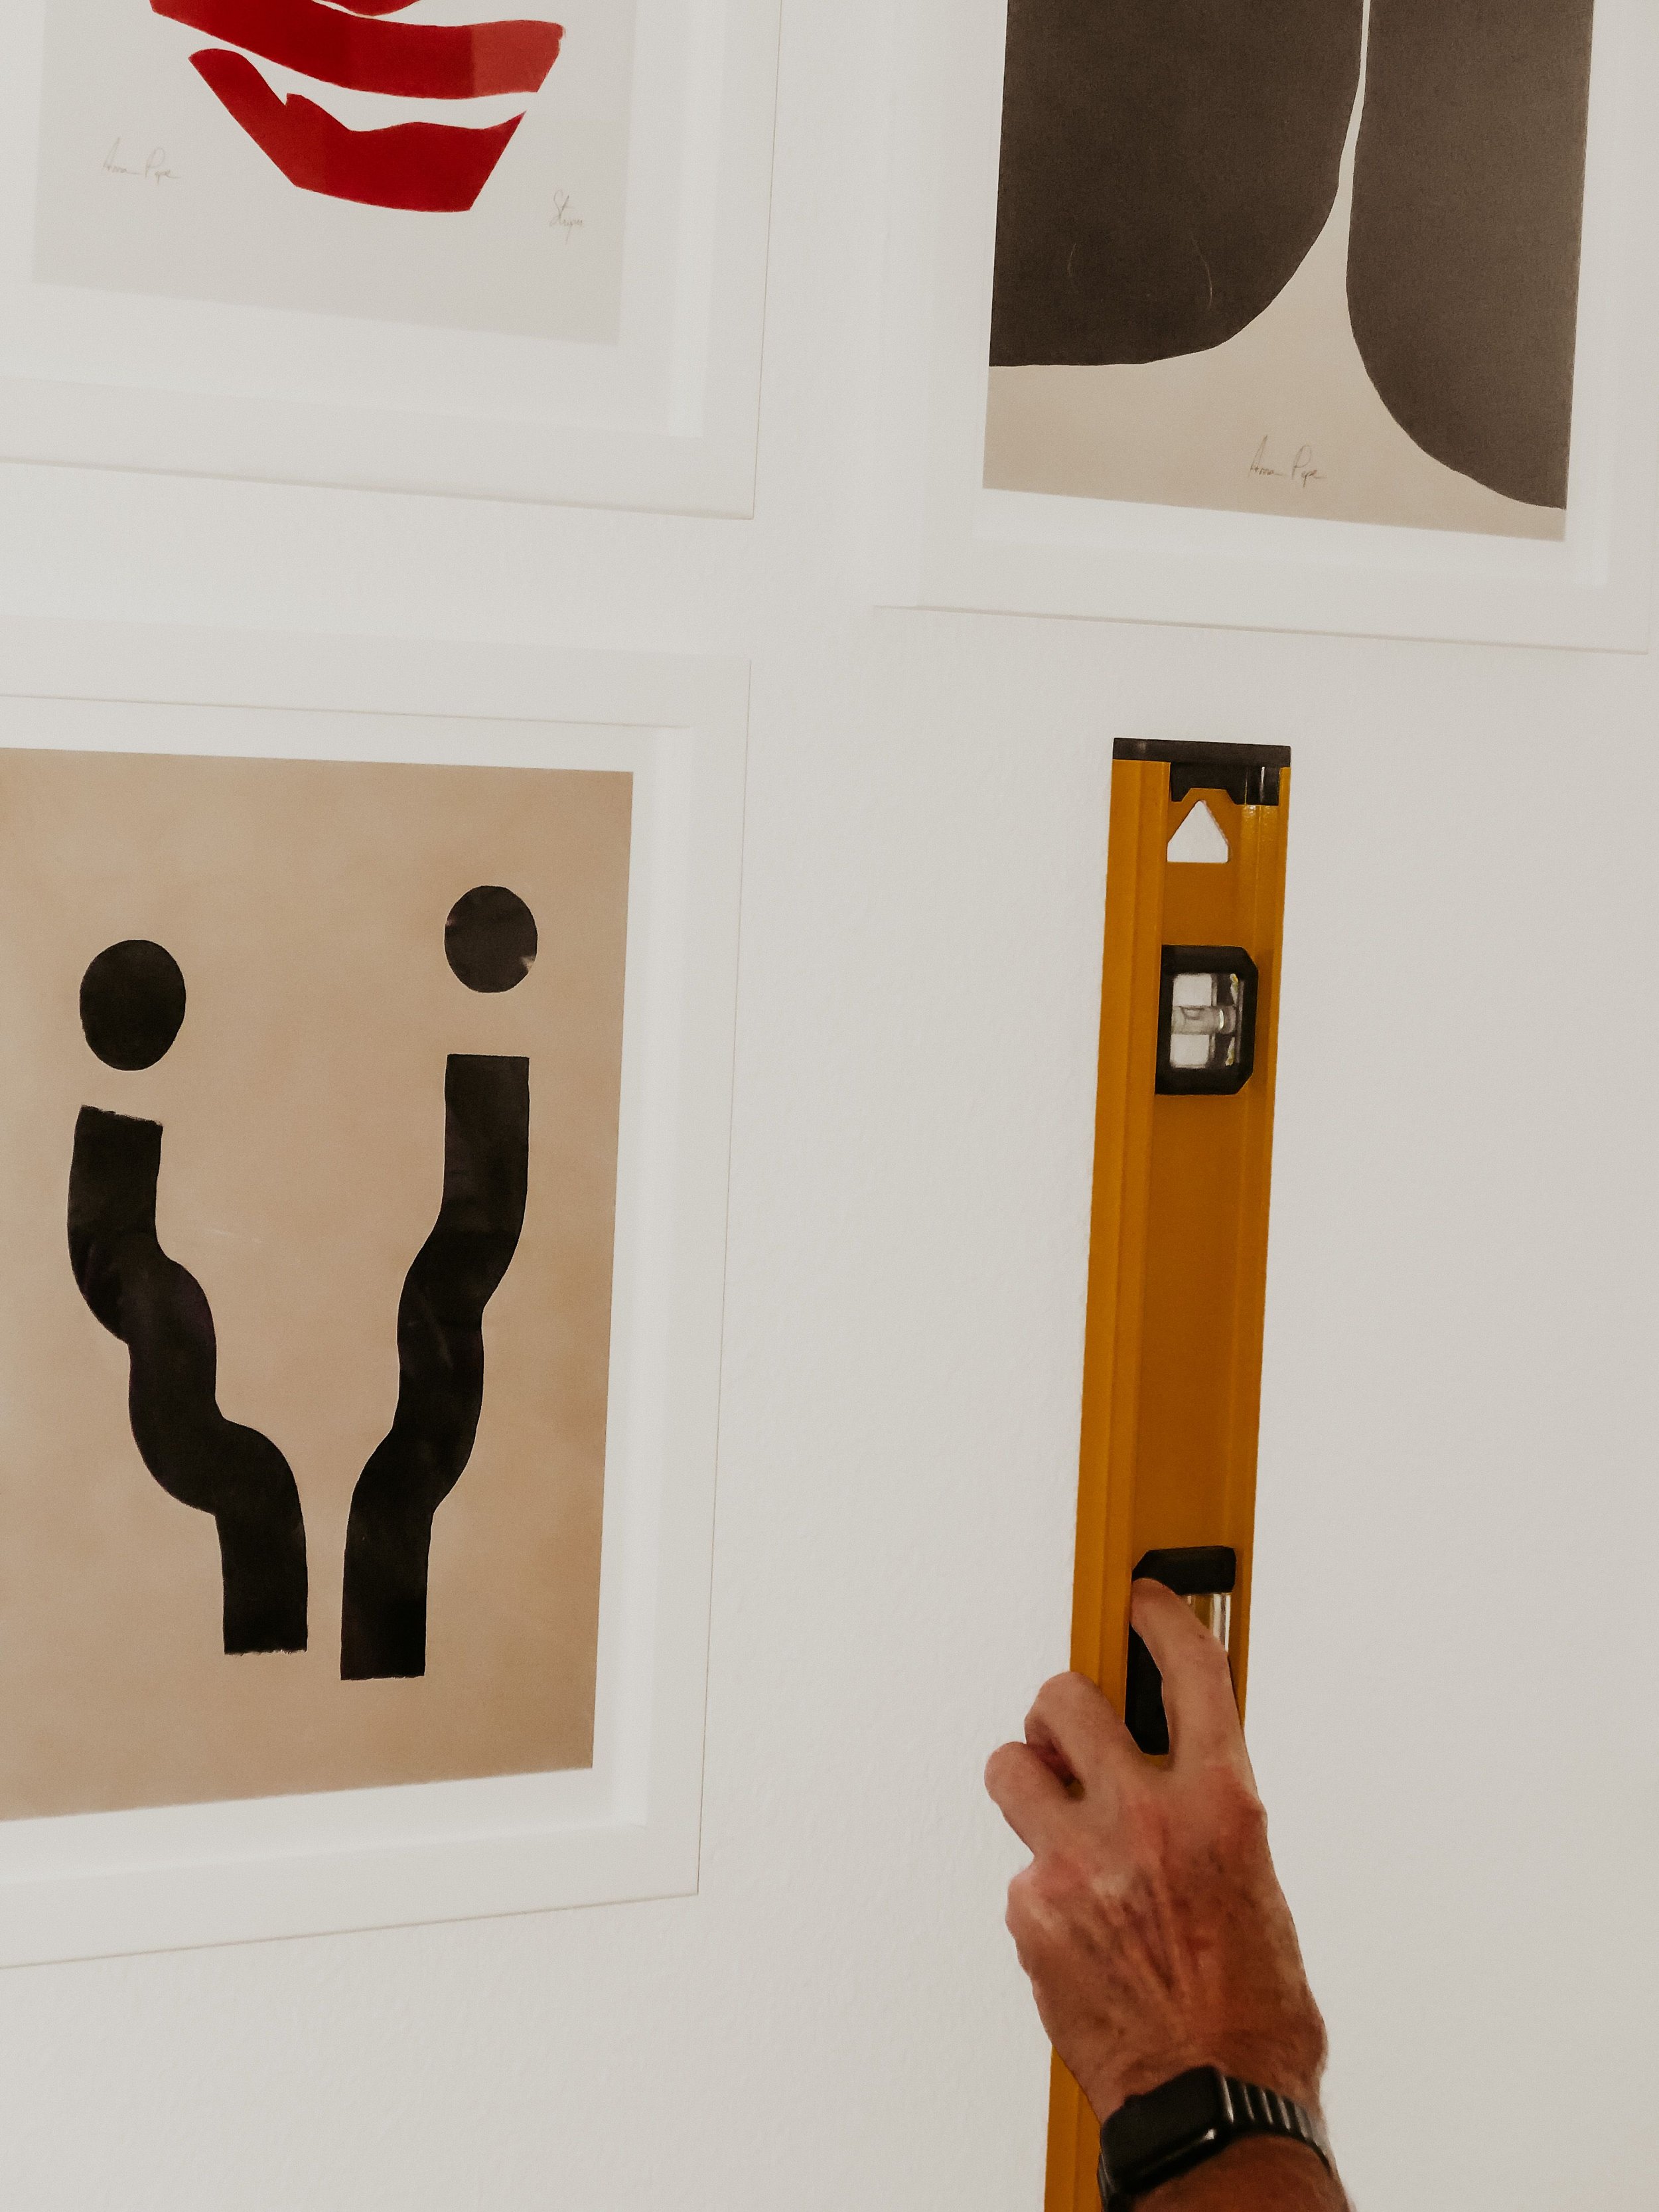
Use your level to measure that calculated distance to the right and left side of your first nail and make a mark. Hammer in your nails and your first row is complete! Now that you have one row set, you can use the location of these nails as a basis for mapping out the rest.
To find the placement for the nails in the row above and below (or just above, if you are following the steps for hanging above a piece of furniture), do this calculation:
Your desired distance between frames + the height of each frame
Use your level to measure that calculated distance above or below your first row of nails and mark the nail locations for your other rows. Hammer in your nails and finally, hang your art work.
What if my frames have 2 hooks (one on each side) instead of one in the center?
In this case, follow these same steps but after marking where the centered hook would go, use that point to then measure out the distance between your two hooks. So if your hooks are 12” apart, then you would measure 6” on either side of the center point for your nails.
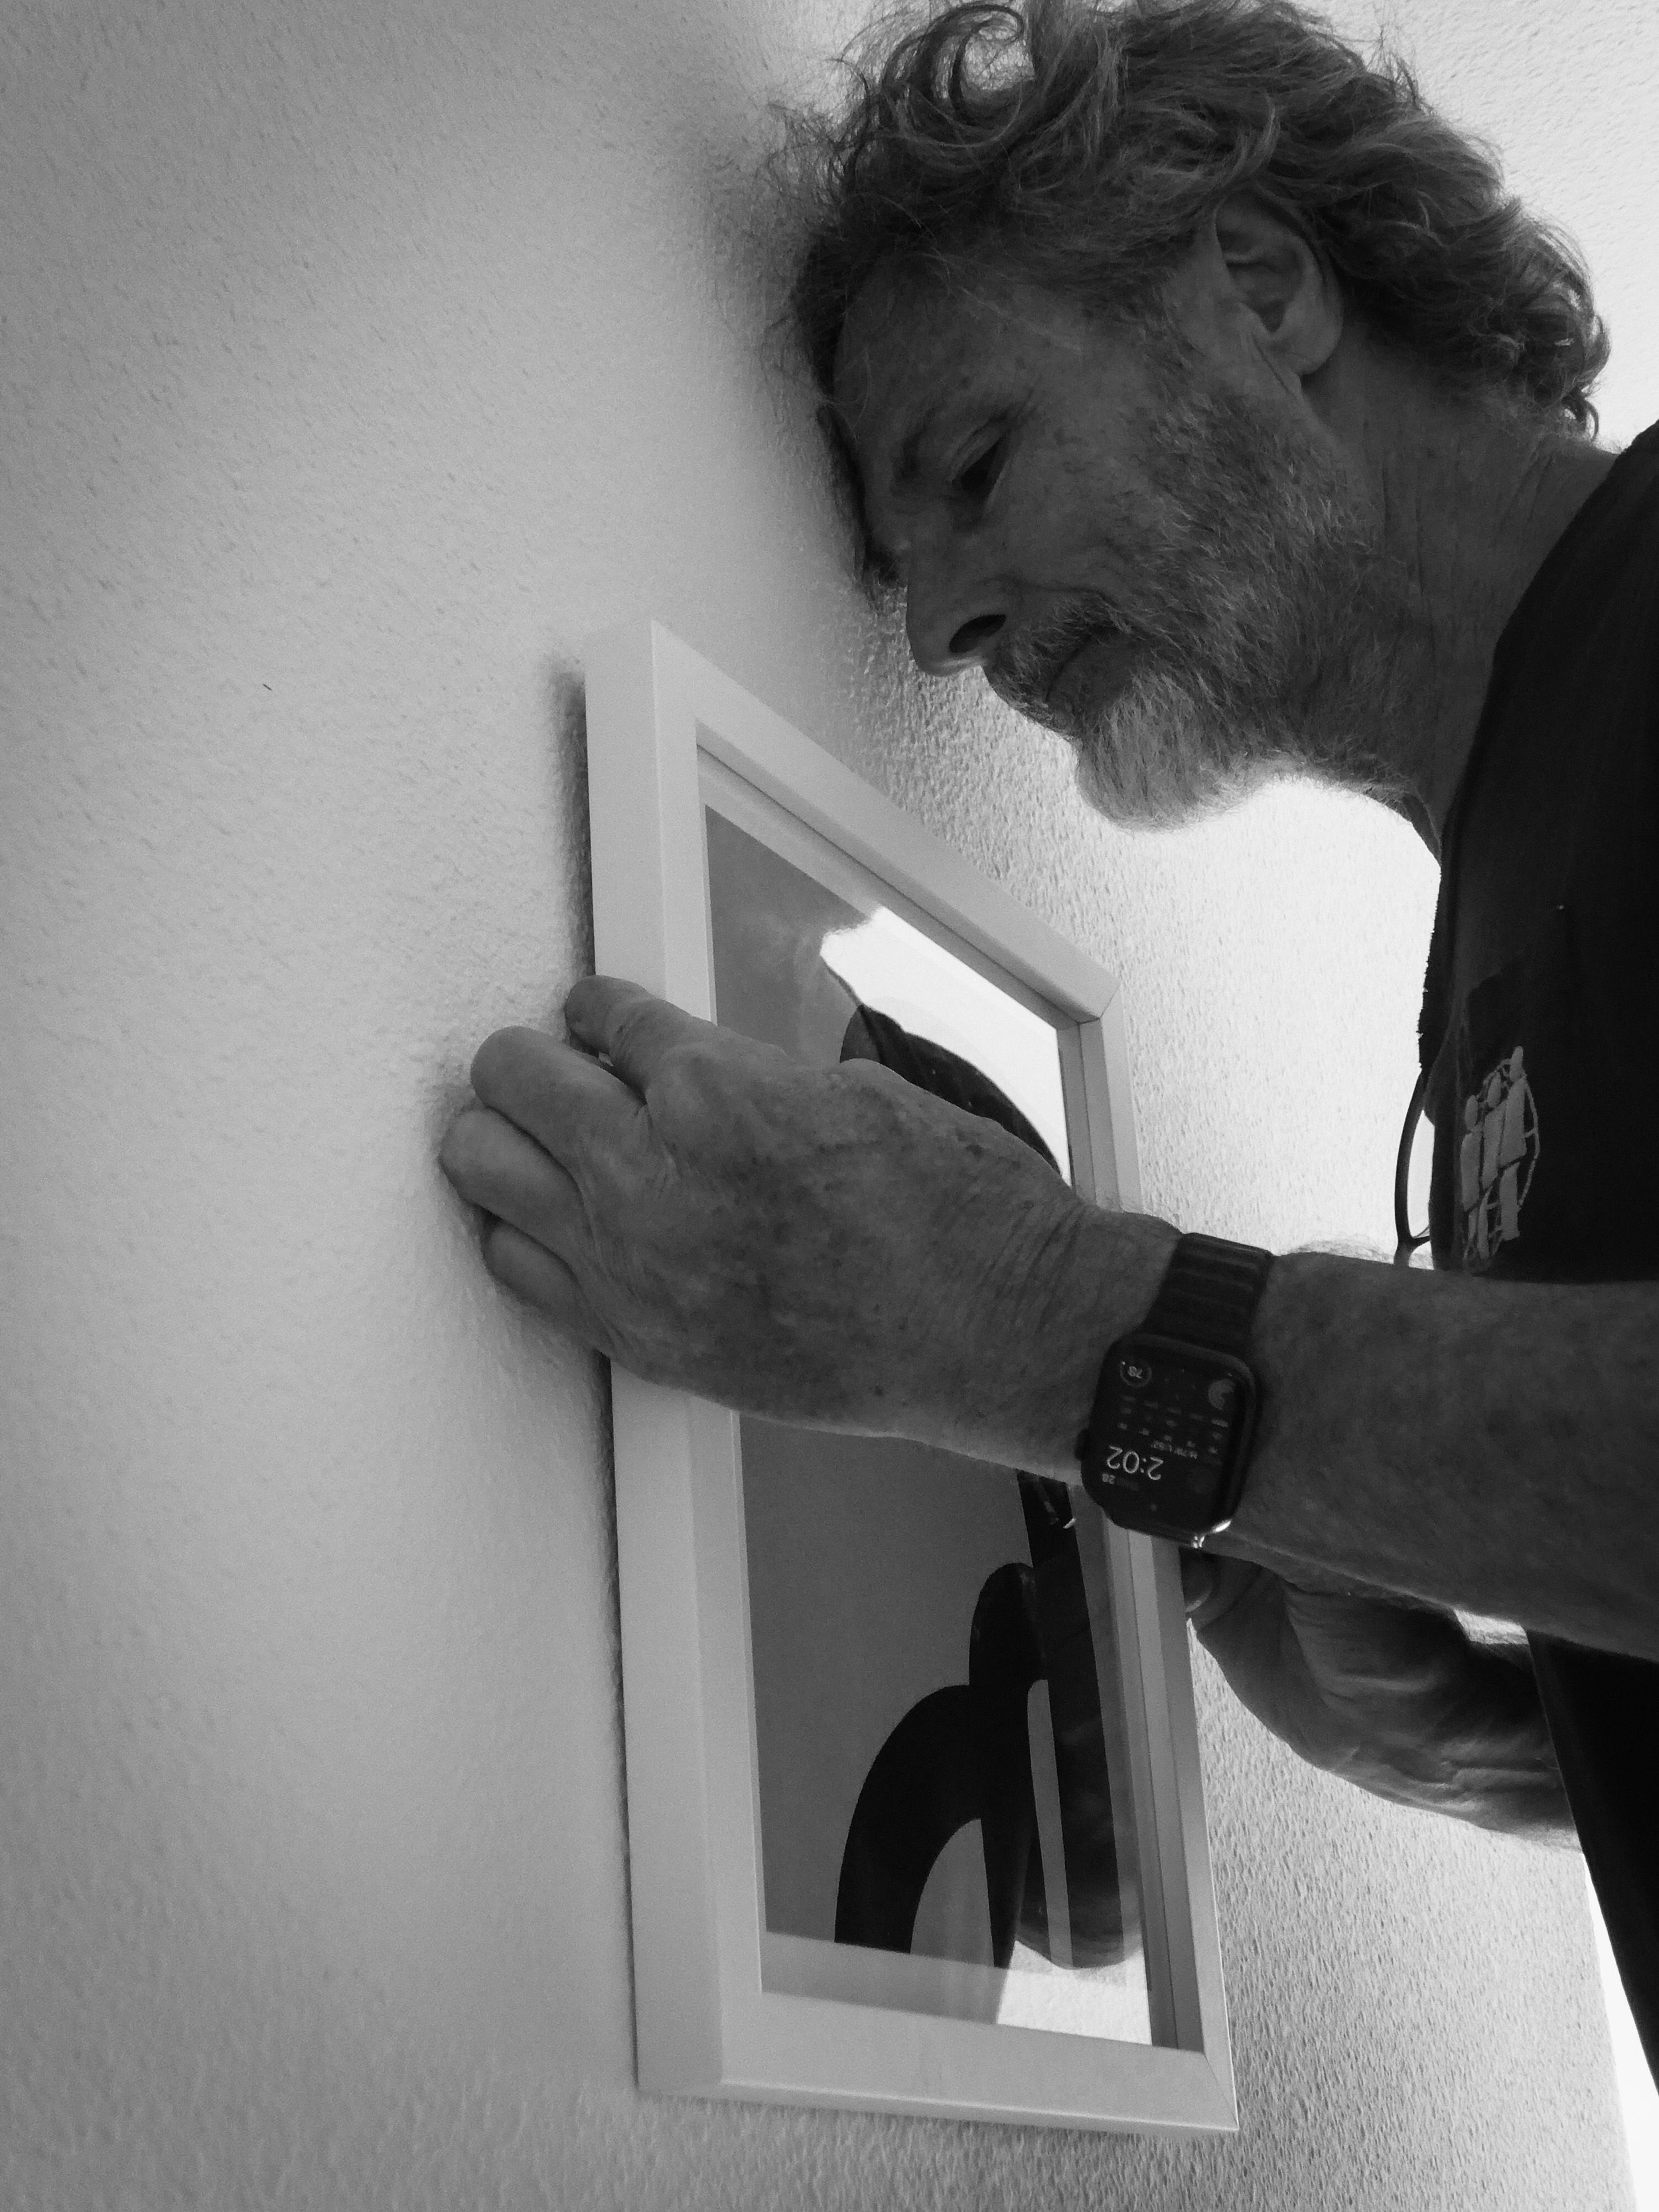
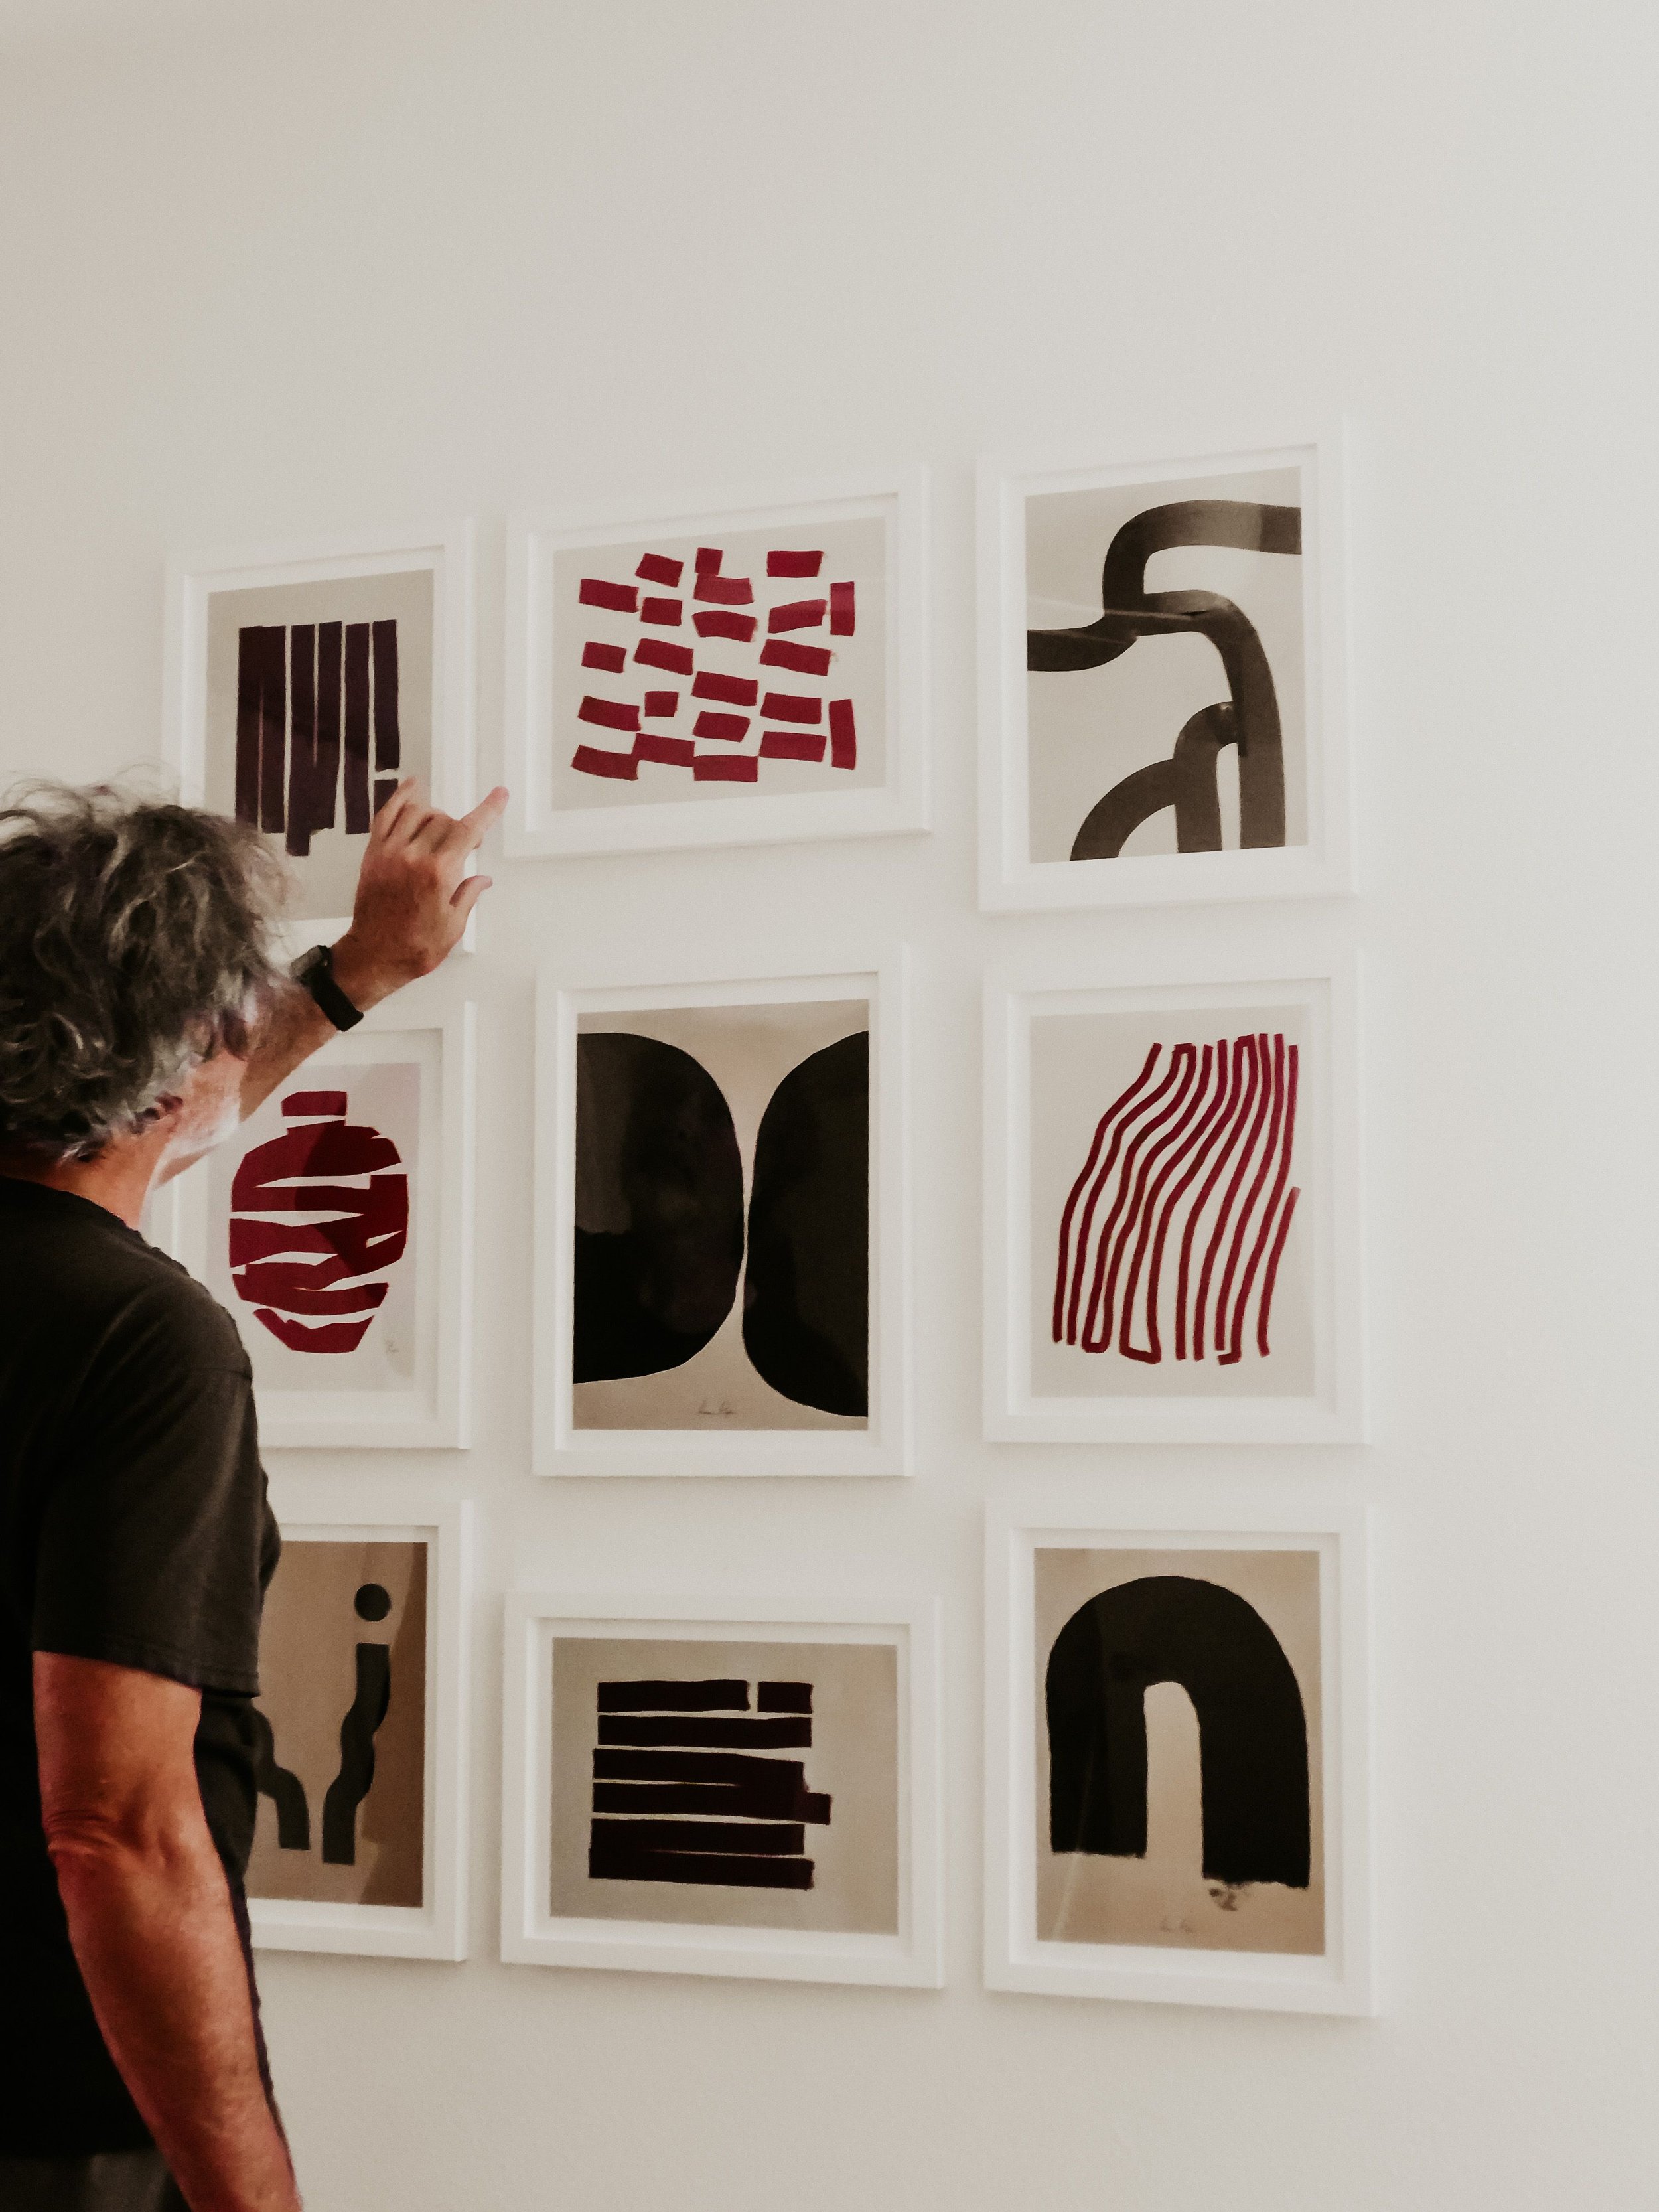
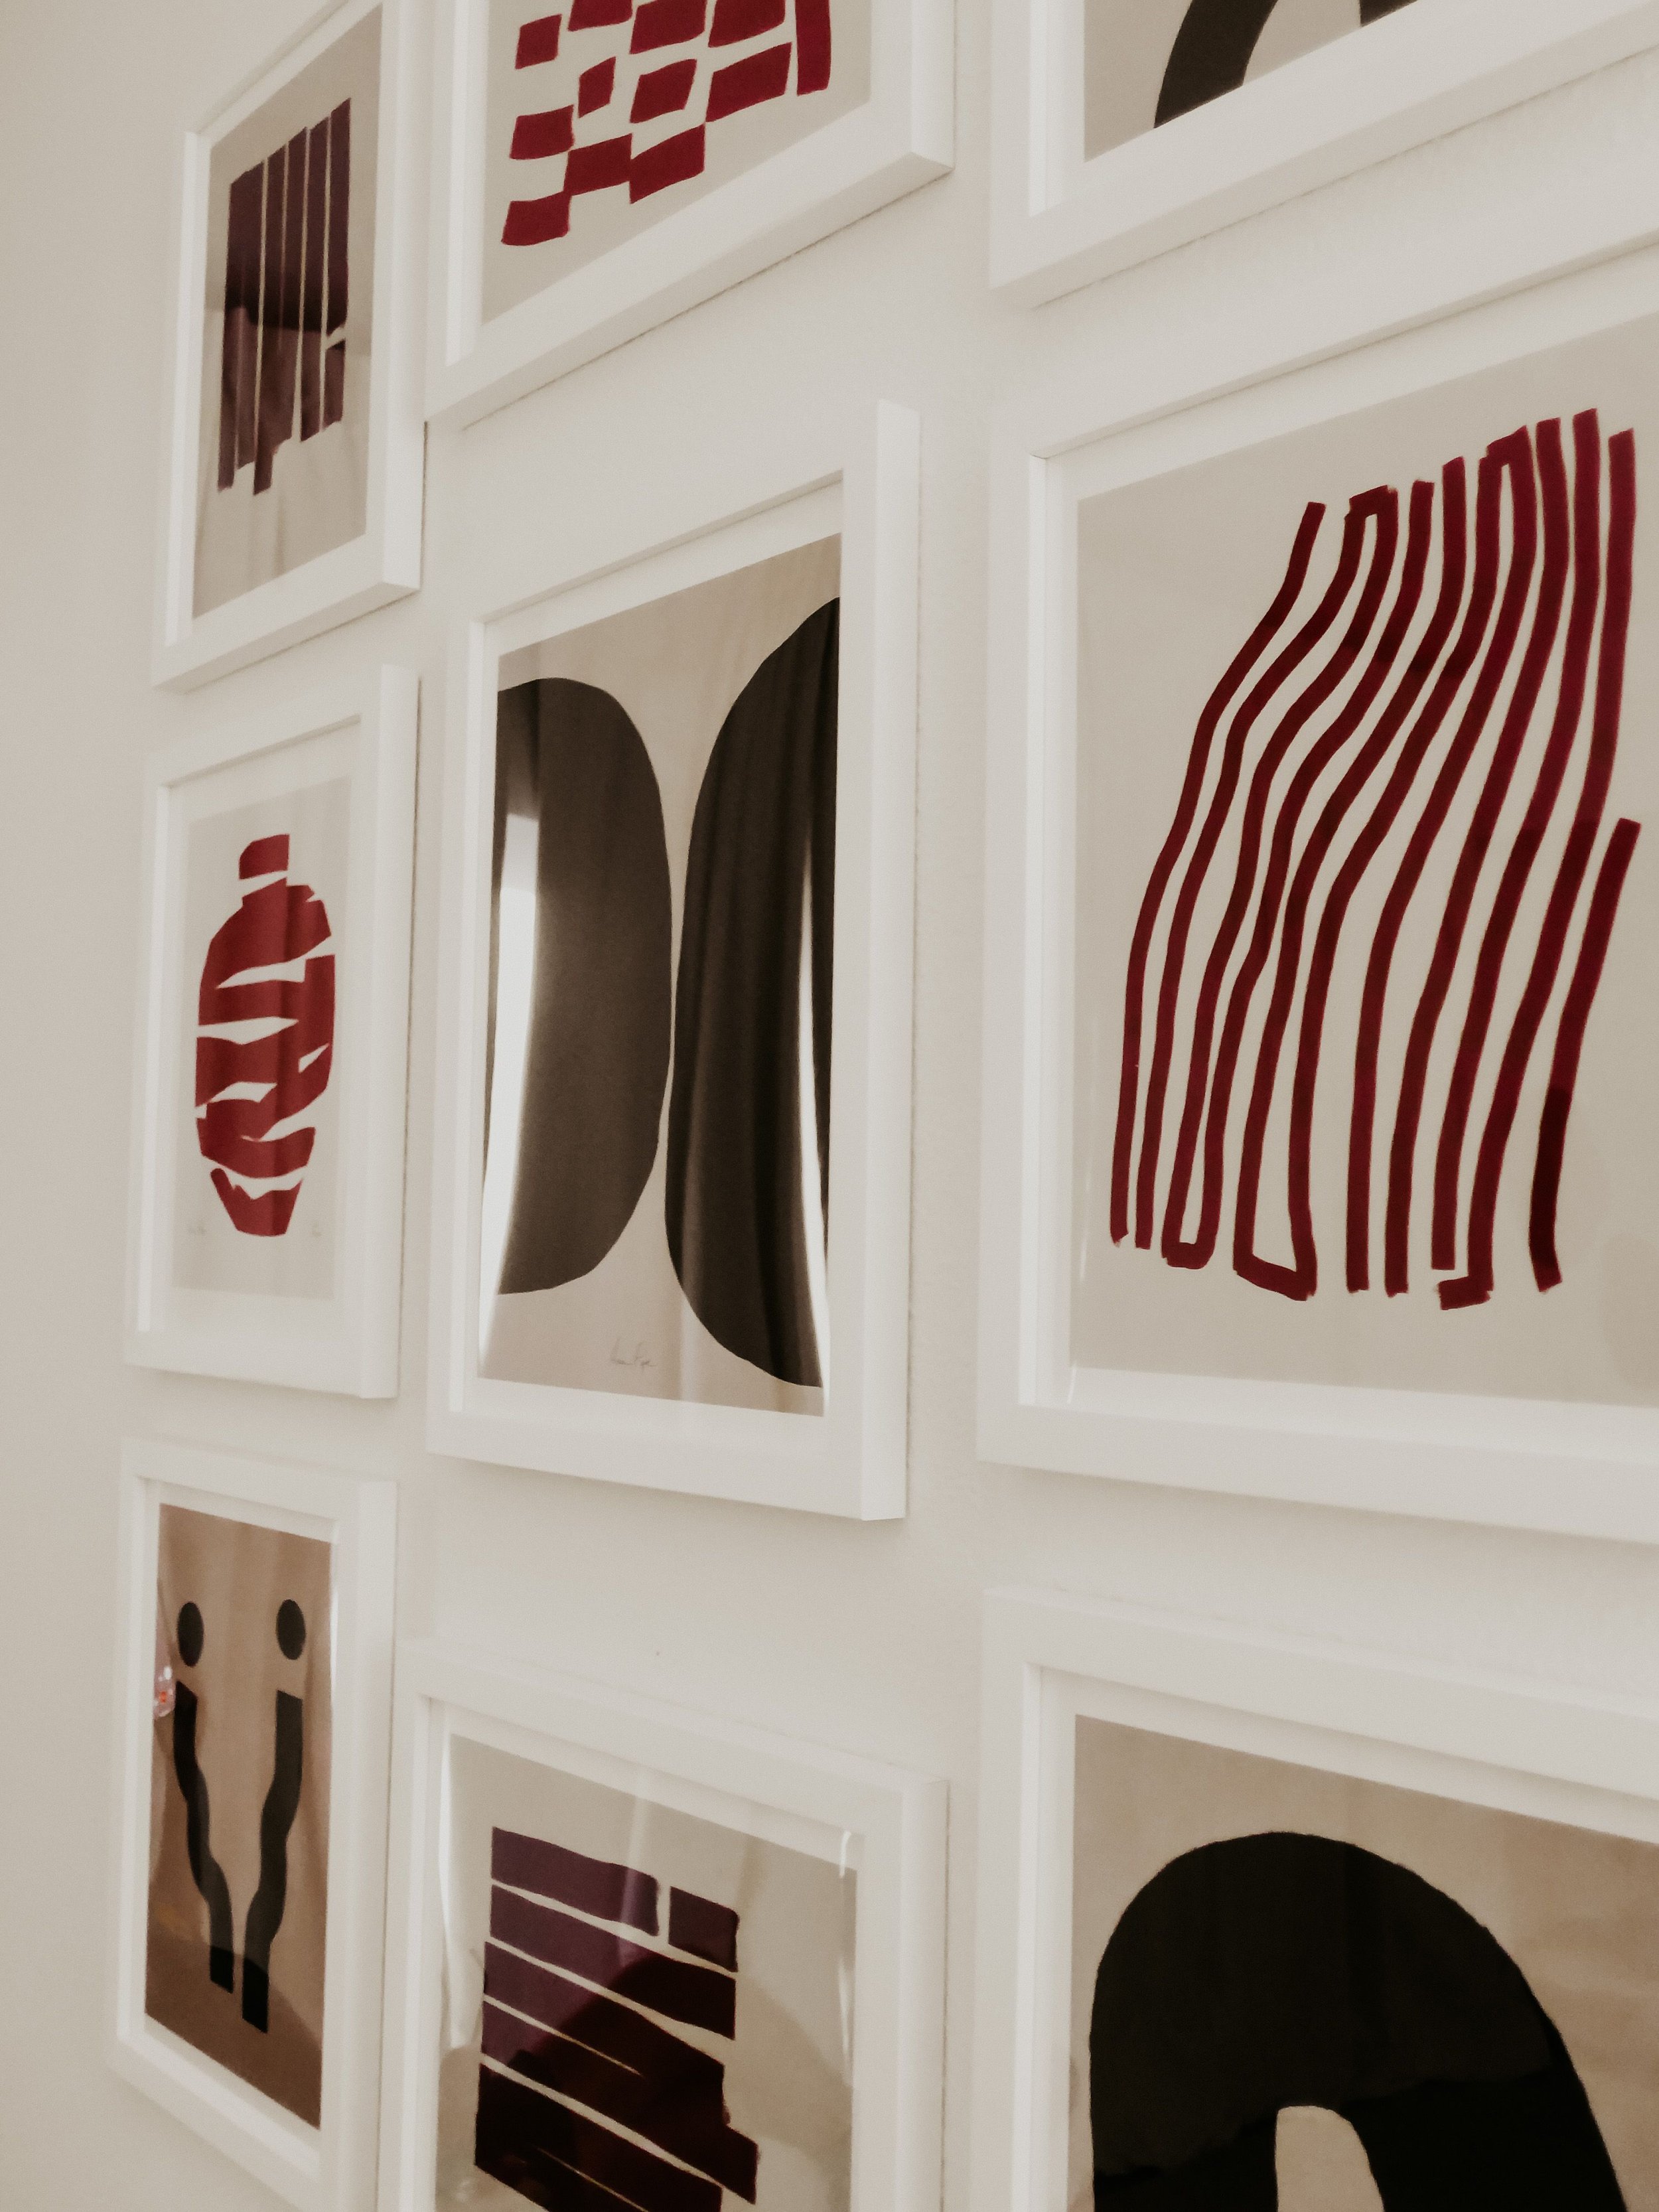
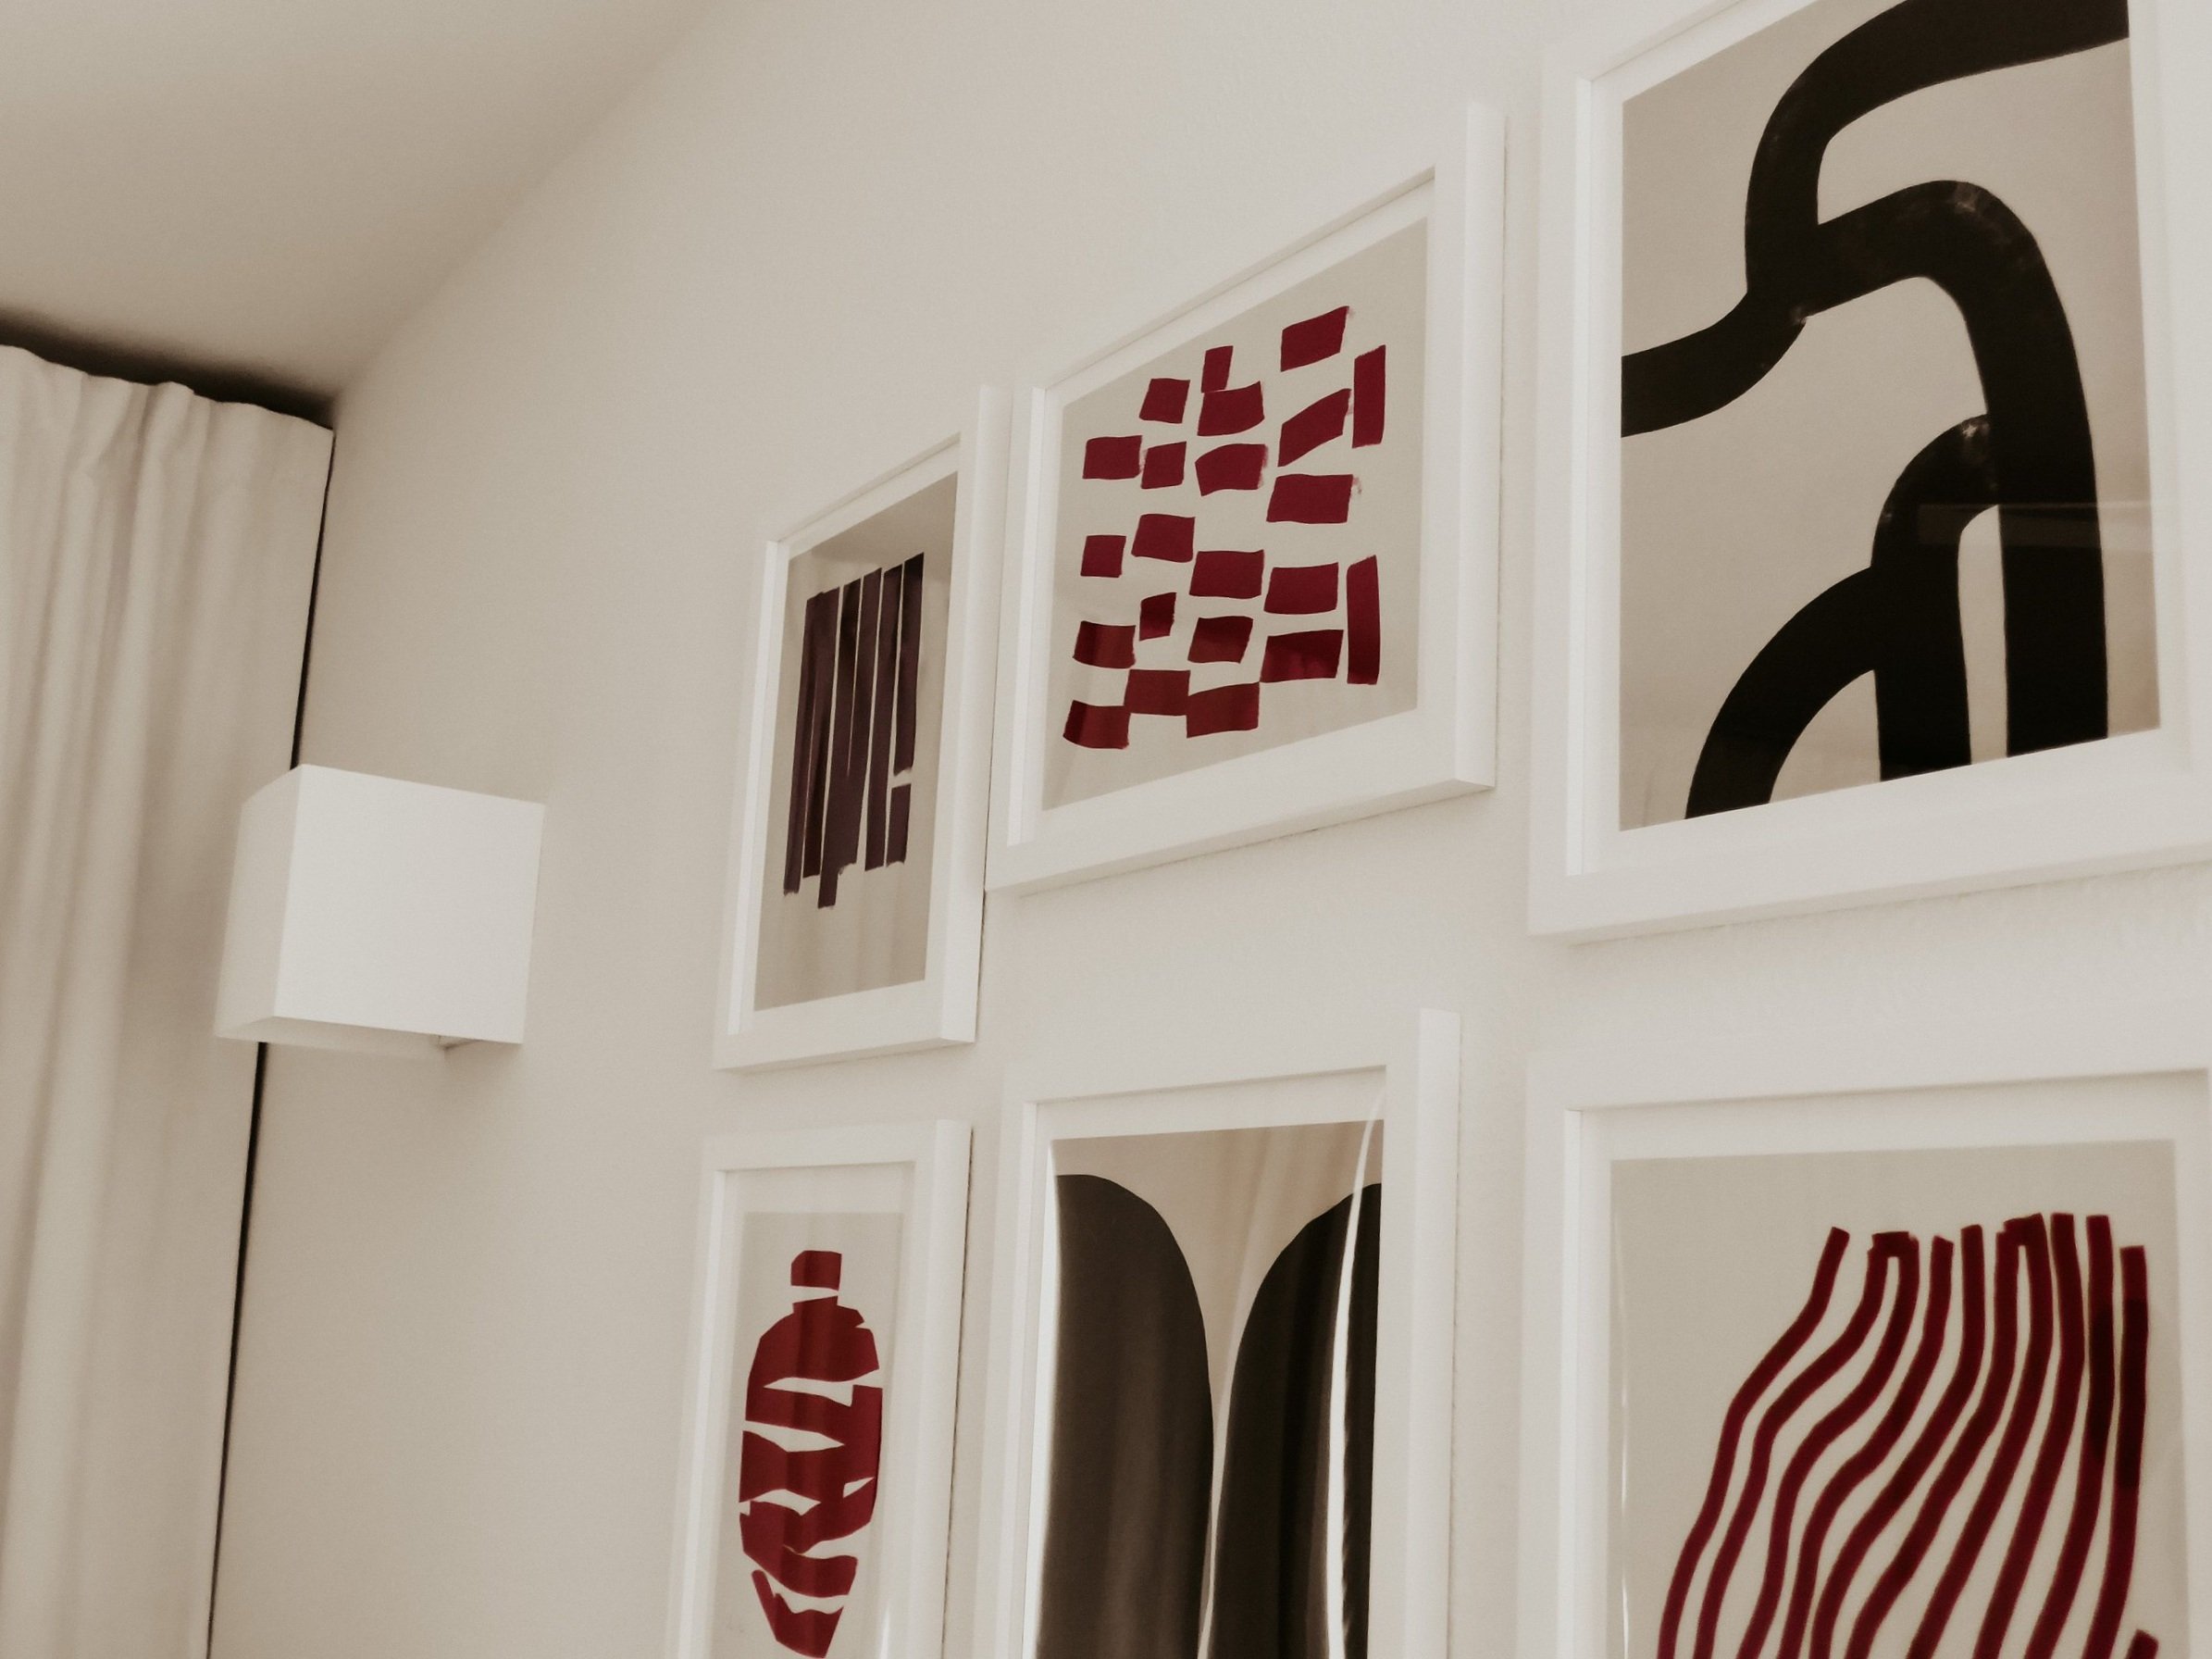
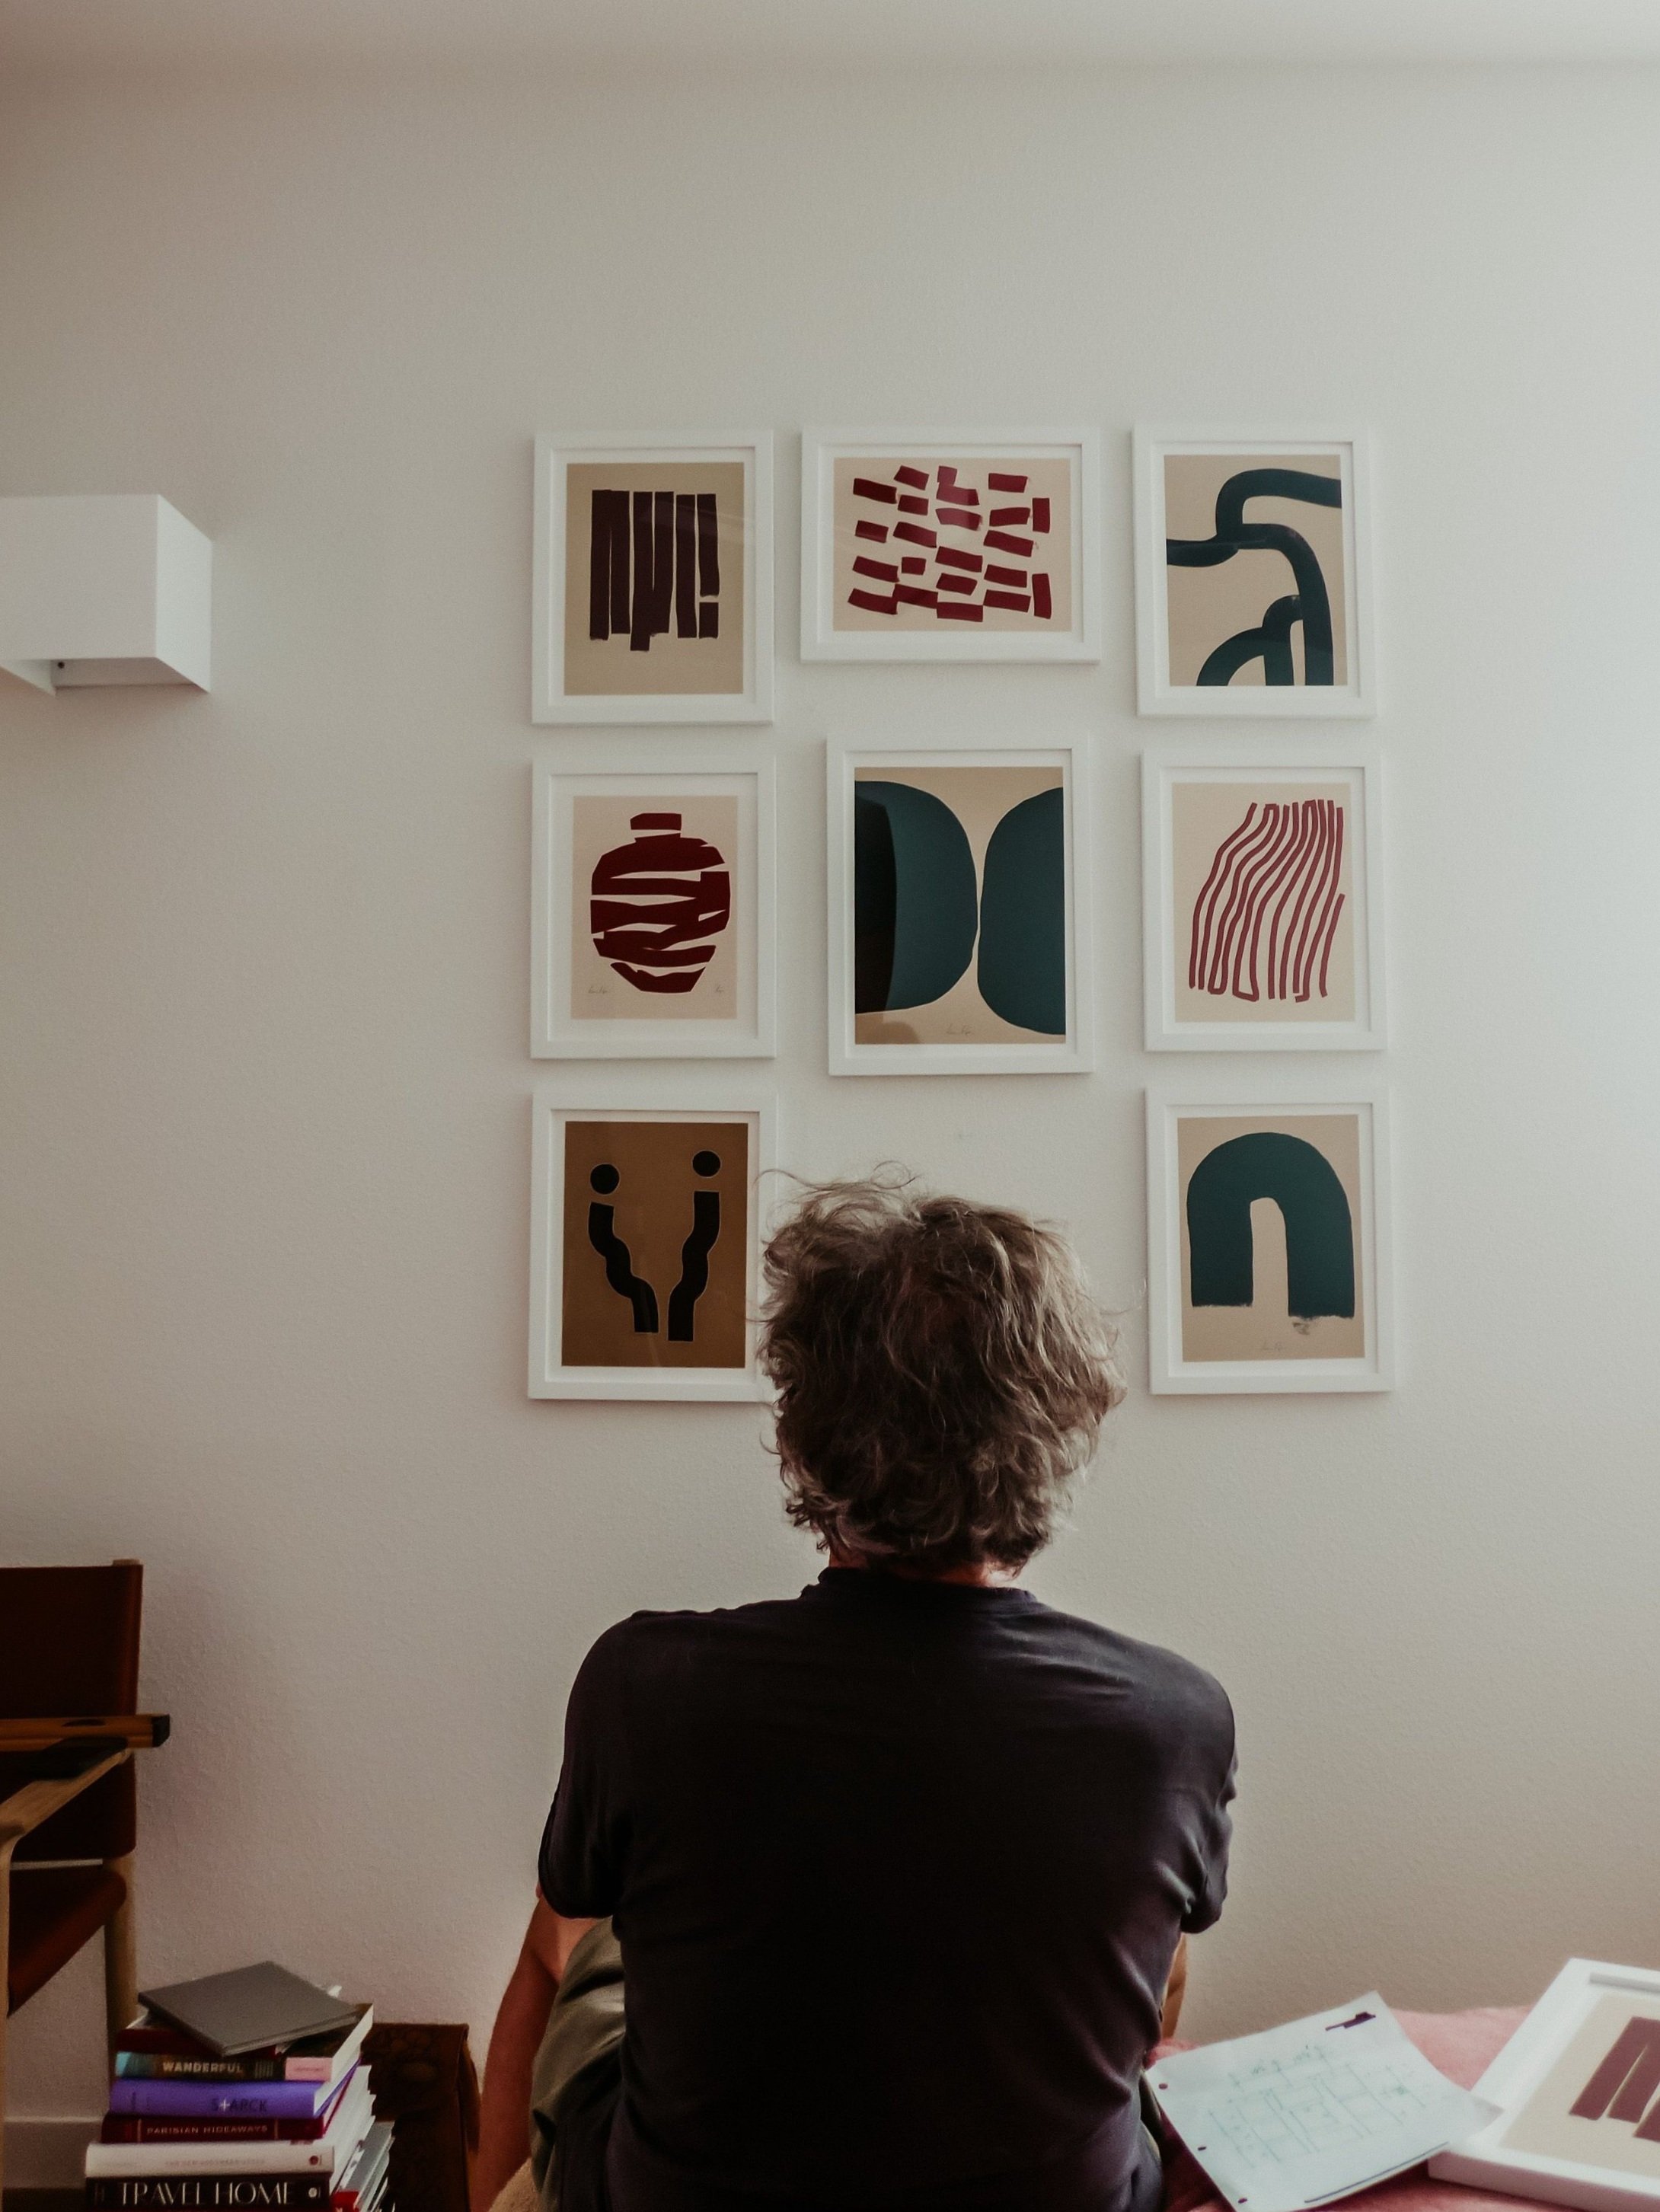
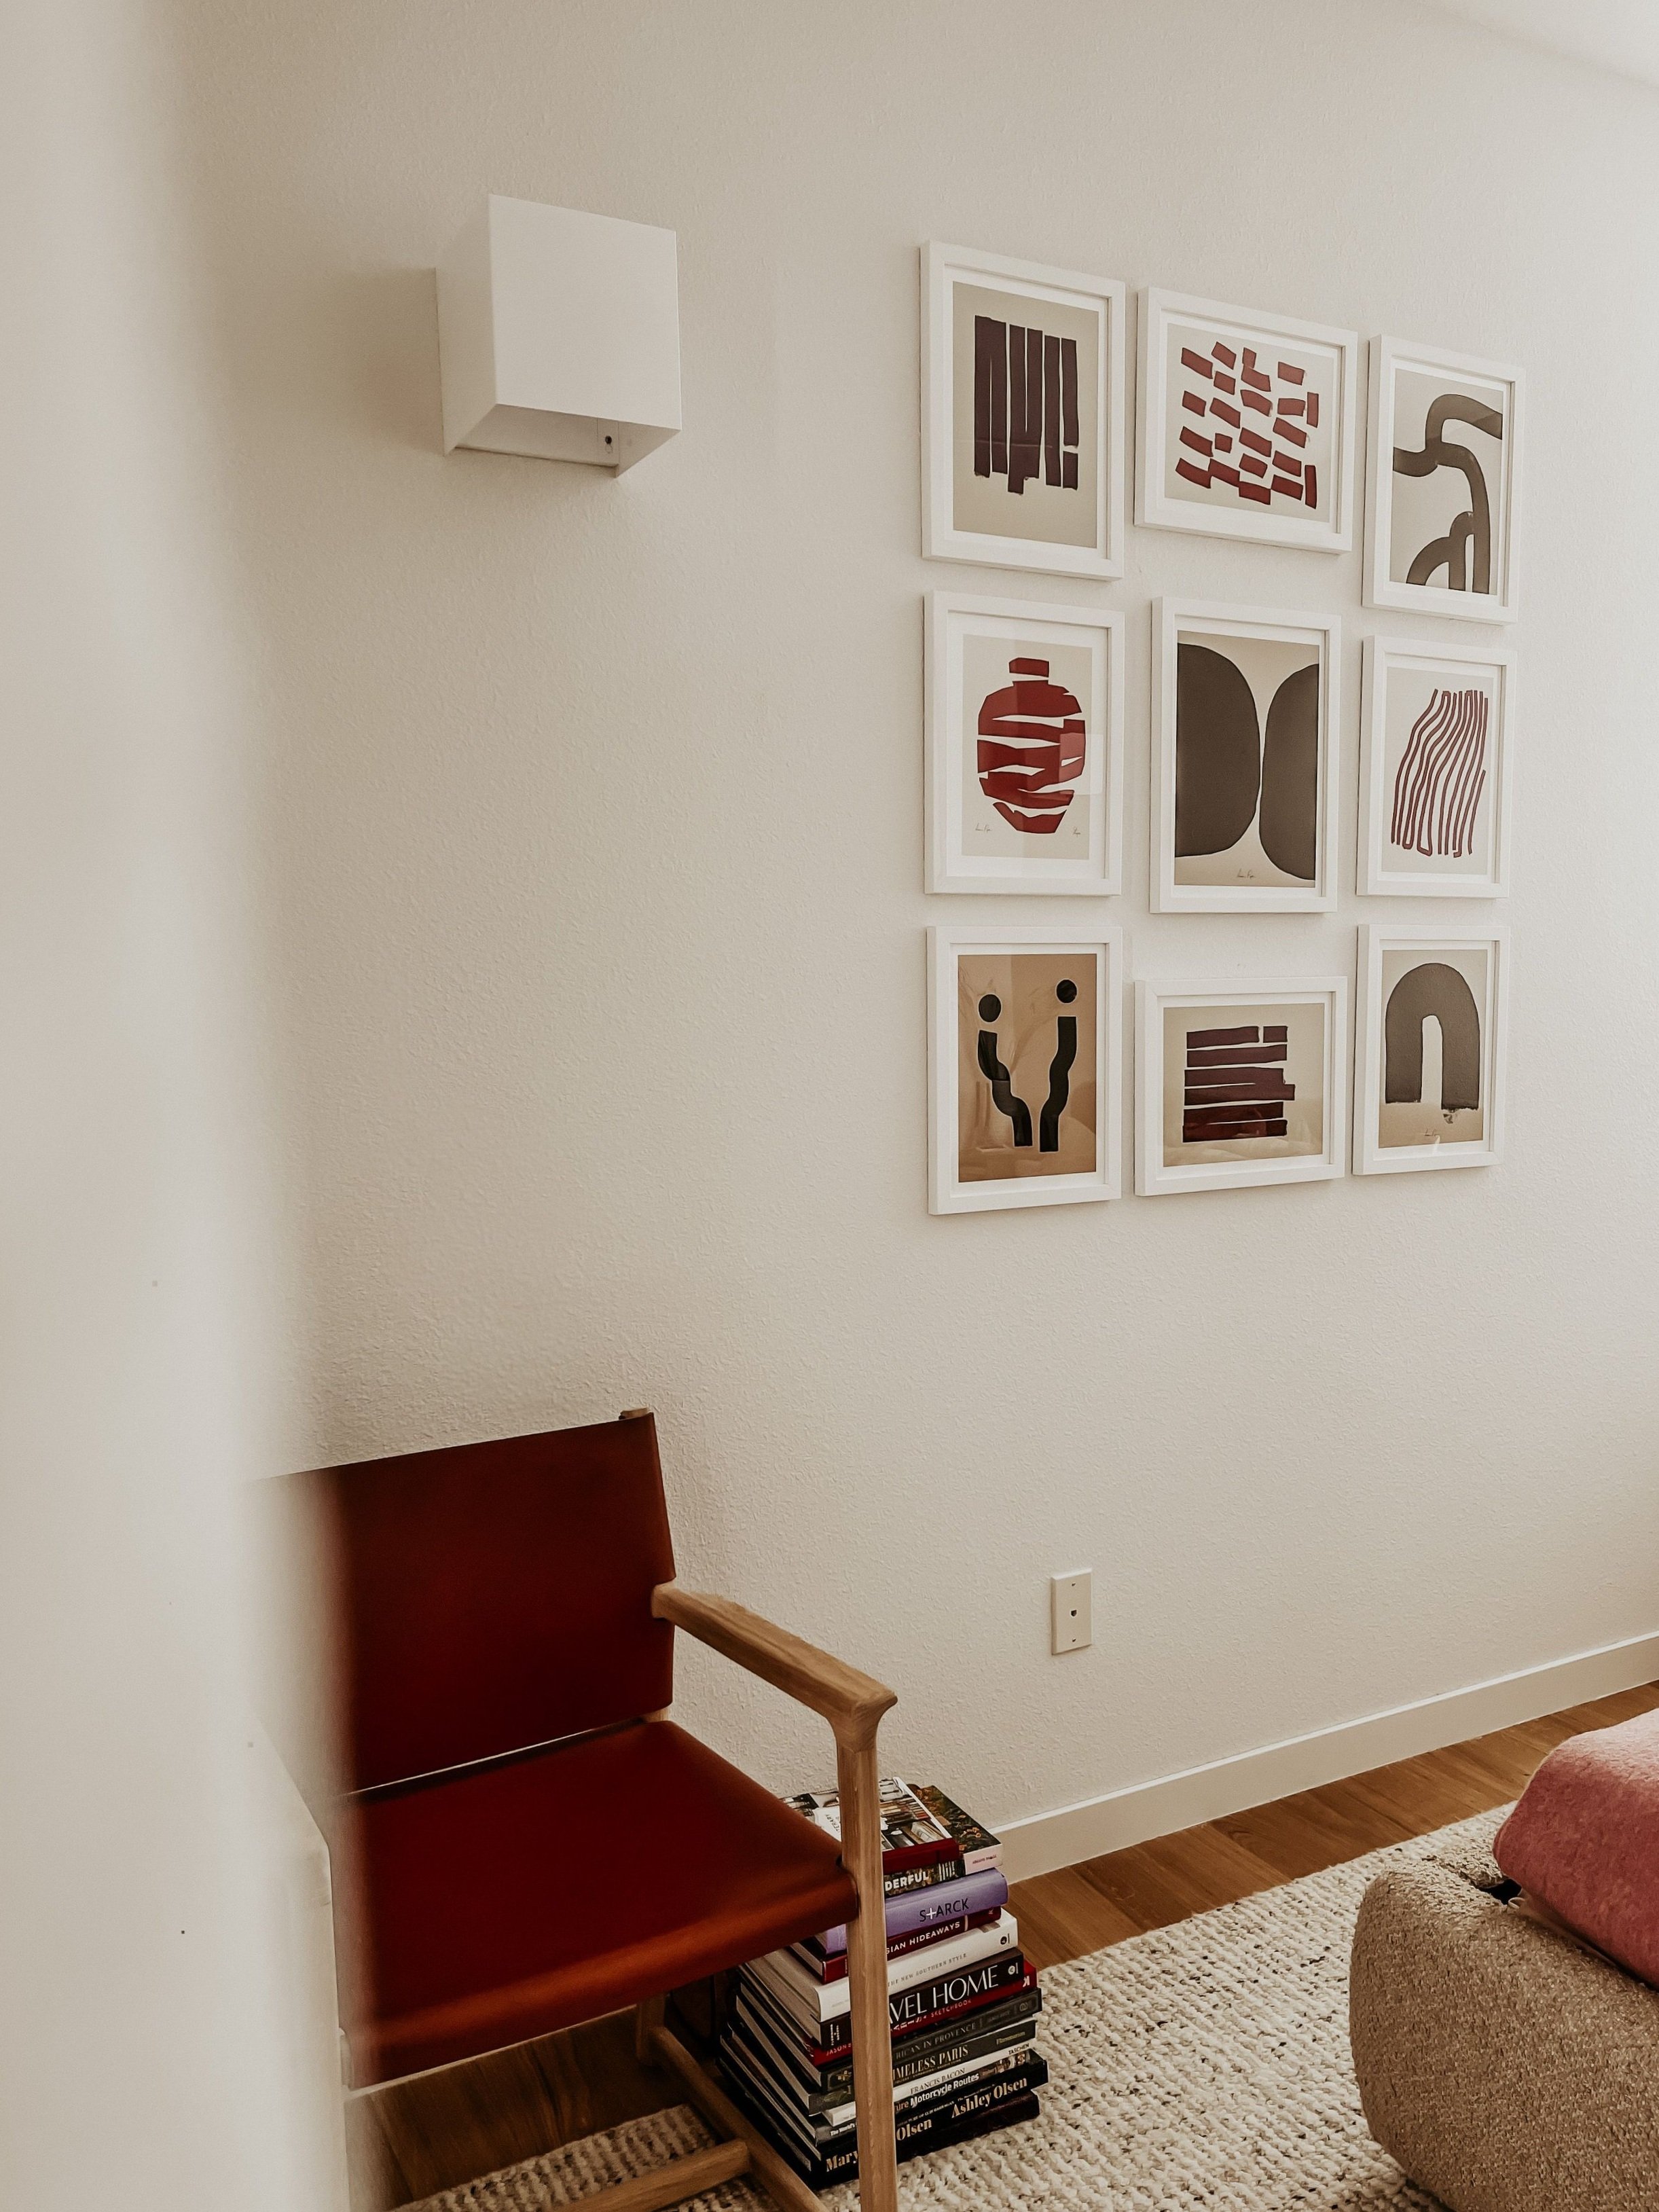
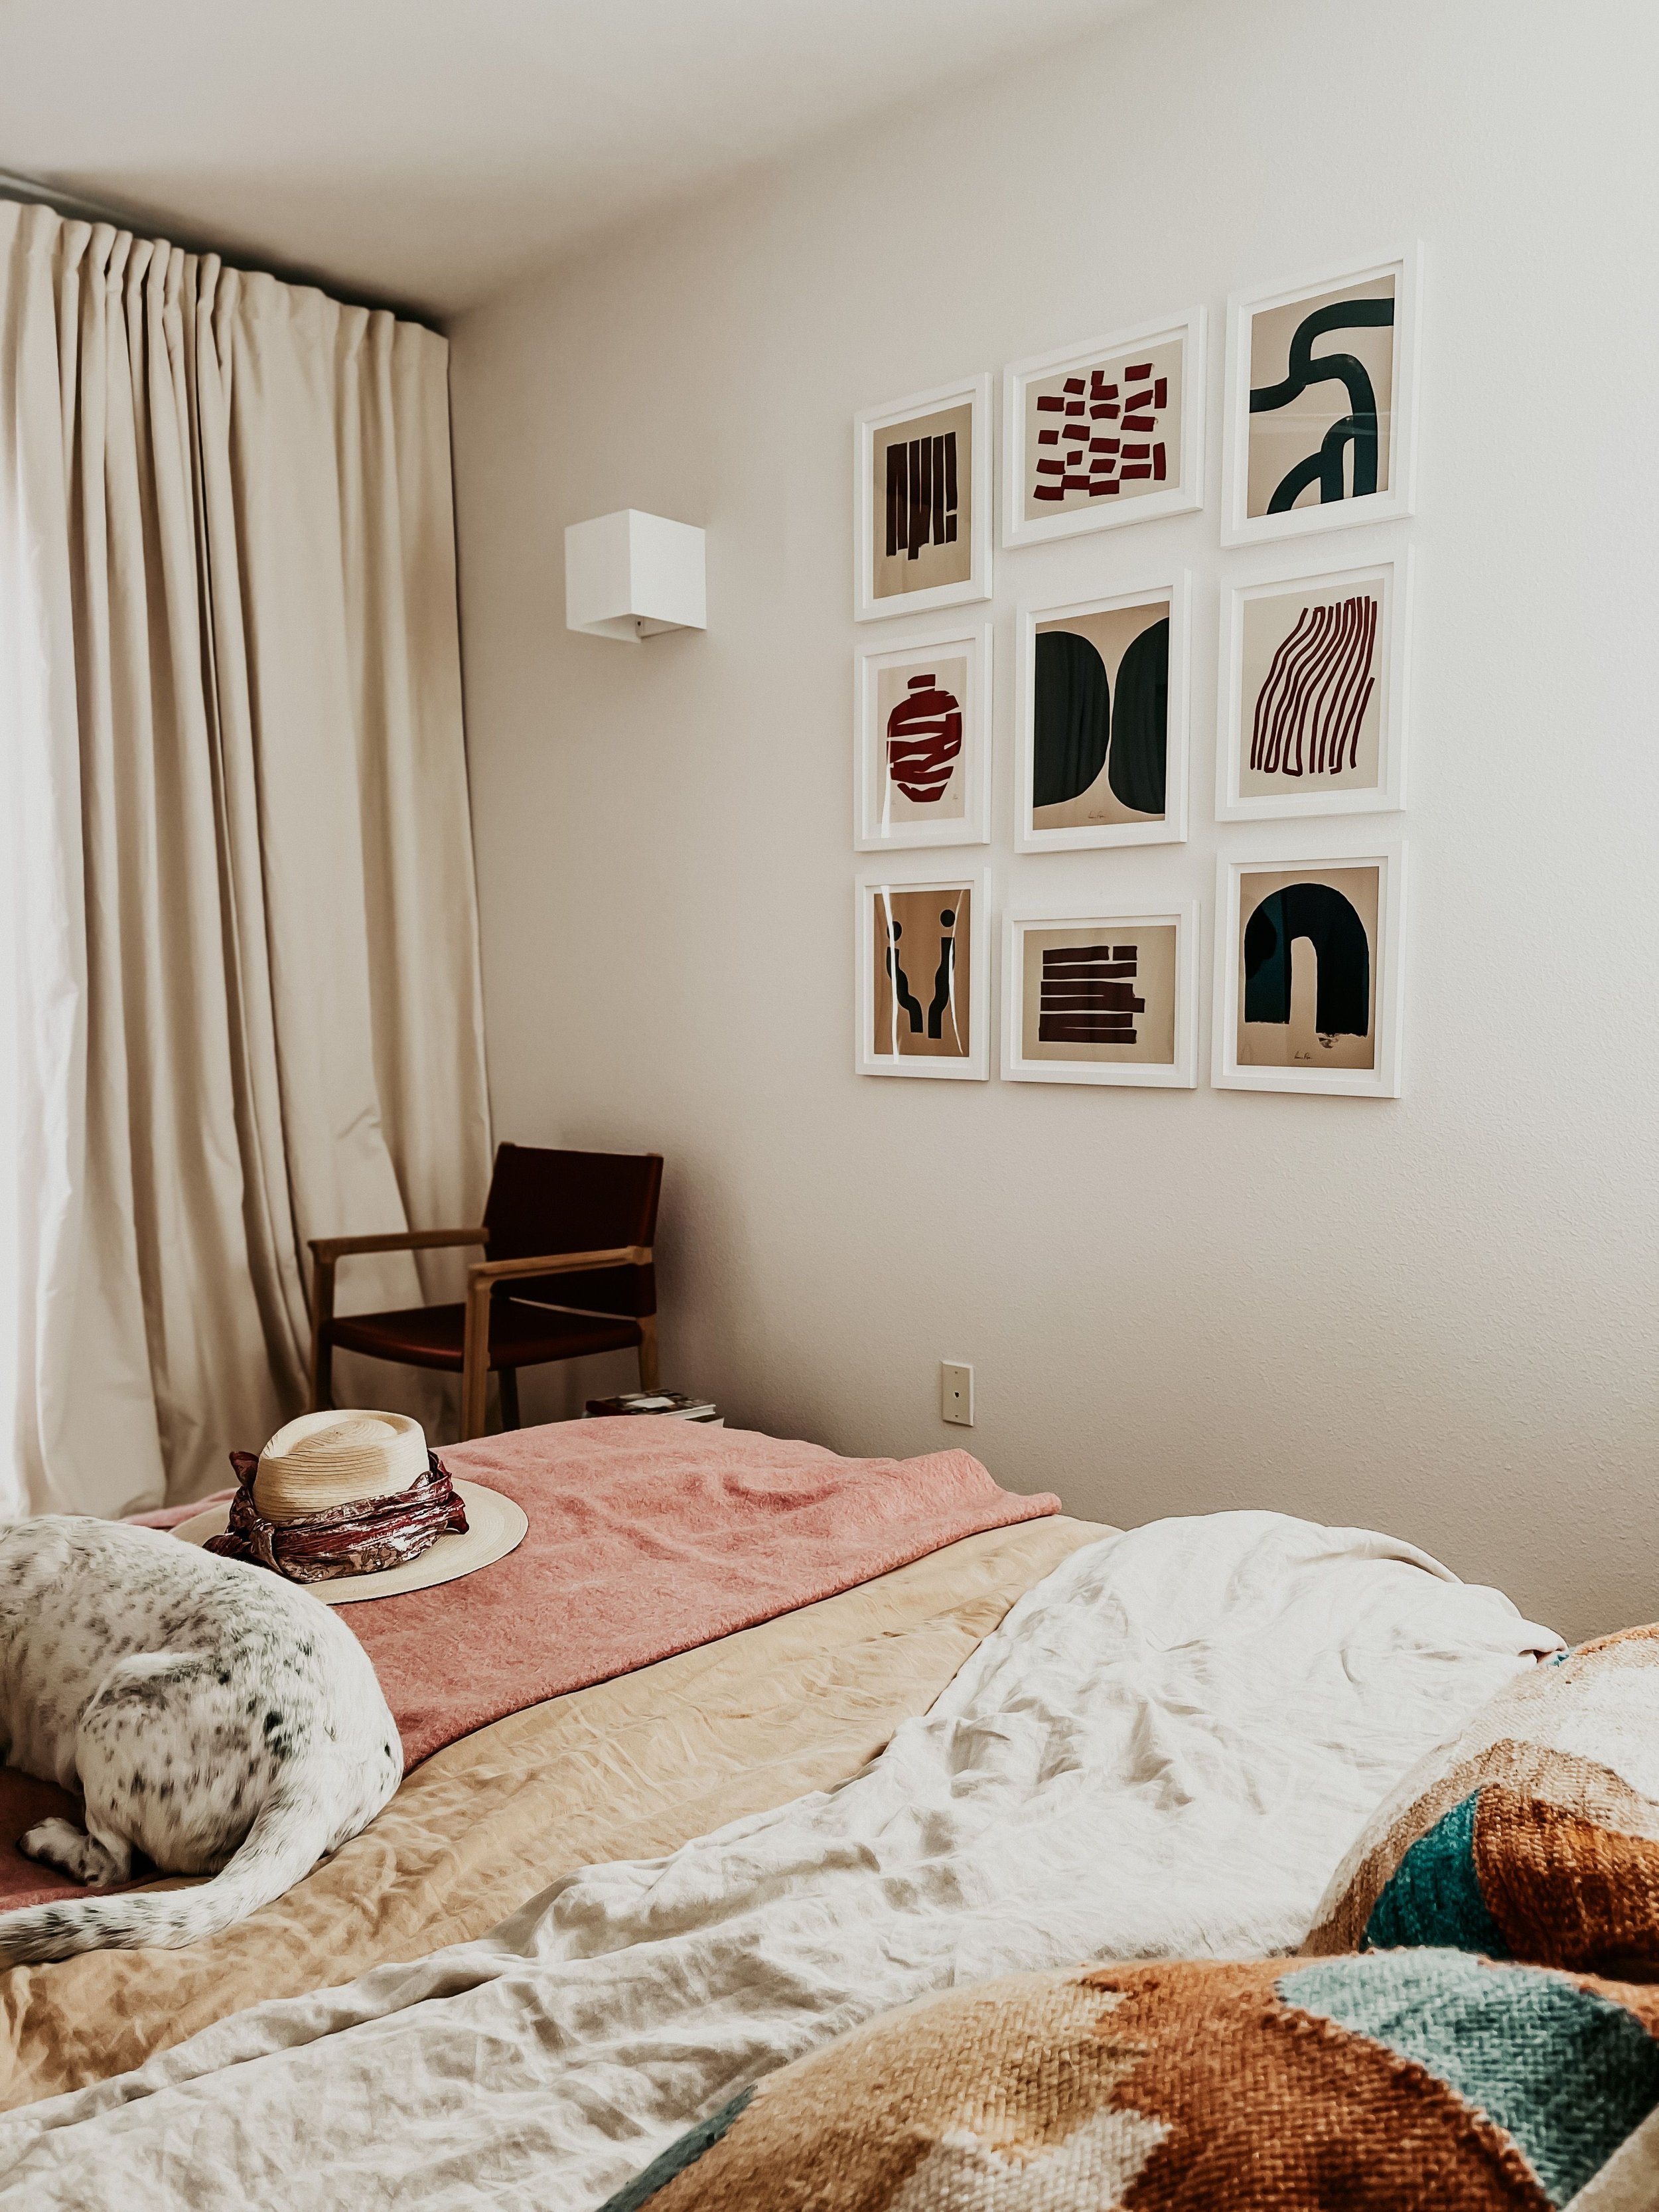
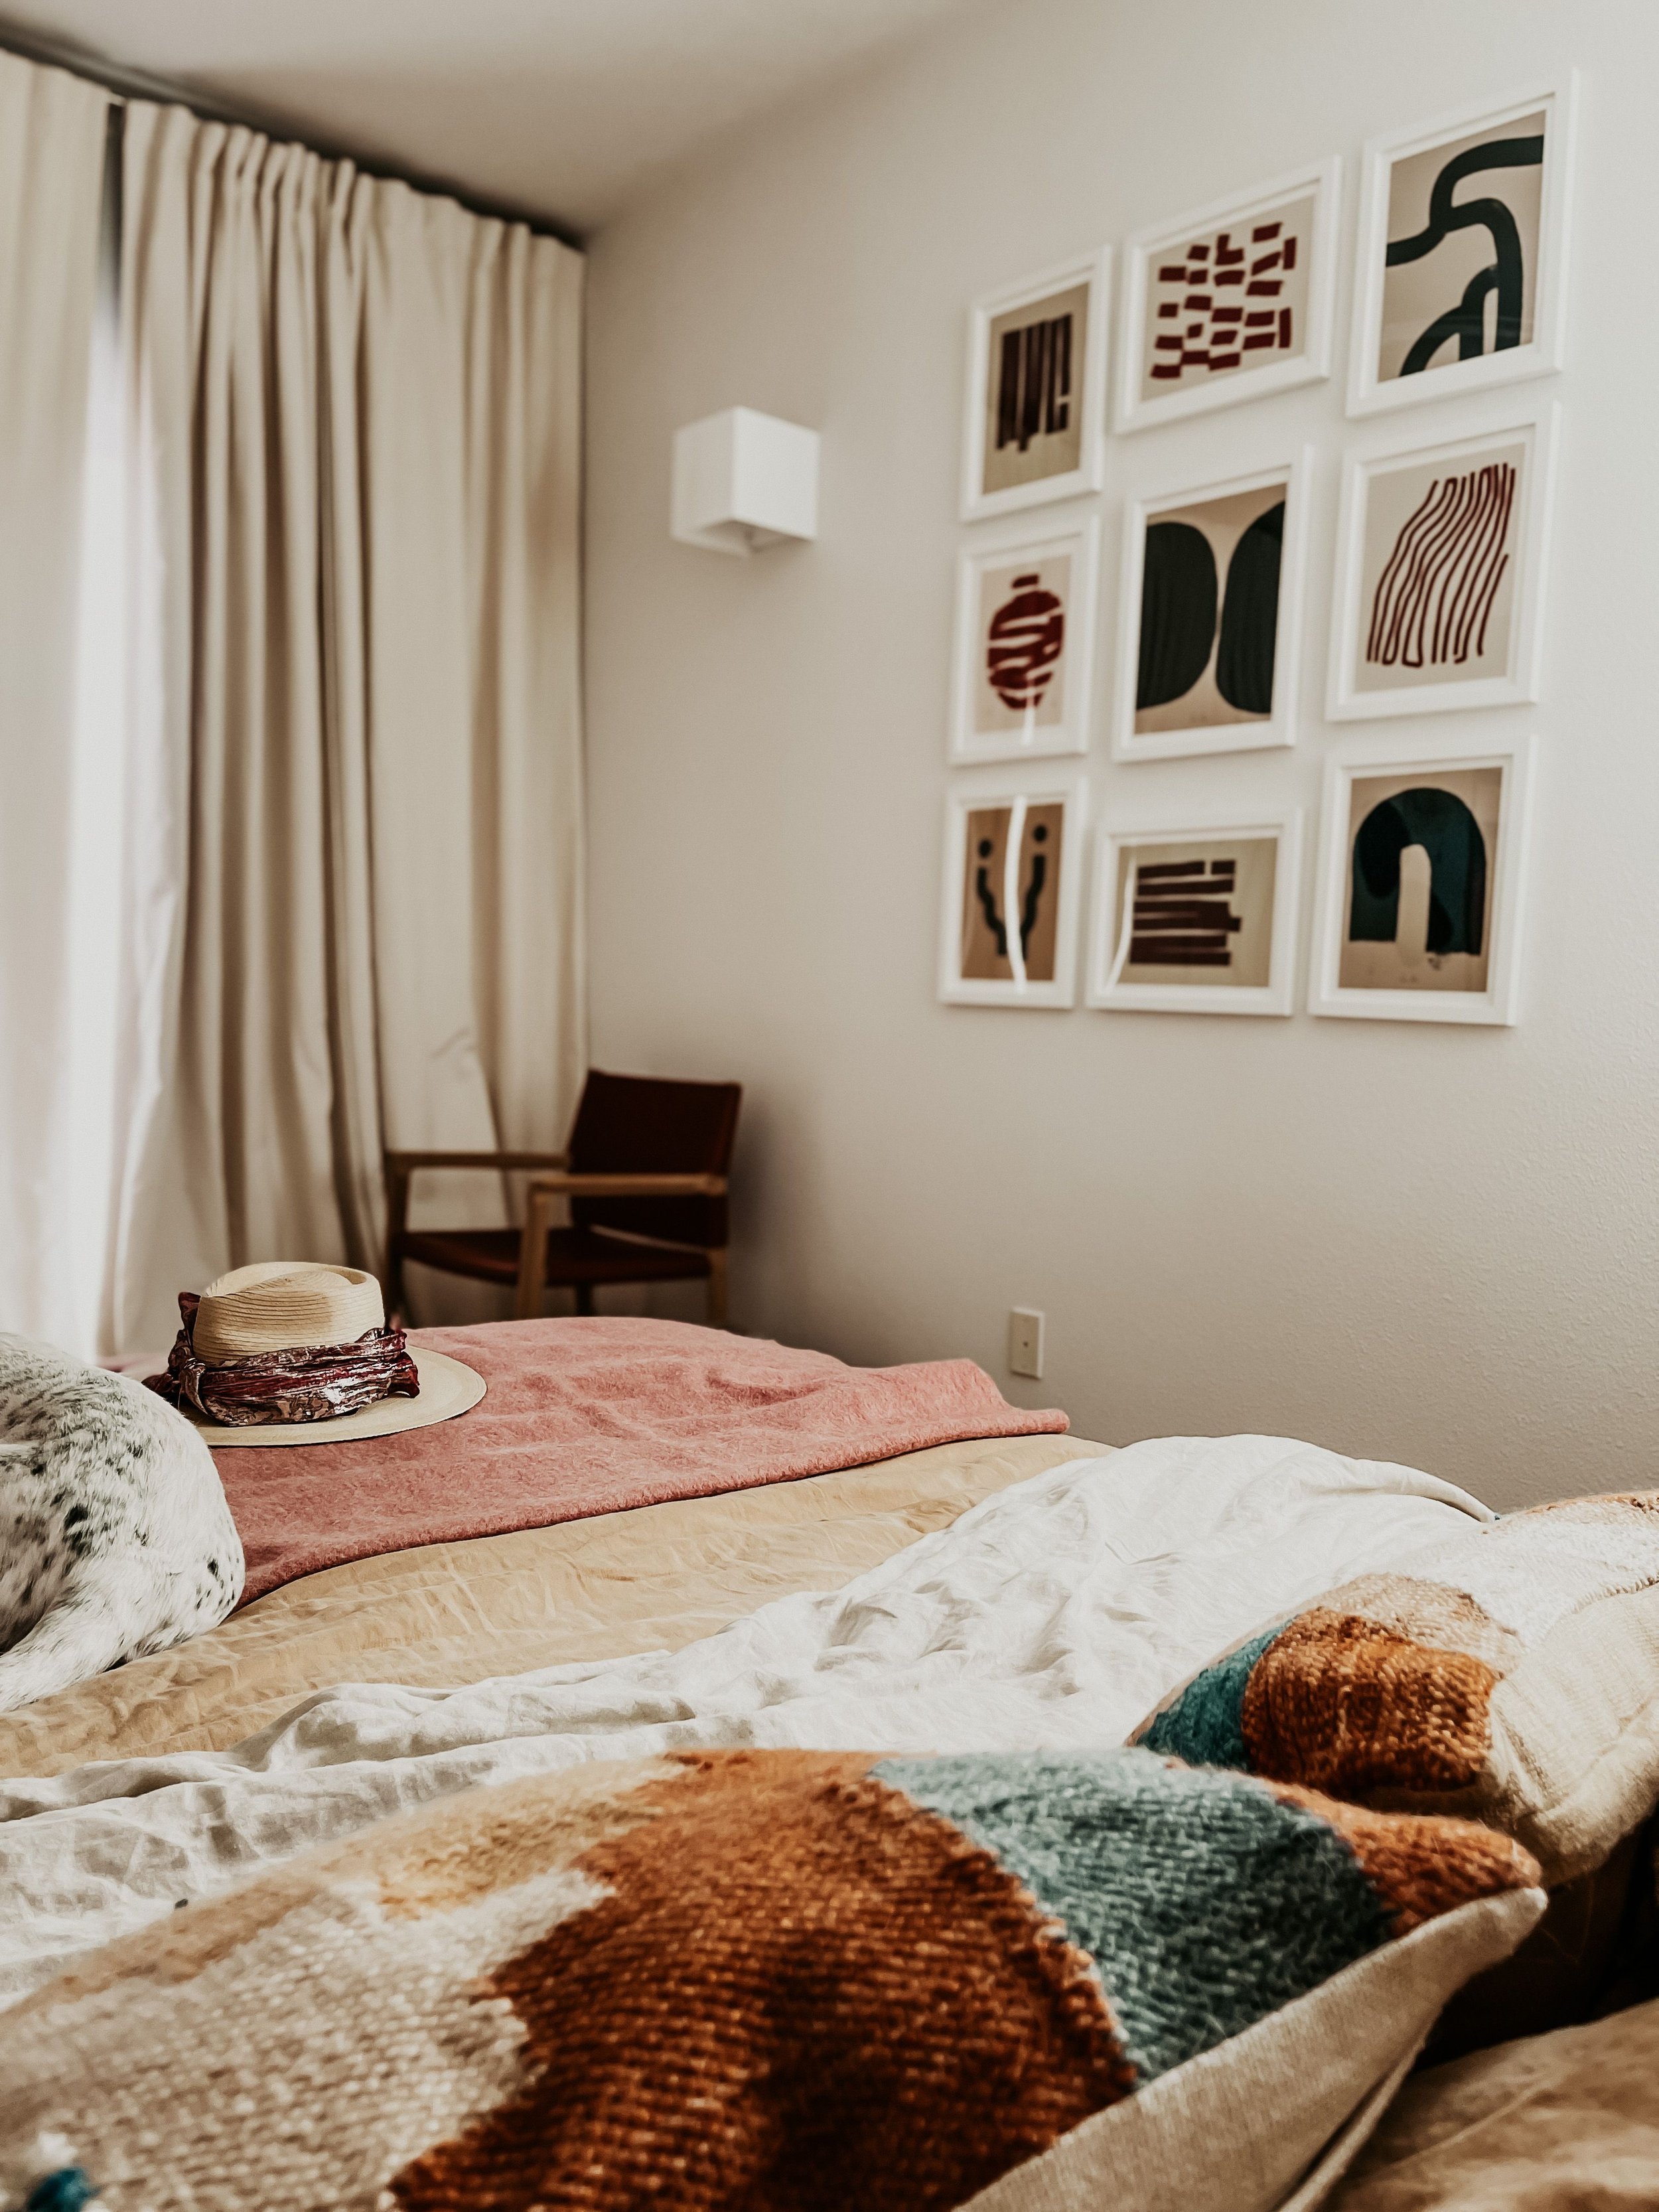
This gallery wall feels so good in this room and I’m just head over heels in love with it. We picked the beautiful framed art from Fy! I had worked with them before and really loved the quality of their pieces. Fy! is an app brimming with the world’s best home and living products. From big brands to emerging artists, we’ve got all the products and inspiration you need to start feeling great about your home. They are a team of passionate entrepreneurs, buyers, designers, marketers and developers based across London, Europe and the US. Together, they’re dedicated to their mission of creating the best way for shoppers to re-style their space.
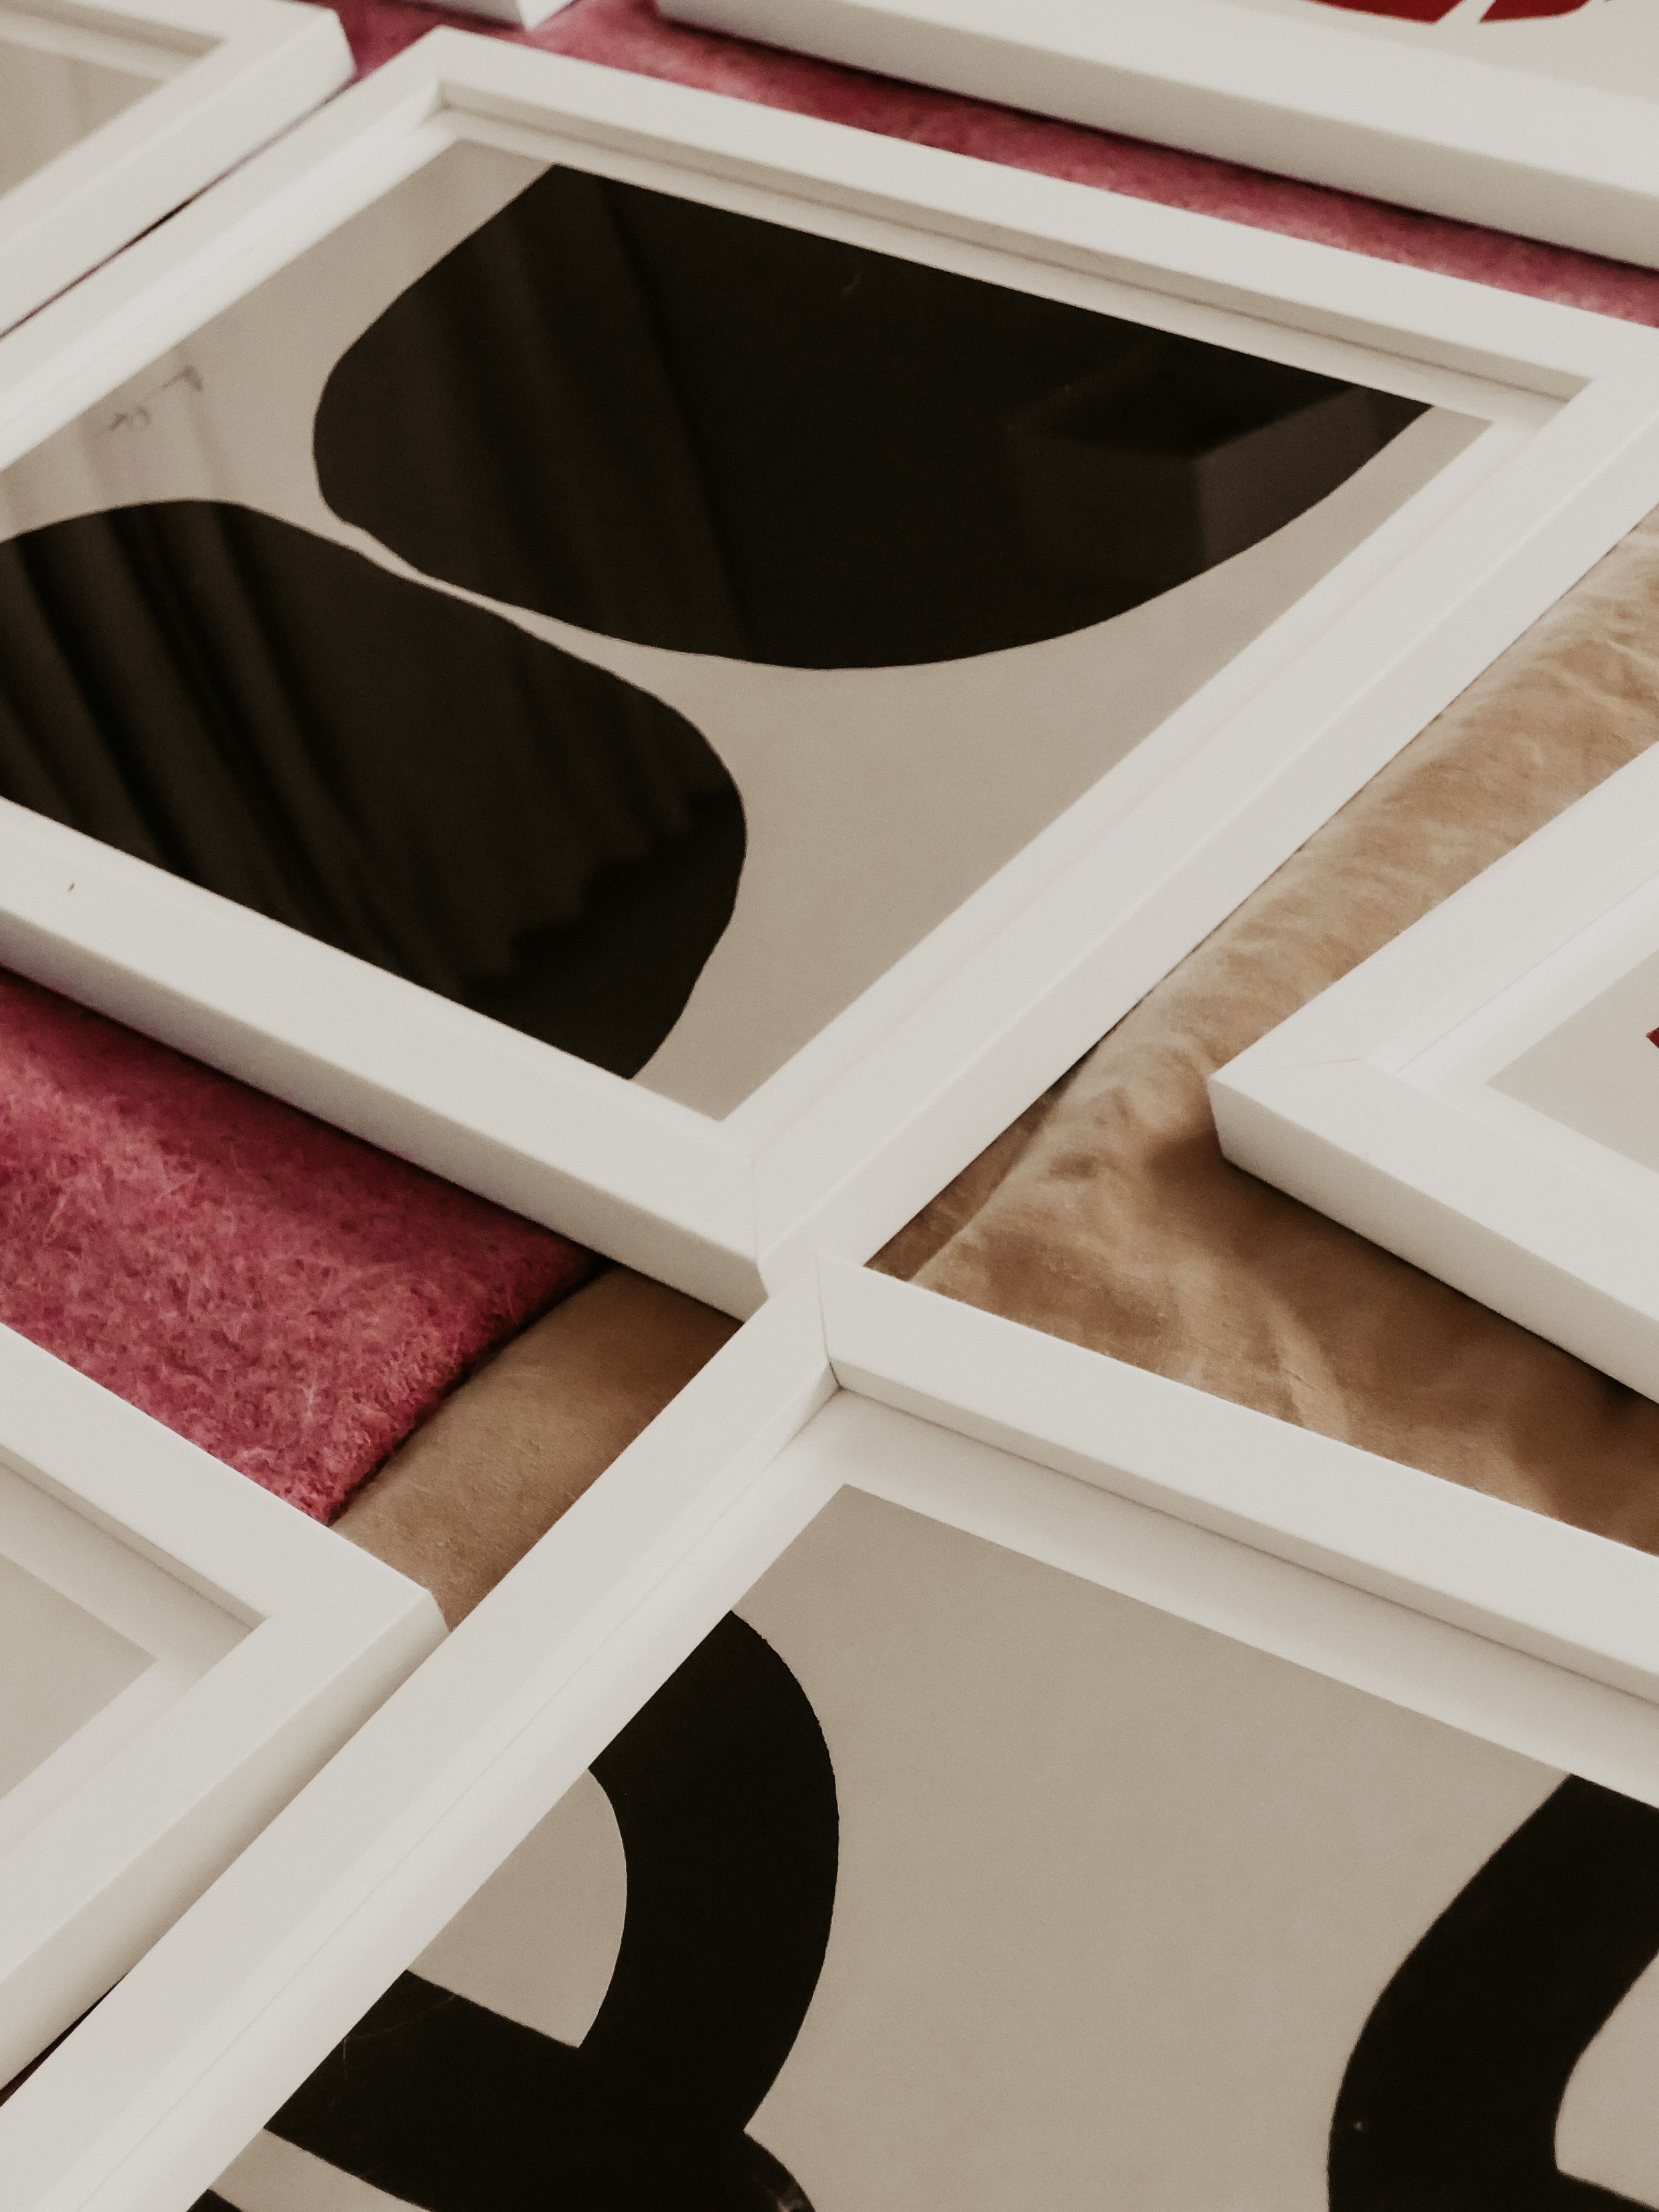
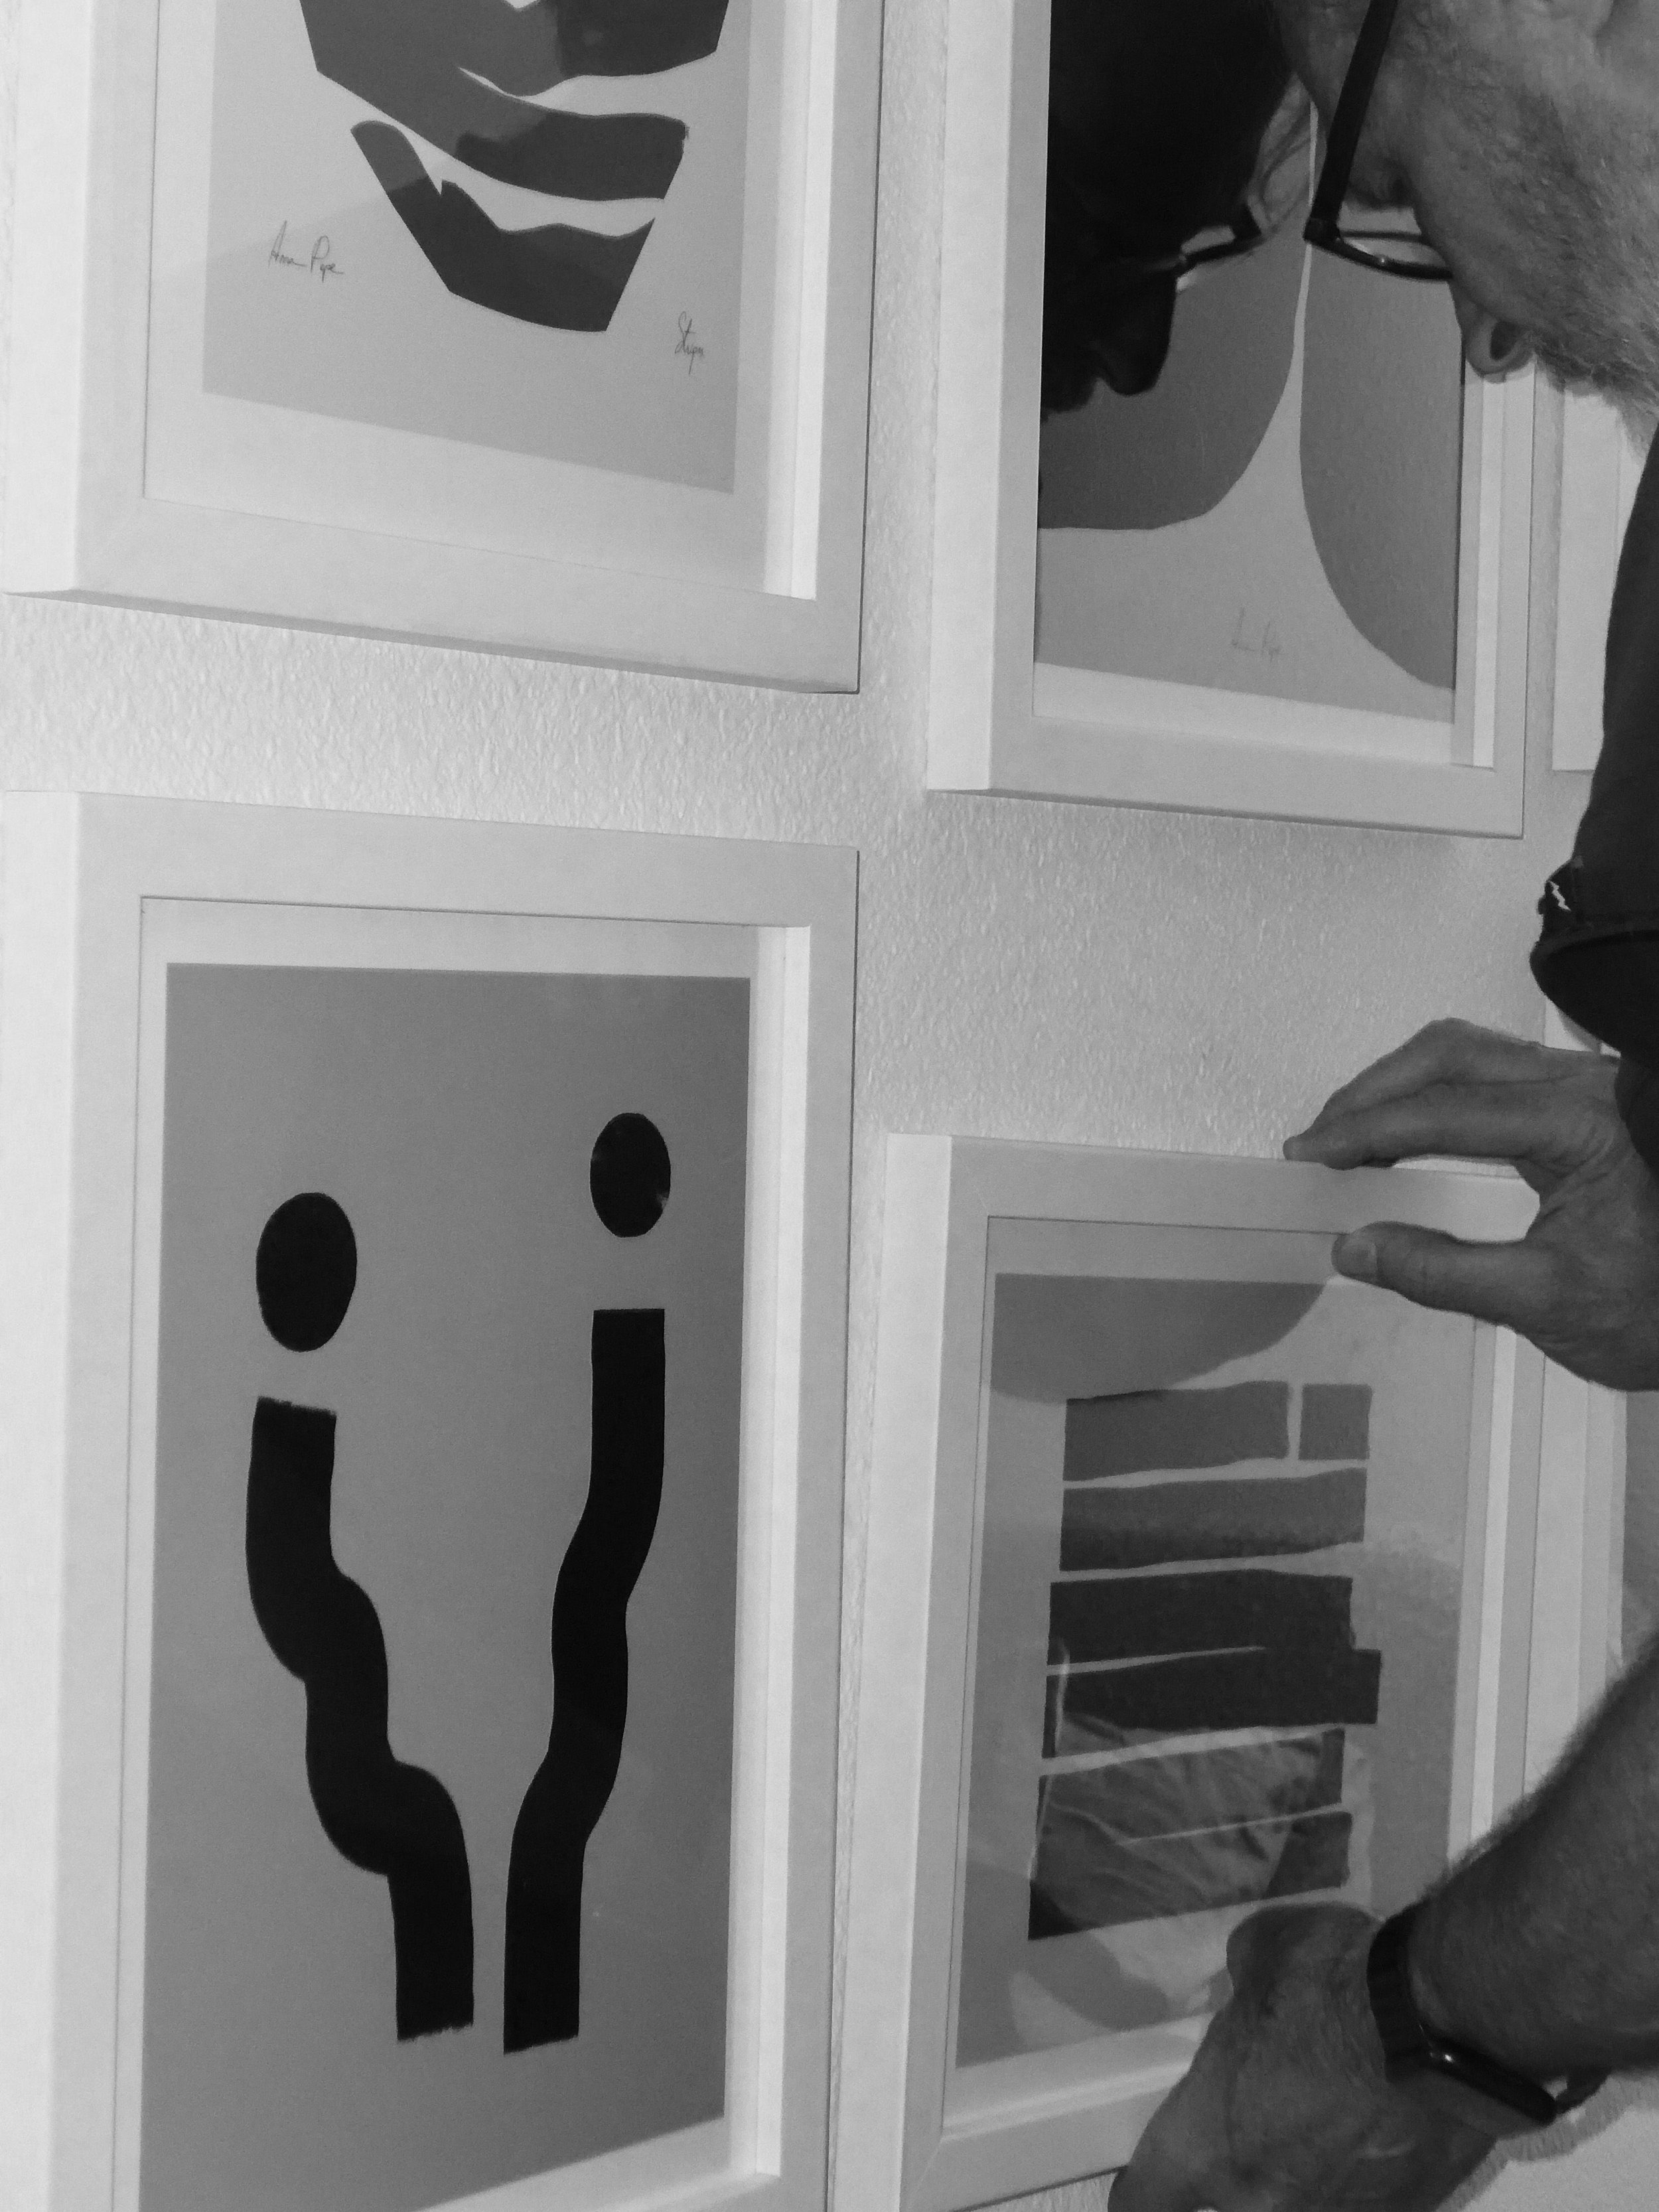
Looking around through the Fy! app…fell in love with prints from Forn Studio. Anna Pepe’s work is just so beautiful. And we simply love her bold and powerful abstract artworks.
She is a contemporary artist who lives in Tbilisi, Georgia. Studying feminine beauty and architectural simple lines are the core themes in her works. She is a self-taught artist who gained all her knowledge during the practice, additionally educated in Italy and Belgium. She actively sells her artwork for the US and European collectors. Her oversized acrylic canvases, giclee prints, and geometric drawings are found in private homes and corporate collections worldwide. Her artworks are exhibited in several trendy spaces around Tbilisi too! and of course, now Santa Fe!
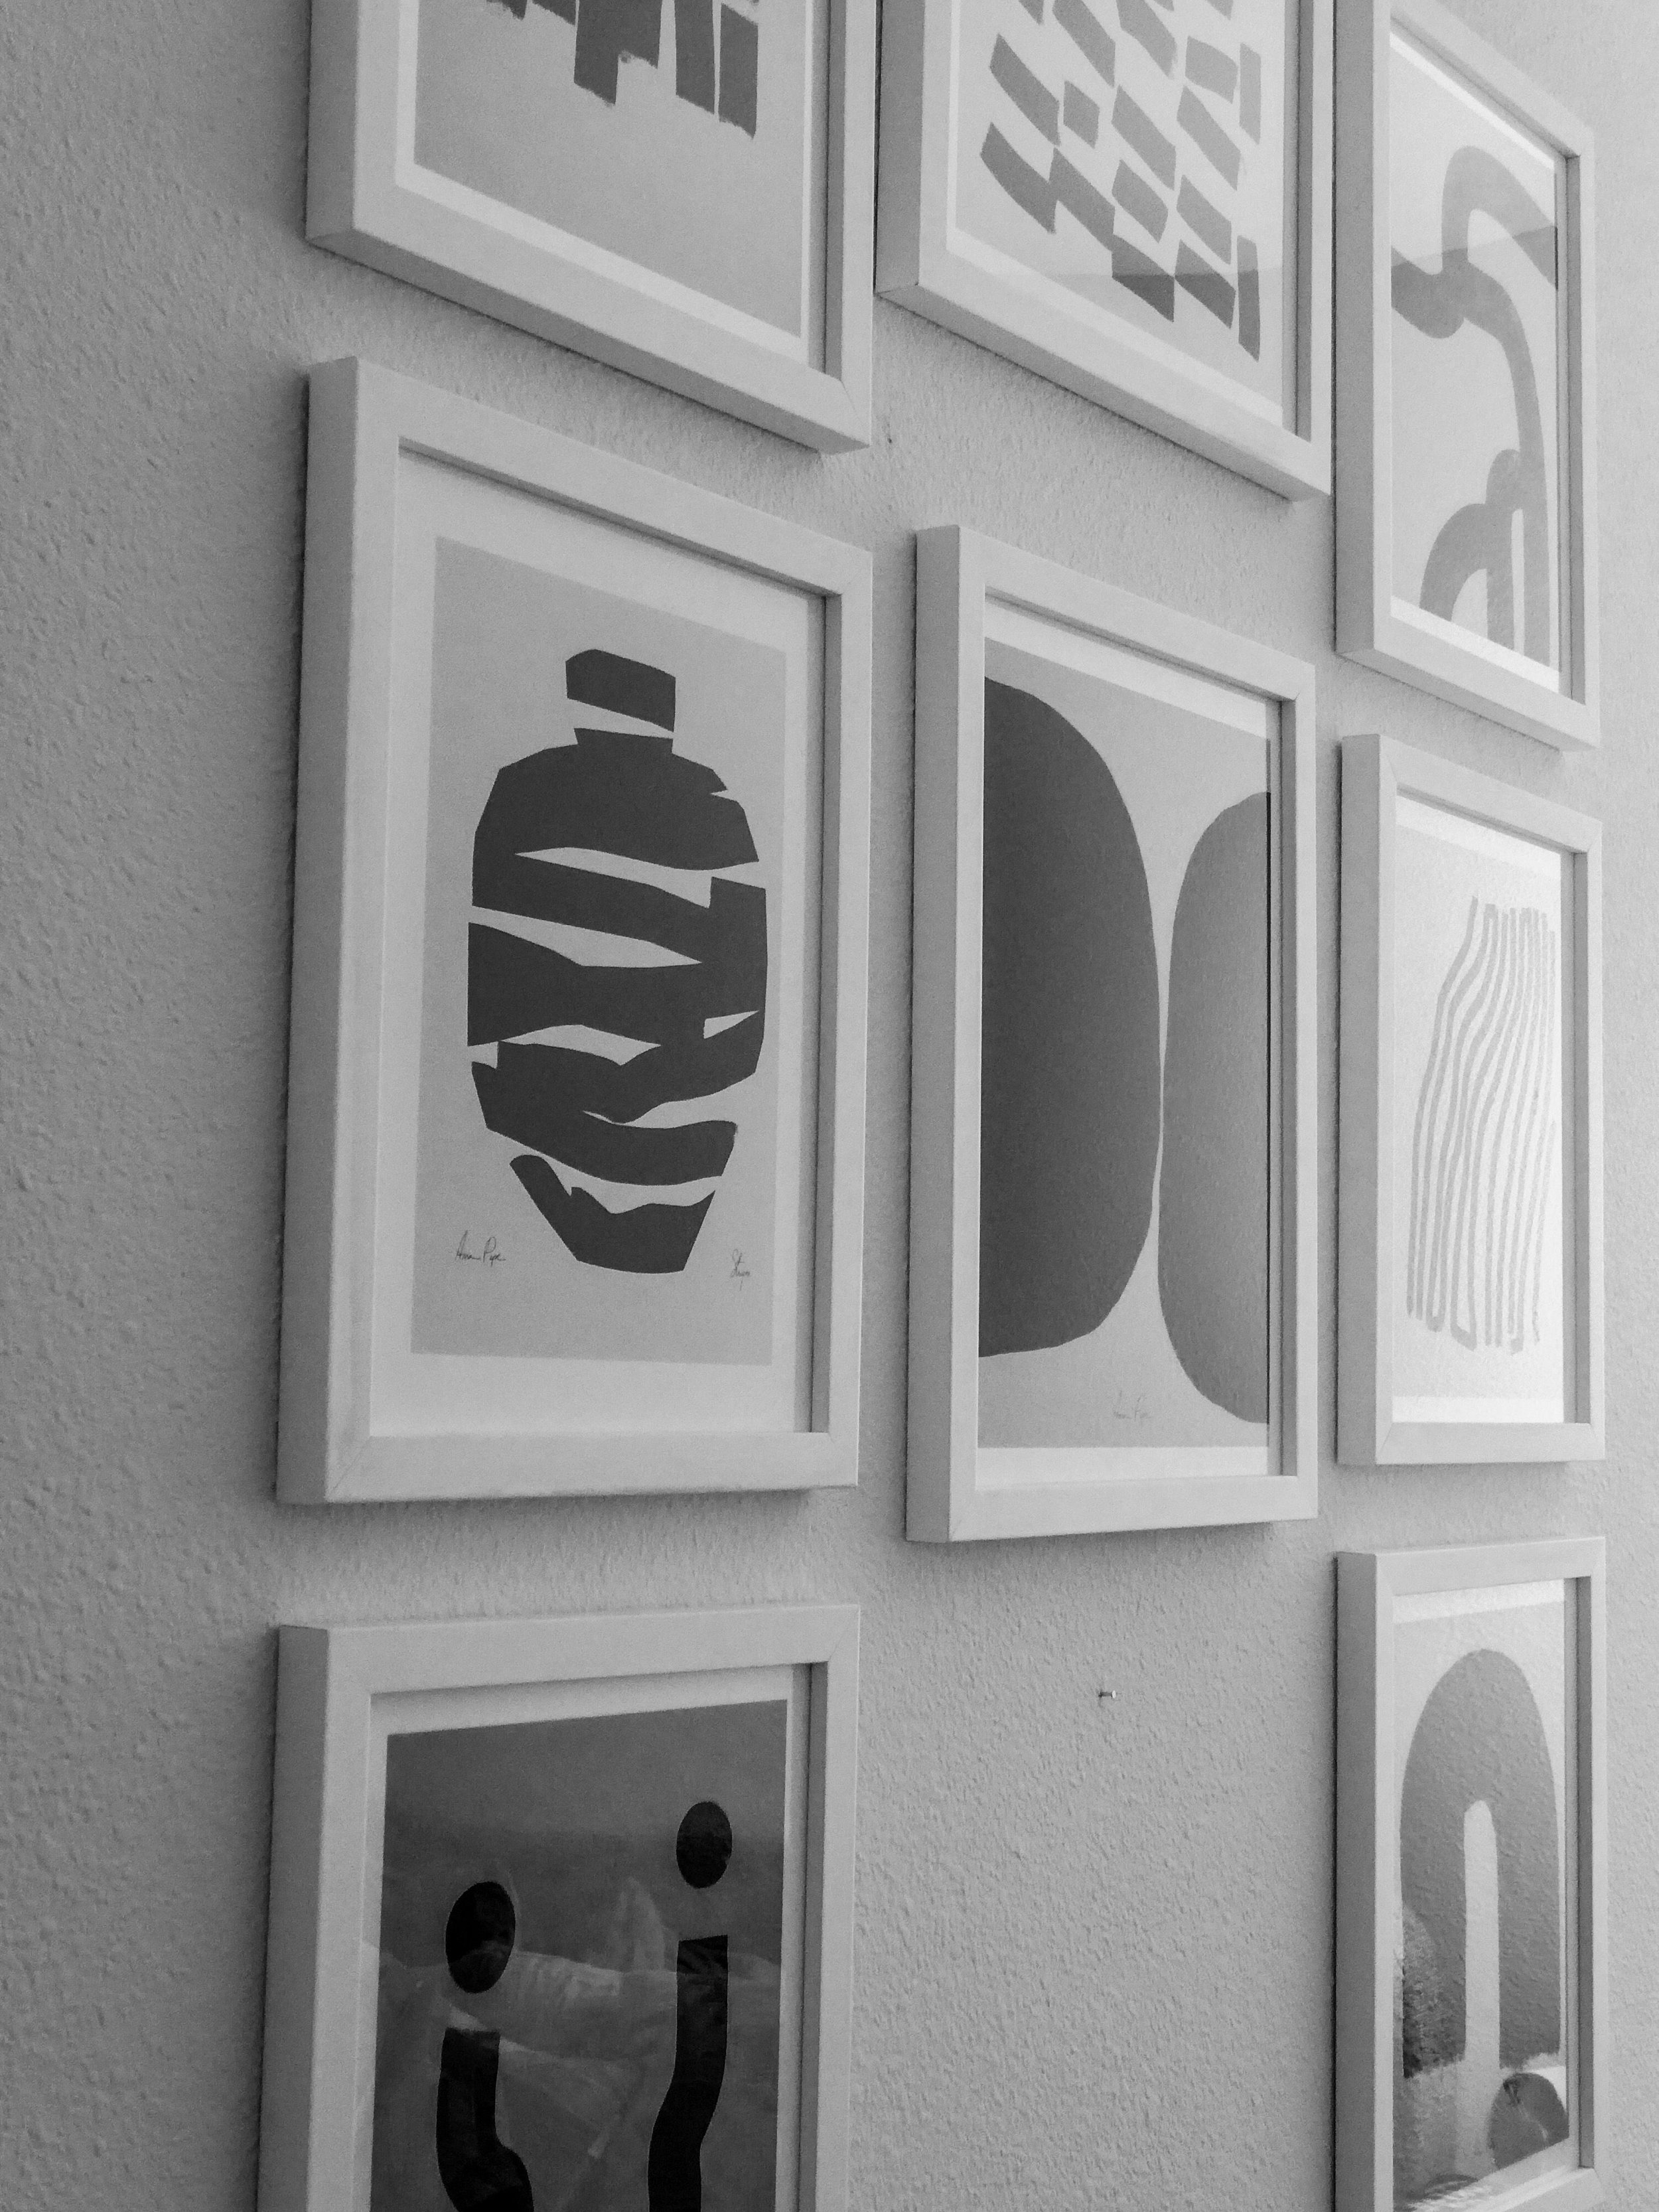
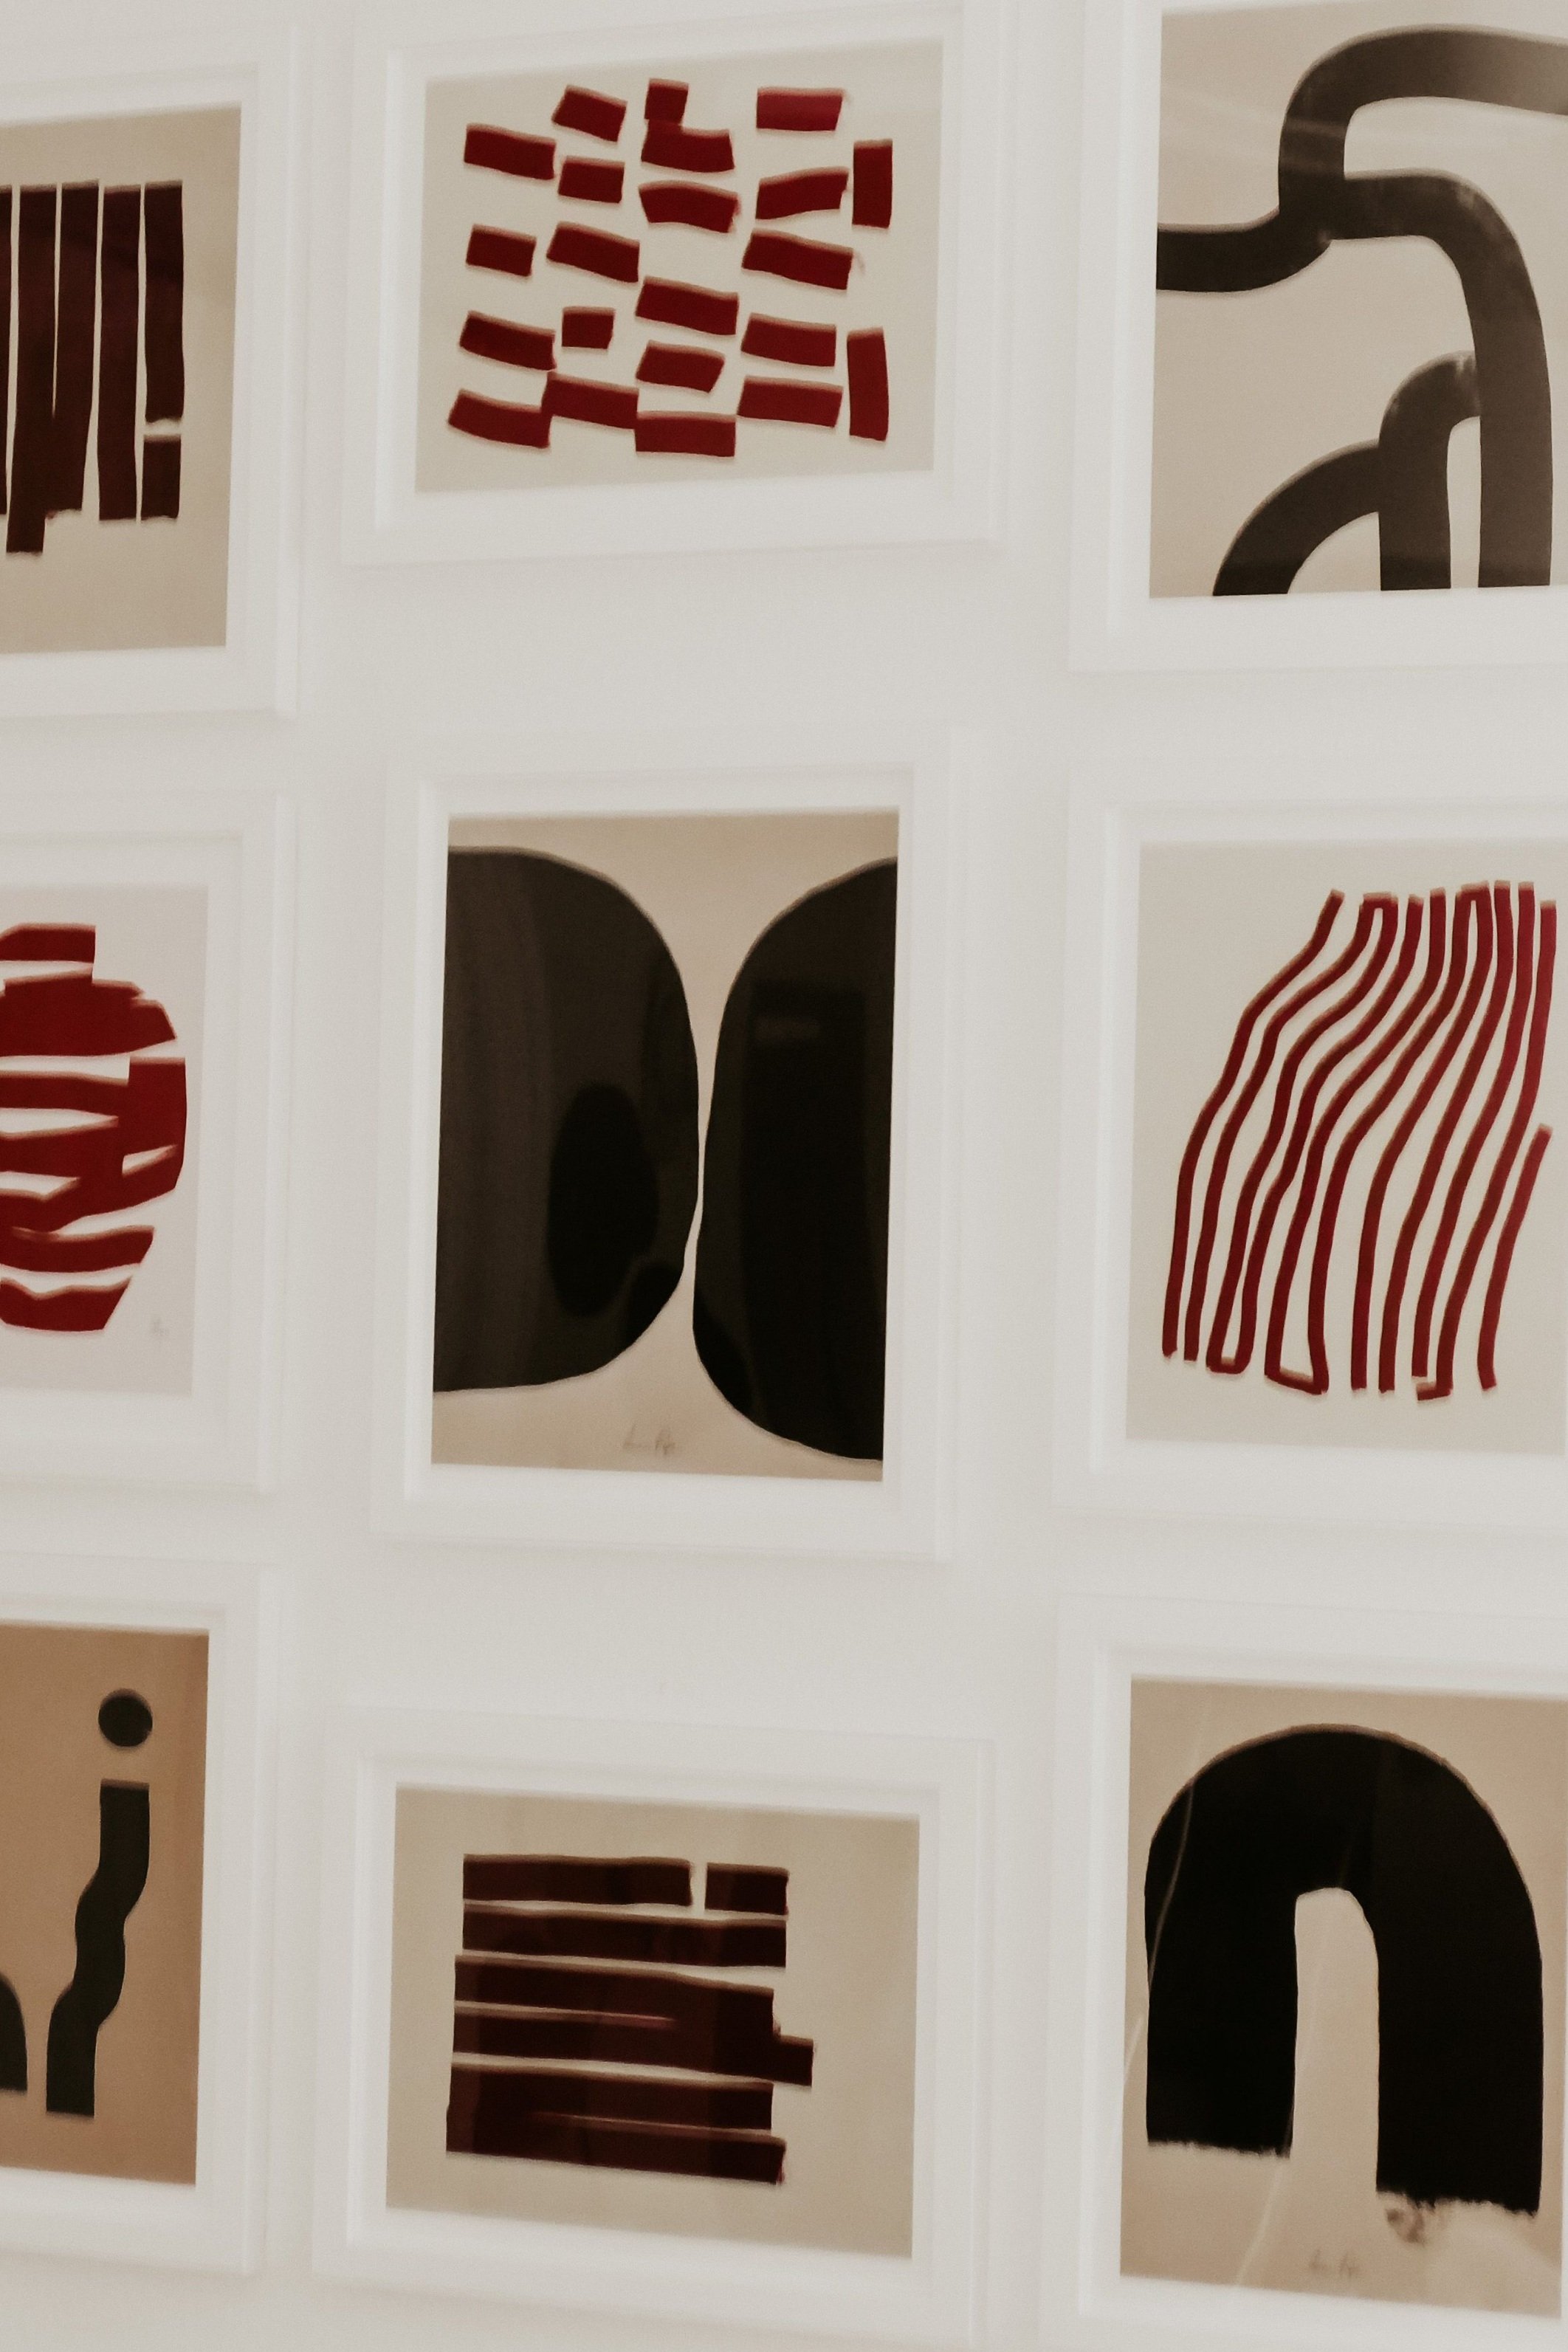
The 9 pieces we choose of Anna’s from FY! are:
Stripes Vessel In Red Art Print
Abstract Red Composition Art Print
Abstract Black Object 2 Art Print
Abstract Brown Lines Art Print
Abstract Composition In Black And Beige Art Print
Abstract Black Lines 04 Art Print
I know, this was so much information, but I hope it was helpful! I was really trying to document my own process and trying to figure out what lessons I can pass on to you… So let me know if you have any questions or are totally confused.
Highly recommend Fy! if you are looking for beautiful wall art for your home!! (Use code GOFRENCHYOURSELF for savings) And especially if you are looking to create a gallery wall. And thanks so much to Fy! for partnering with me on this bedroom project!!!
