Easy Homemade Dutch Oven Bread Recipe


Over the last few years, I’ve learned to make a lot more meals at home. When I met Lin I could not even make a grilled cheese and used my stove to house sweaters!!! Every year I get better and better and I would say I mastered cooking (still need knife work though..who teaches knife work classes here in Tulsa?) 4 years ago and have finally mastered baking this last year! Well- maybe not mastered but have made huge progress!!!!! I have focused on this specific area of self-improvement for a few reasons. Not only does homemade food taste better, but it reduces our intake of preservatives, it’s more nutritious, and it’s often substantially cheaper than what you find in the store. It does take time to make most meals from scratch, but you do get faster with experience. Once you get used to cooking from scratch, most food preparation doesn’t take much more time than going to the store, buying it, taking it home, popping it out of the package, and following the directions. REALLY!!!! I swear!
Bread-making is a prime example of this phenomenon. Homemade bread is substantially tastier than store-purchased bread, it isn’t laden with preservatives, it is very inexpensive to make, and it doesn’t take all that much time, either quite contrary to the belief. I cannot even believe I have been buying bread for so long!
The Problems With Industrial Bread
Most people in the United States view the bread purchased at the supermarket as what bread should be. However, the reality is that the bread you can buy at the store looks and feels the way it does so it can be made on an industrial scale and last a long time without going bad.
There are two big explanations for this. The industrial scale process is designed to maximize profit while still producing an edible loaf of bread you can serve at dinner. This is done by using an excessive amount of yeast in order to create lots of air bubbles in the bread, hence the “light” texture of store-purchased bread. It also allows for the use of lower-quality grains because of this yeast abundance, which means the bread is far from nutrient-rich. In the United States, most recipes are trade secrets, but in the United Kingdom, the “standard recipe” known as the Chorleywood Bread Process is widely known. The goal of this process is to make a loaf of bread as cheaply as possible, foregoing flavor, nutrition, and texture along the way.
How to Make Your Own Tasty Homemade Bread, Easily and Cheaply
While making your own bread is easy, over time I’ve found that many people are simply intimidated by the seemingly complex and work-intensive process of making bread. I was soooo intimidated!!!! But this couldn’t be further from the truth. The reality is, bread is quite easy to make at home, and you only need a few staple ingredients to make a gorgeous dutch loaf! Here’s exactly how to make a delicious loaf at home from scratch!!! I did not invent the recipe. I use Jordan Kenna’s recipe from, Tasty Team! I do cut a lot of the salt out that her recipe calls for though.
Ingredients
for 8 servings
2 cups lukewarm water, between 90˚-110˚F (30˚-40˚C)
1 envelope active dry yeast
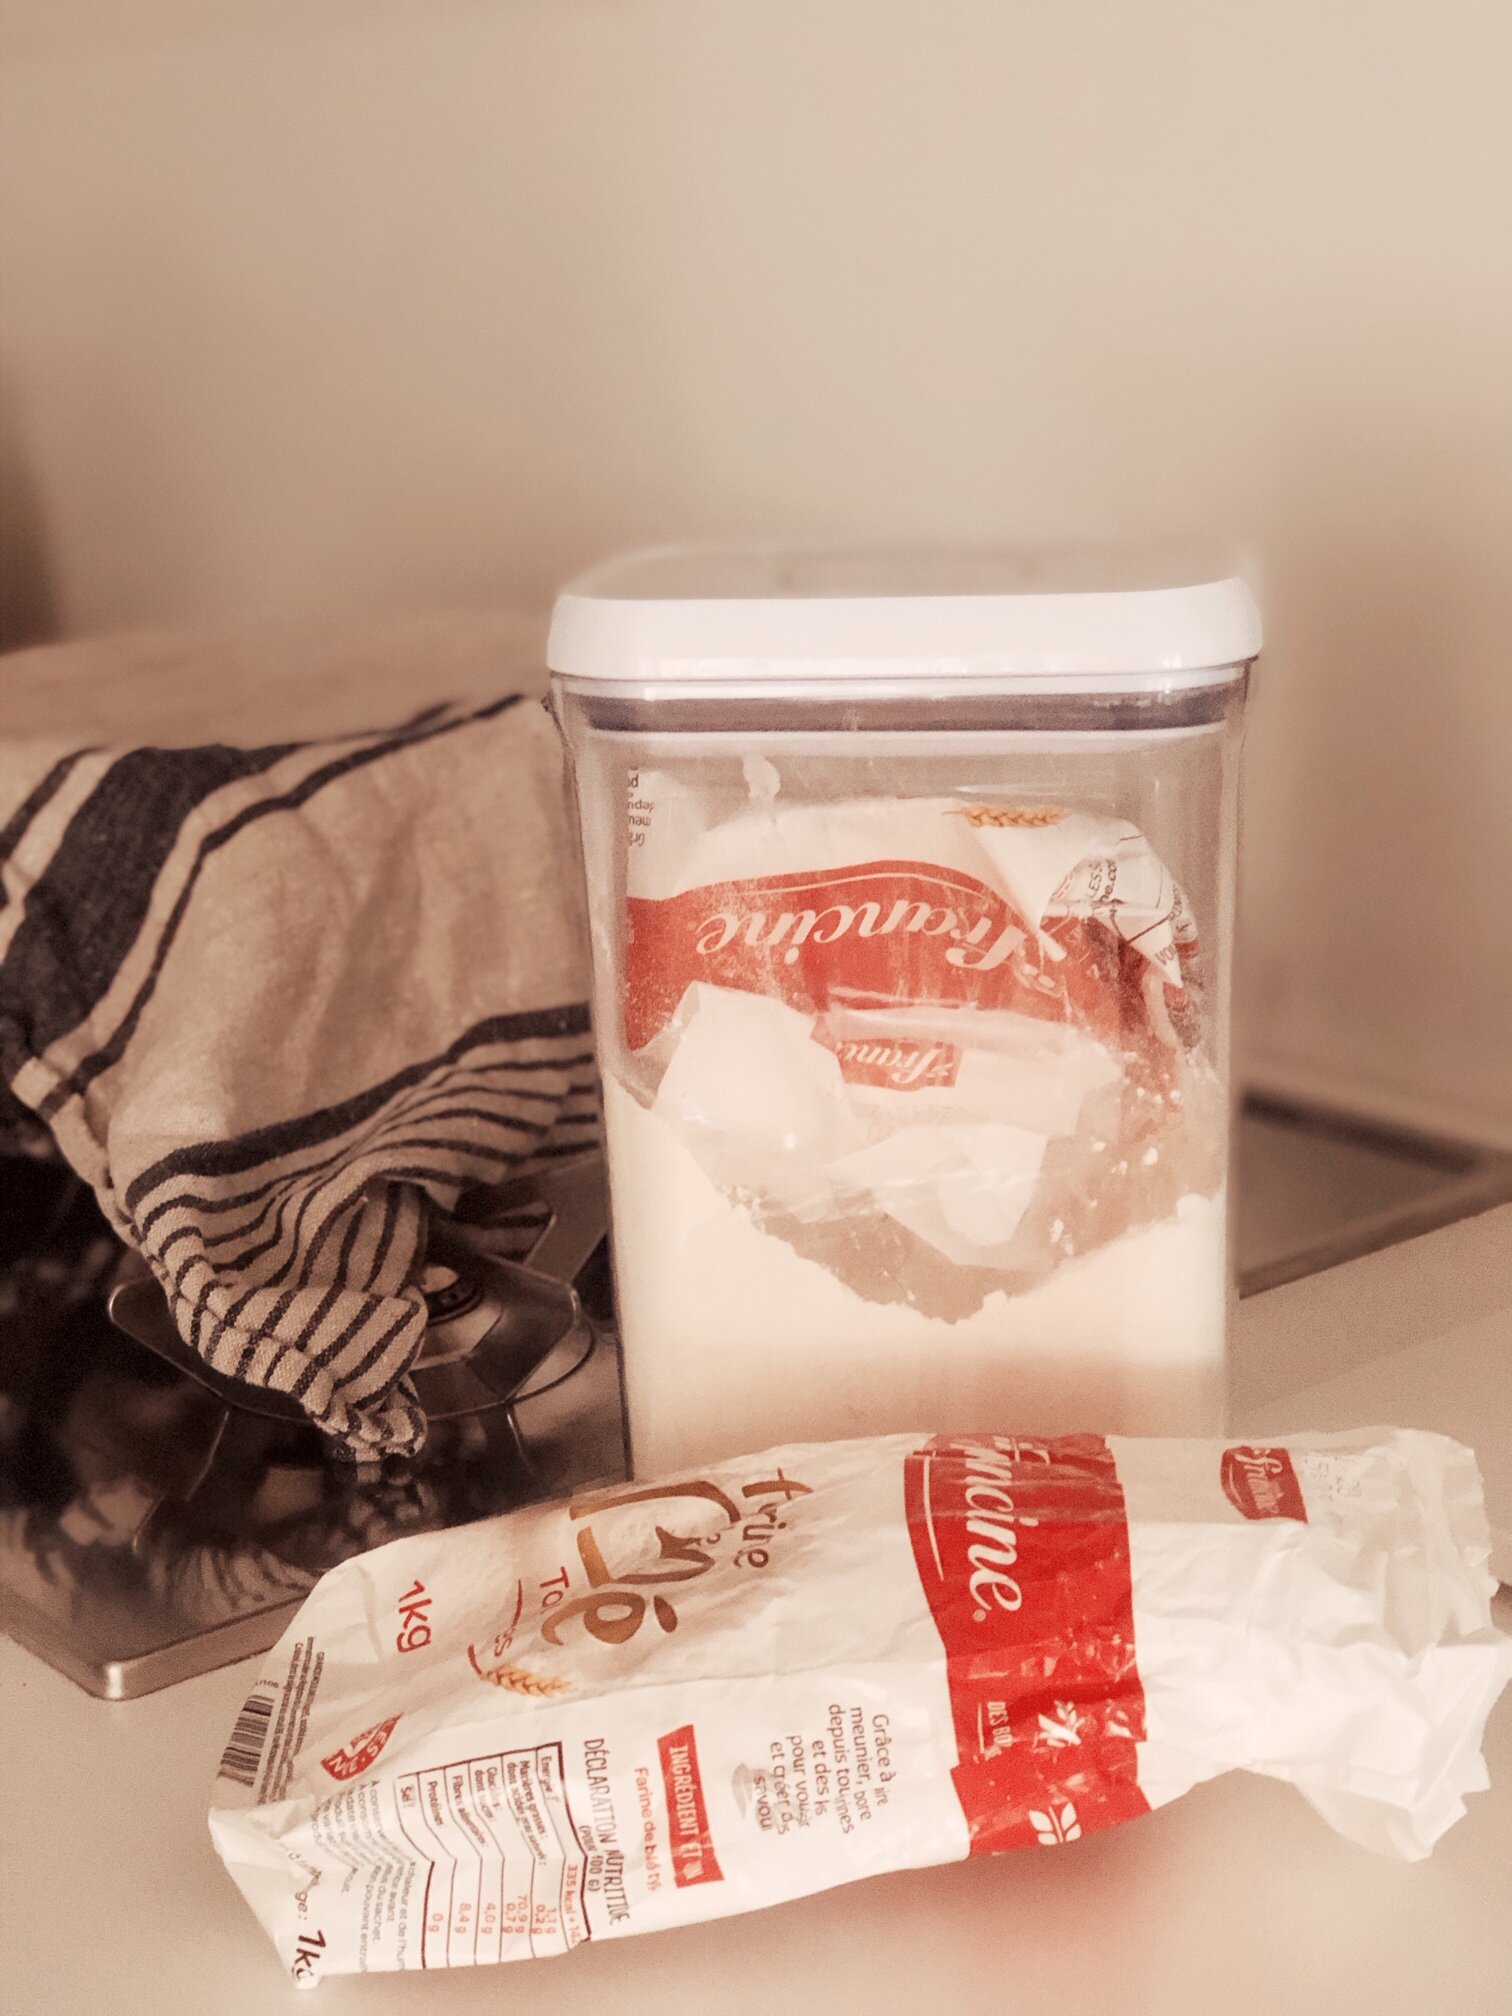
4 cups all-purpose flour, lightly packed and leveled off, plus more for dusting (I used French flour for this particular loaf)
1 teaspoon kosher salt
1 teaspoon olive oil
Preparation
Stir the yeast into the water and allow the yeast to bloom until foamy.
In a large bowl, mix together the flour and salt by hand. Once incorporated, create a small well in the middle and pour in the water and yeast mixture.
Mix by hand, wetting your working hand before mixing so the dough doesn’t stick to your fingers. The water and flour should come together and a form rough dough that pulls away from the sides of the bowl. If the dough is too sticky, add more flour in small increments, about 1 tablespoon at a time. If the dough is too dry, add more water, 1 tablespoon at a time.
Once the dough comes together, cover and let rise until doubled in size (about 1 ½-2 hours).
Uncover the dough and give it a few pokes with your finger. If the dough has risen properly, it should indent under the pressure of your finger and slowly deflate.
Using your hand or a rubber spatula, start from the rim of the bowl to work the dough loose from the sides and fold it up and towards the center of the bowl. Turn the bowl 90 degrees, and repeat until all the dough has been pulled from the sides and folded towards the center.
Once finished, cover and let the dough rise again for another 1 ½-2 hours.
Once the dough has doubled in size again, gently transfer it from the bowl to a lightly floured surface.
Sprinkle a bit of flour on top of the dough. Using your hands, begin to shape it into a loaf. Fold the dough under itself several times to form a ball, then pinch together the seams of dough underneath.
Place the dough seam-side down in a clean bowl that has been lightly coated with olive oil and dusted with flour.
Cover and let rise for 1 hour.
Meanwhile, place a 6-quart Dutch oven (or heavy cooking pot with oven-safe lid) inside the oven. Preheat the oven to 450˚F (230˚C) with the pot inside for 45 minutes-1 hour.
Carefully remove the pot from the oven and place it on a trivet or heat-safe surface. (Be careful! It’ll be VERY HOT.)
Turn the proofed dough over onto a lightly floured surface and carefully place it inside the pot.
Cover with the lid and return the pot to the oven.
Bake for 45 minutes, removing the lid for the last 15 minutes.
Remove bread from pot, cover, and let cool for 10 minutes before slicing.
Enjoy!
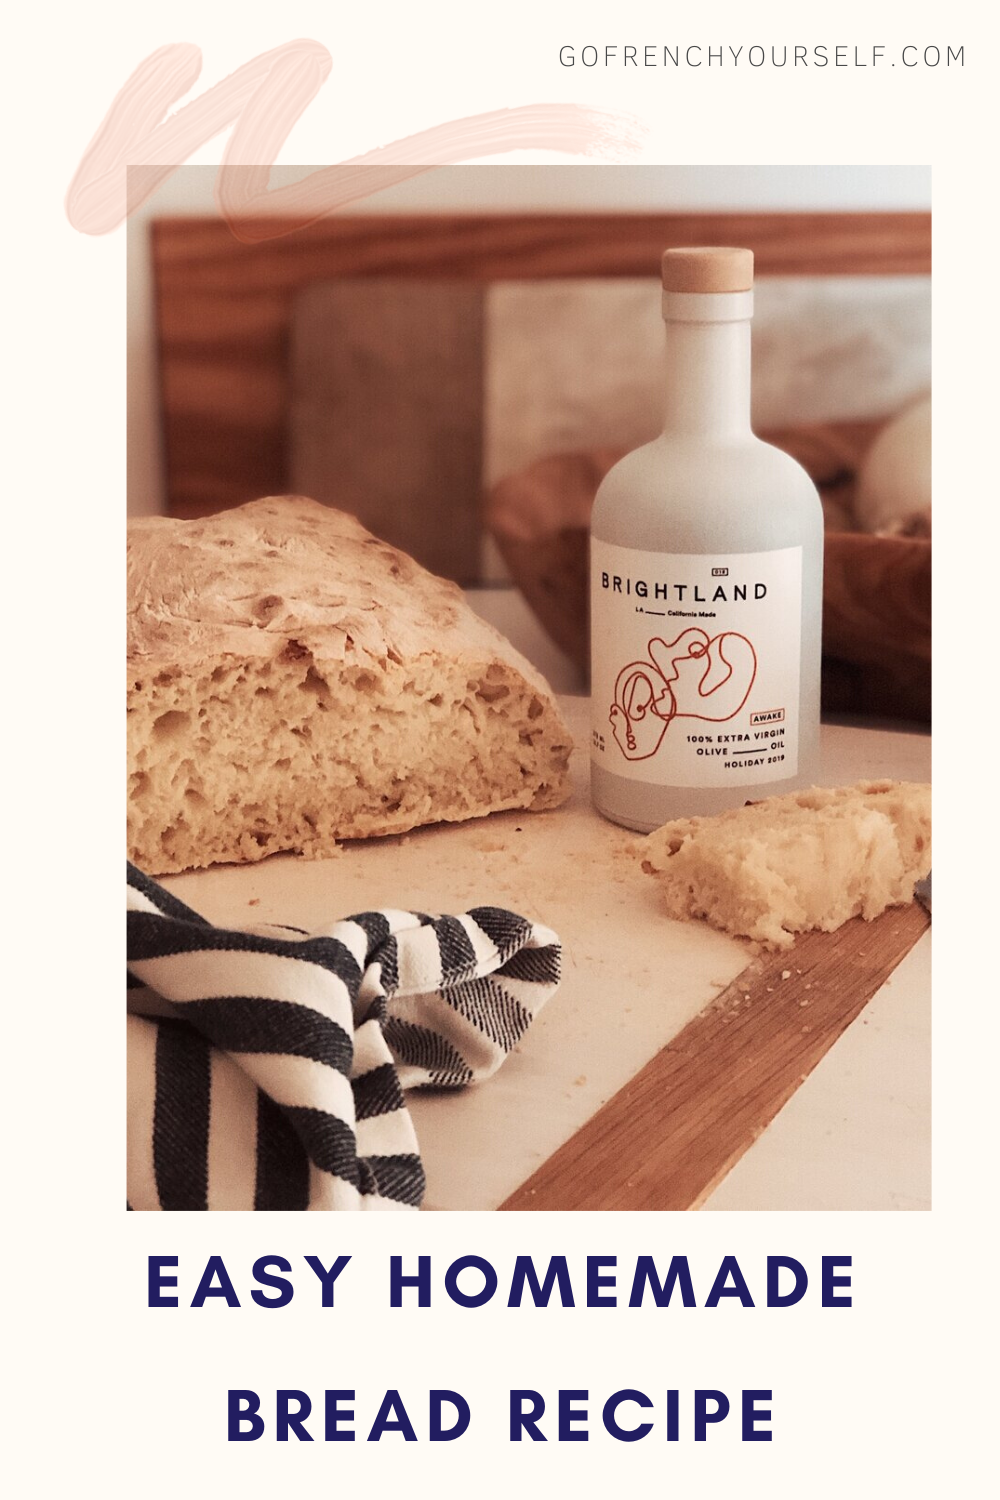
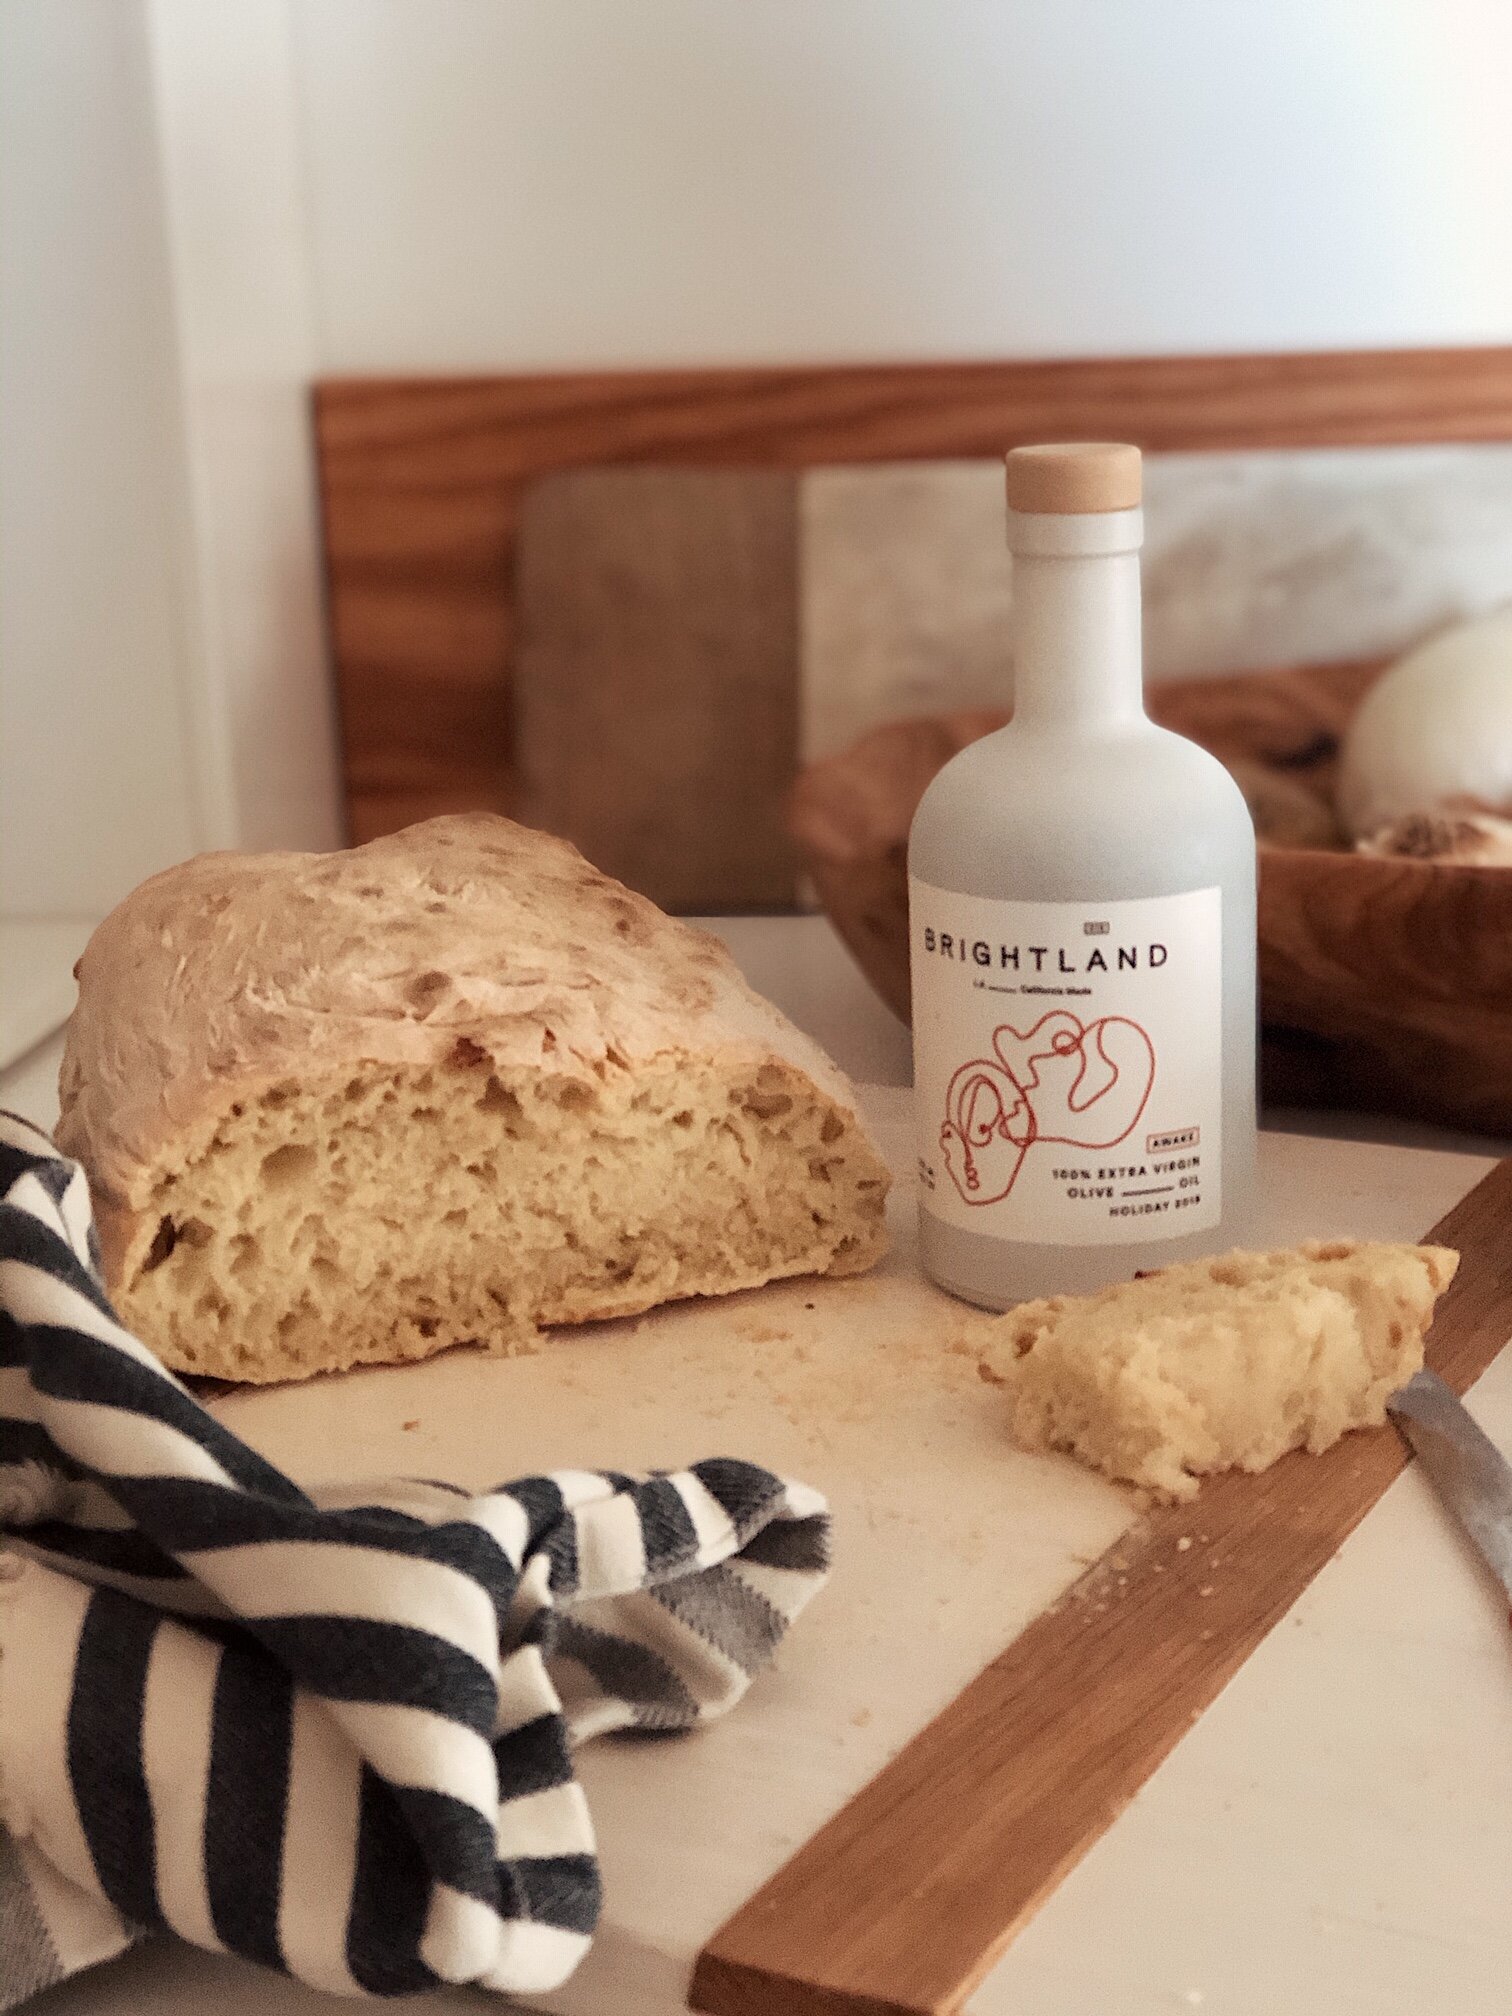
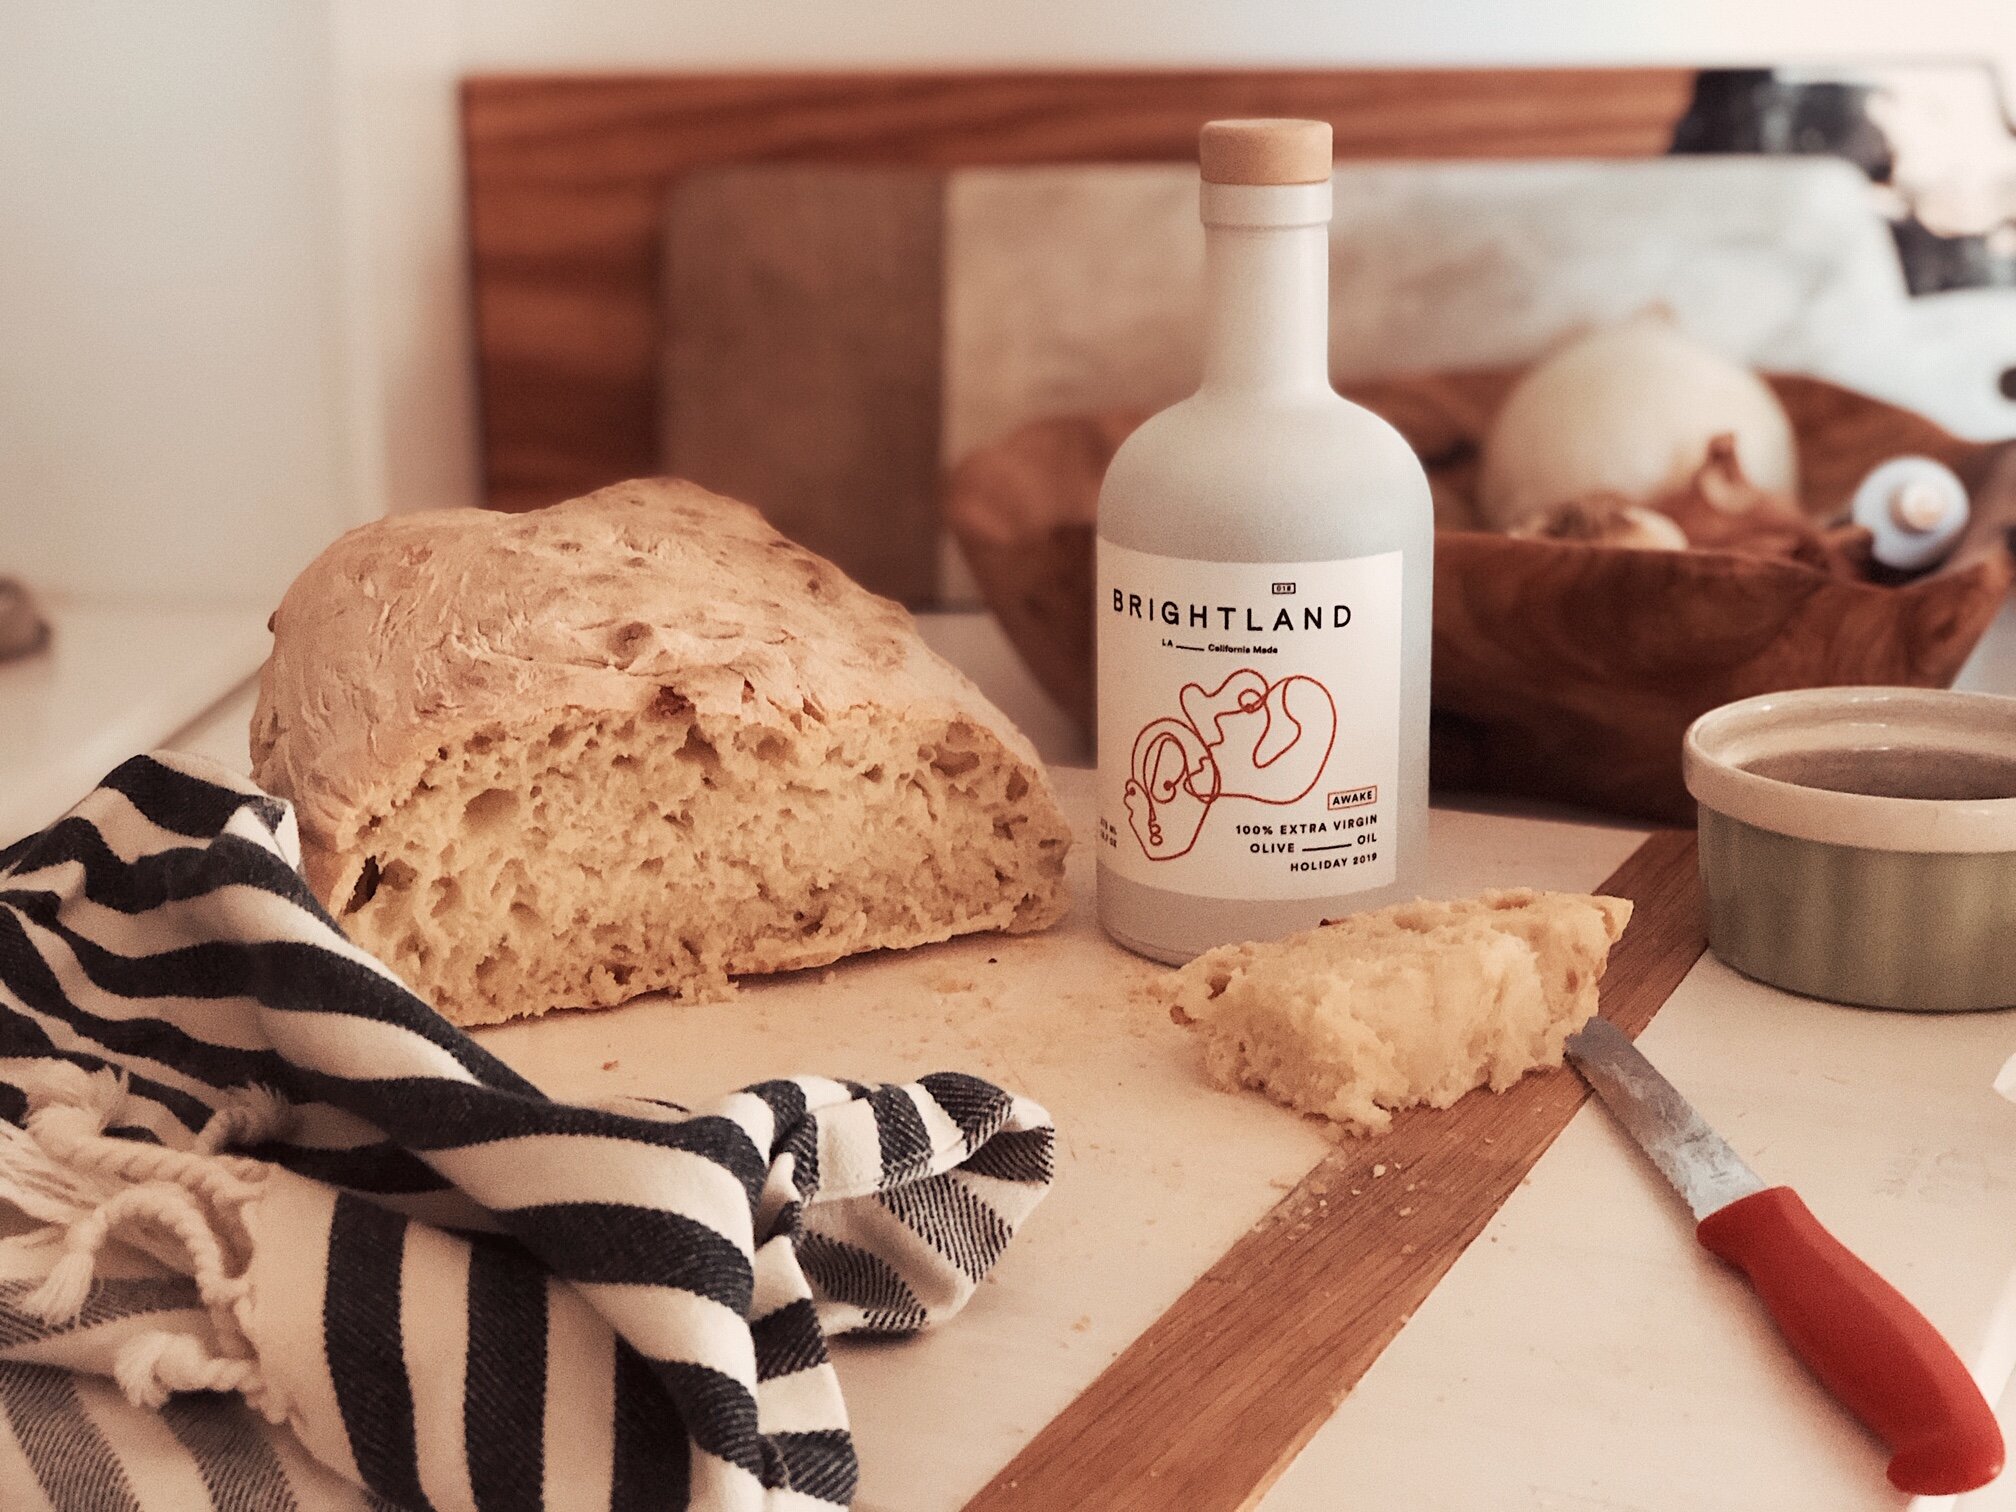
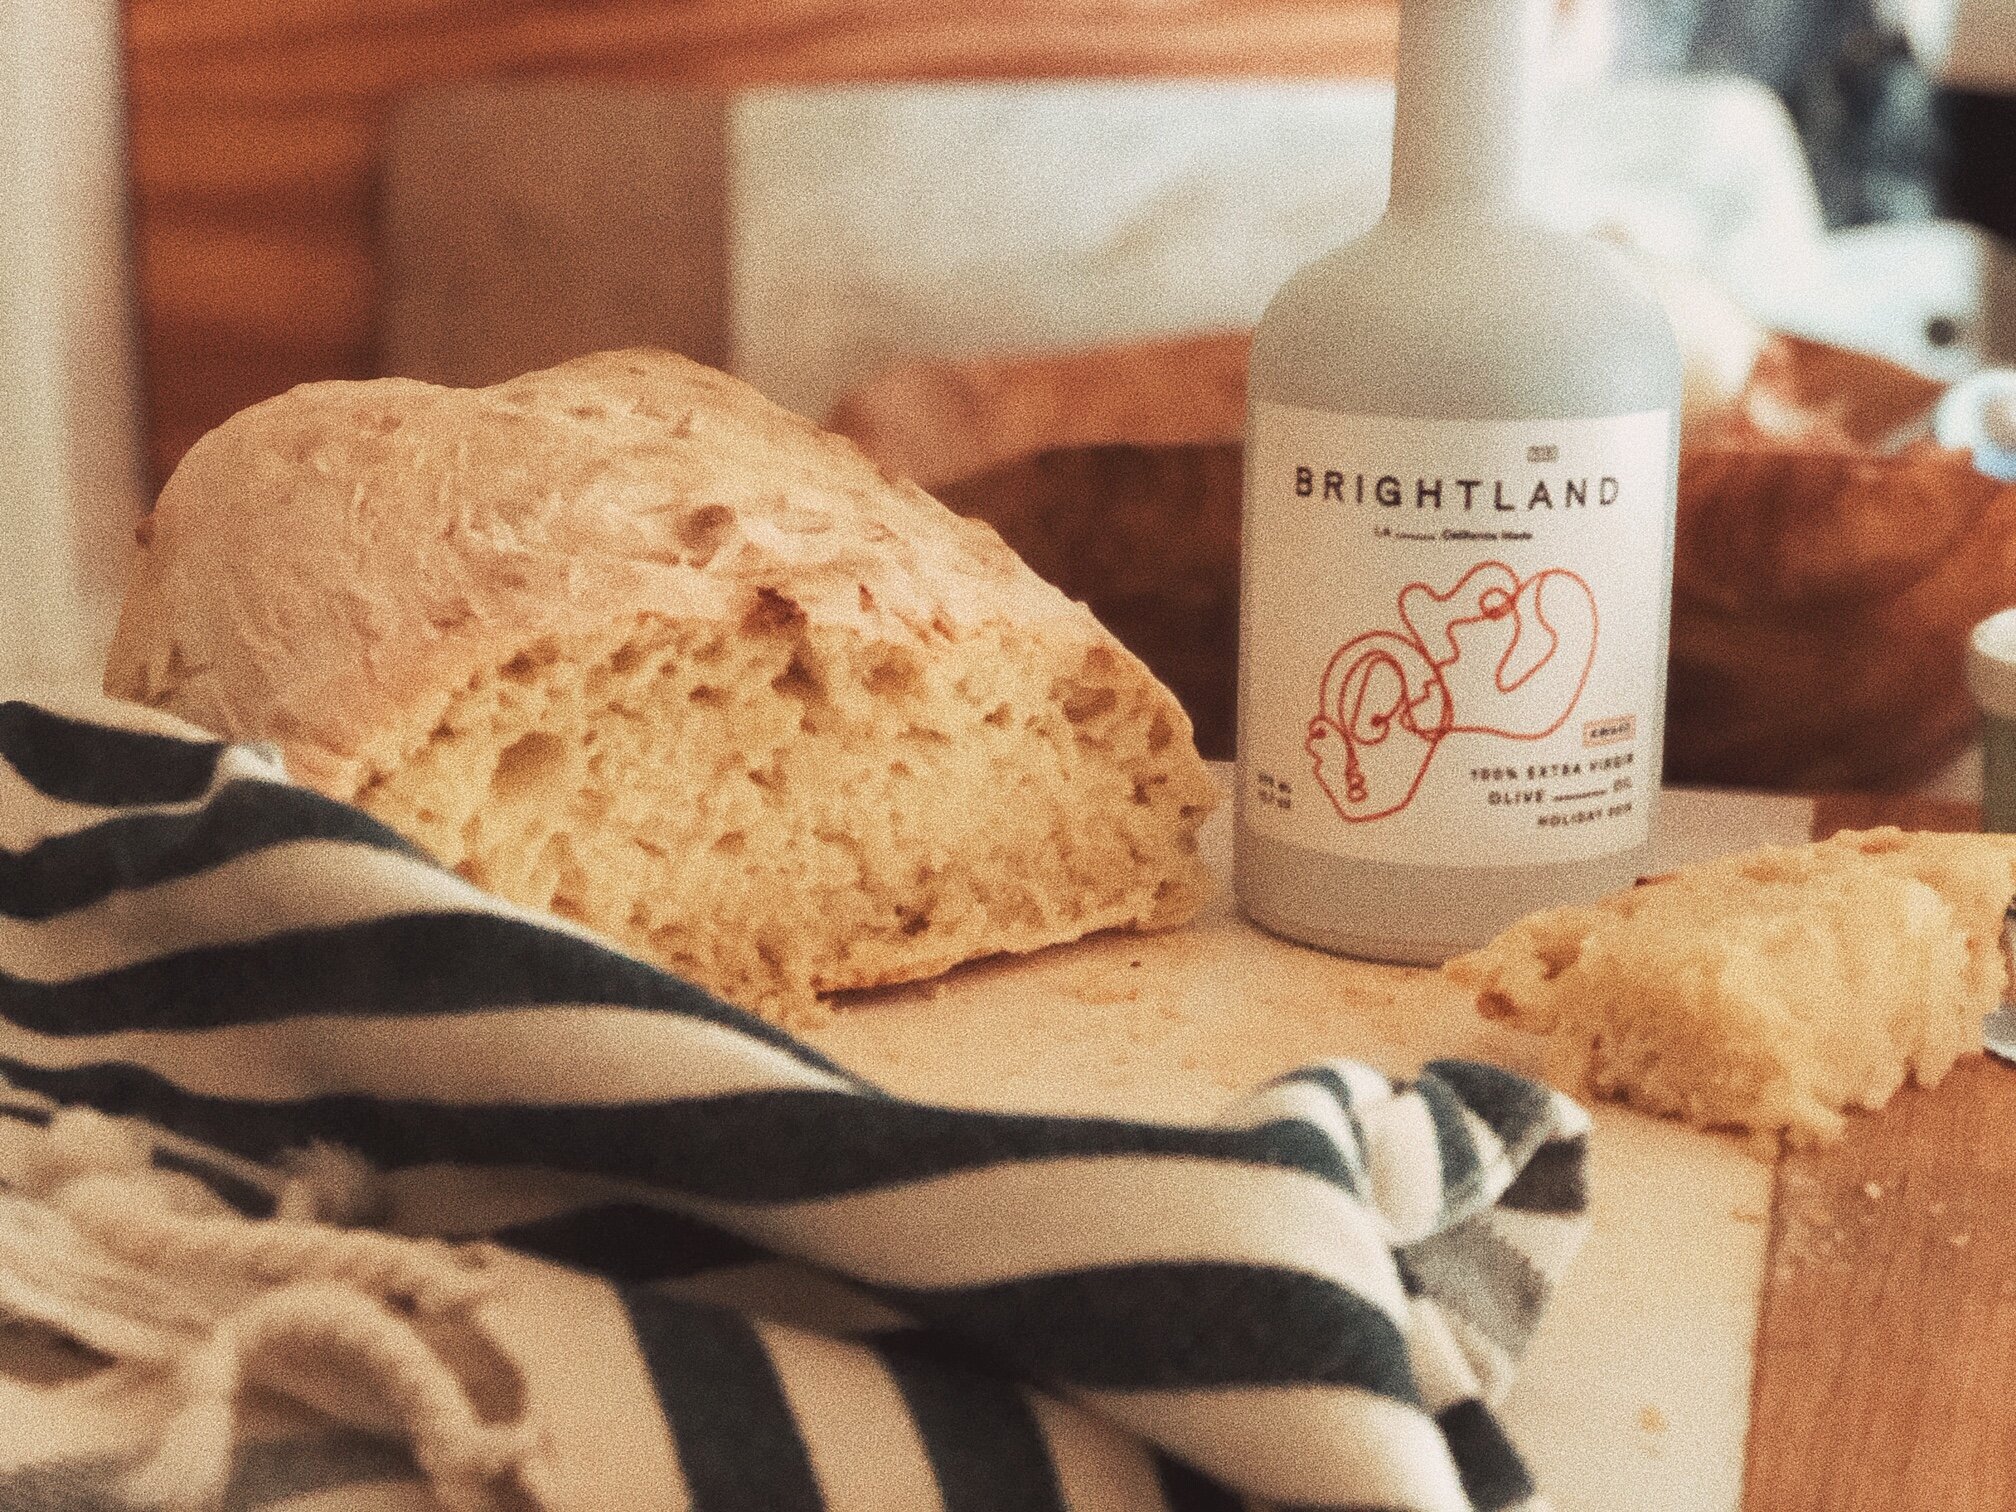
I cannot even begin to tell you how delicious it is!! We love dipping it into Brightland’s Olive Oil (it is worth every penny) right from the oven!!! And even having it with Brie and jam!!! Lin loves it for his sandwiches and when we use the high quality flours from Europe, we have realized these do not affect his tummy issues!! So he can actually enjoy something that is not gluten free because gluten free breads are okay-but not great!
I have found so much joy in making bread! I am attempting to make a perfect sourdough this week so wish me luck ! And will also start reading The Gluten-Free Artisan Bread in 5 minutes A Day Book we received when it came out!
I hope you will try to make this dutch loaf! I promise you can do it!!